Quick Answer: To grow Christmas cactus from cuttings, twist off a 3–4 segment cutting at a natural joint in late spring or summer, let it callus on a dry paper towel for 48–72 hours, then plant it in a 50/50 mix of perlite and cactus potting mix. Keep it in bright indirect light at 65–75°F, mist lightly every 2–3 days, and expect roots in 3–8 weeks. This method also preserves your cultivar’s exact flower color and form.
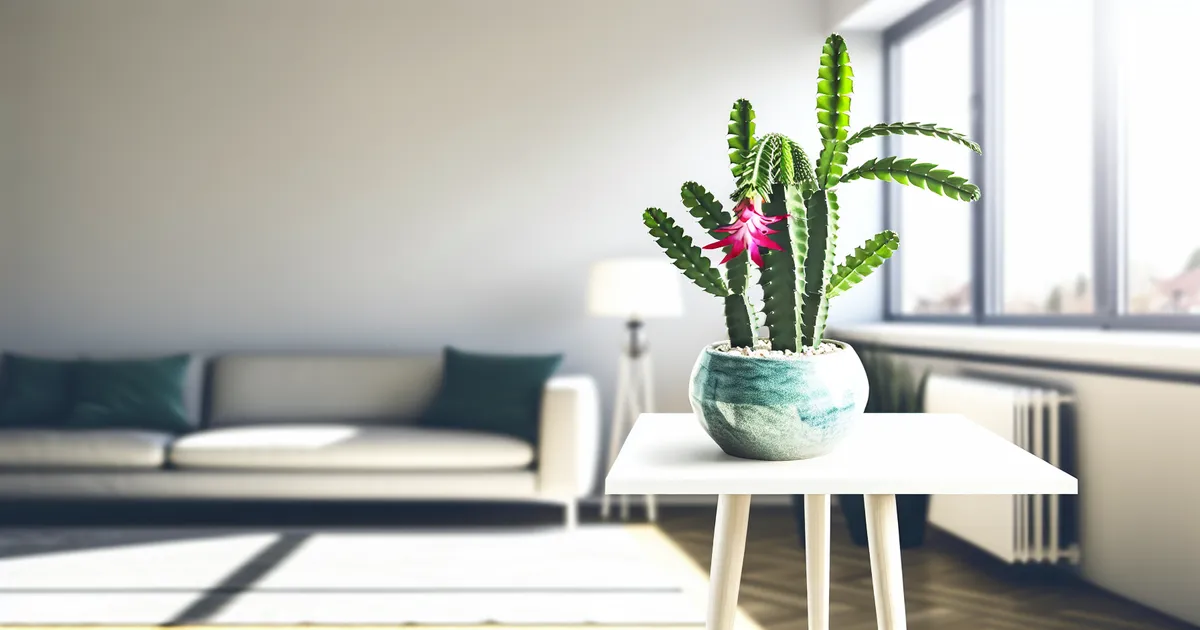
If you’ve ever admired a friend’s Christmas cactus and wished you had one just like it, good news: learning how to grow Christmas cactus from cuttings is genuinely straightforward. A single healthy mother plant can yield dozens of new plants over its lifetime. Schlumbergera bridgesii is remarkably forgiving once you understand its origins — it evolved clinging to tree branches in Brazilian rainforests, which explains almost everything about how to propagate it successfully.
Best Time of Year to Take Christmas Cactus Cuttings
Why Late Spring and Summer Give the Best Results
Timing is the single biggest factor in propagation success. June through August is the sweet spot. During active vegetative growth, stem segments are packed with stored carbohydrates, and the plant’s hormone balance strongly favors root formation. In practical terms: cuttings taken now root faster, root more reliably, and are well-established before fall arrives.
There’s a bonus to June or July cuttings — they’ll be rooted and ready for their first bloom-induction treatment that same autumn.
Can You Propagate in Fall or Winter?
Avoid taking cuttings once flower buds appear. The plant’s energy shifts toward reproduction, not root initiation, and success rates drop noticeably. Post-bloom winter cuttings (January–February) can work, but expect slower rooting — 8–12 weeks rather than 3–8 — and a higher failure rate. If you’re propagating a gifted plant in winter, a seedling heat mat and a grow light will help compensate.
How to Tell If Your Mother Plant Is Ready
Look for new segment growth at the stem tips — that’s your clearest sign of active growth. If you’re propagating outside the June–August window, make sure the mother plant has had at least 6–8 weeks of post-bloom recovery with regular fertilization before you take any cuttings.
Seasonal summary:
- Spring (March–May): Good — plant is resuming growth; start fertilizing to build reserves
- Summer (June–August): Best — peak rooting success
- Fall (September–November): Avoid — buds forming, energy redirected
- Winter (December–February): Least favorable — use supplemental heat and light if necessary
How to Take Christmas Cactus Cuttings the Right Way
Choosing the Right Segments
Always select from the tips of actively growing stems. You want segments that are firm, plump, and a healthy green — not wrinkled, pale, or soft. Wrinkled segments are already moisture-stressed and won’t have the energy reserves needed for root development. Older, lignified brown segments near the base of the plant are similarly poor candidates; they root slowly if at all.
The Twisting Technique
Grip the segment you want to remove and twist gently at the natural joint where two segments meet. Done correctly, it snaps cleanly with almost no effort. This natural separation point produces a much cleaner wound than cutting mid-segment, which unnecessarily exposes vascular tissue and invites fungal problems.
If you prefer a tool, sterilized scissors or a scalpel work fine — wipe the blade with 70% isopropyl alcohol between cuts.
Aim for 3–4 segments per cutting. That’s enough stored energy to fuel root initiation, but not so large that the cutting struggles to stay hydrated before roots form.
How Many Cuttings to Take at Once
Take a few more than you think you need. Even under good conditions, success rates run 70–90%, so extras provide useful insurance. Follow the one-third rule: never remove more than one-third of the mother plant’s total stem mass in a single season. These plants routinely live over 100 years — protecting the mother plant is a long-term investment.
Callusing and Preparing Cuttings Before Planting
Schlumbergera stem segments are moisture-rich. Plant a fresh-cut segment directly into damp medium and you’re practically inviting rot. The callus that forms over 48–72 hours creates a protective barrier against pathogens and is the primary site where new roots begin to develop. Skipping this step is one of the most common reasons cuttings fail.
Lay your cuttings horizontally on a dry paper towel in a warm (65–75°F), shaded spot with gentle air circulation. Leave them alone for 48–72 hours. The cut surface will become slightly dry and papery — that’s exactly what you want. Don’t leave them longer than 5 days; beyond that, the cutting starts to desiccate rather than callus.
Optional: rooting hormone. It isn’t required, but a powdered or gel IBA (indole-3-butyric acid) formula at 0.1–0.3% concentration can shave 1–2 weeks off rooting time. Dip the callused end lightly, tap off any excess, and plant immediately. This small extra step is especially worth it for rare or sentimental cultivars.
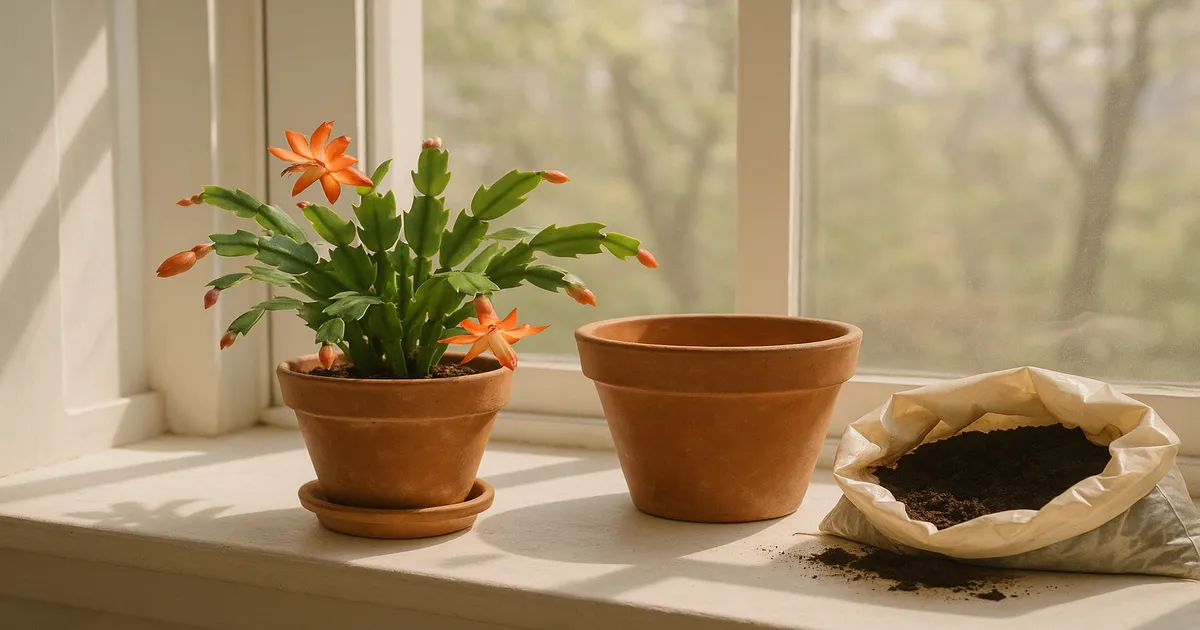
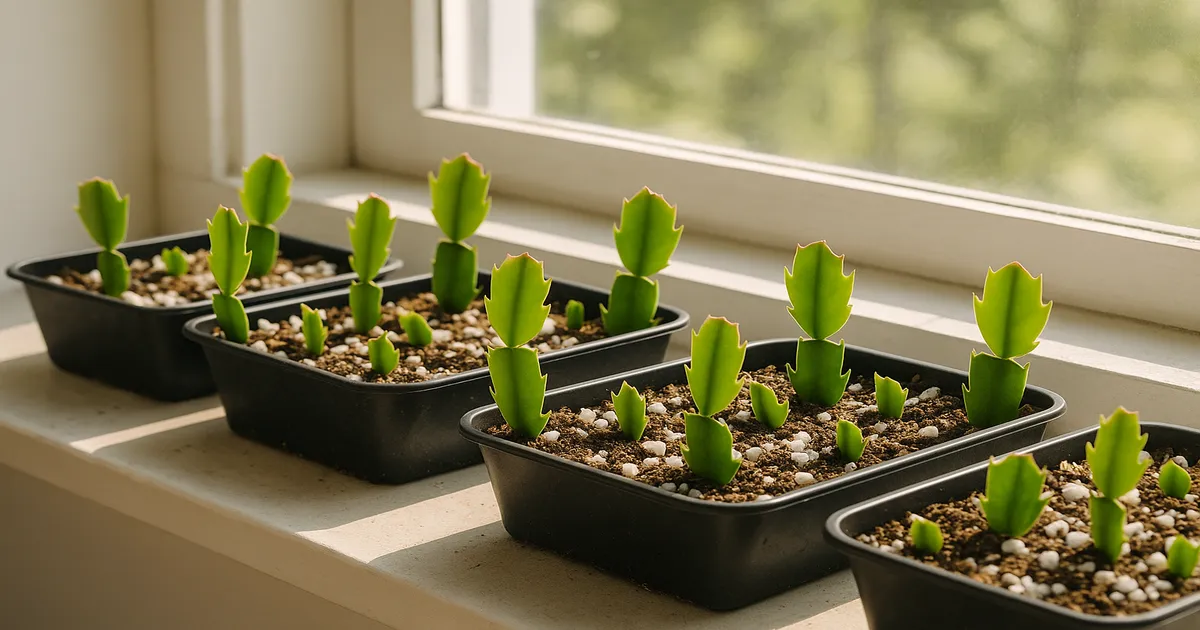
The Best Rooting Medium for Christmas Cactus Cuttings
In the wild, Schlumbergera roots wrap around tree bark and organic debris — highly aerated, fast-draining material with almost no water-holding capacity. A standard peat-heavy potting mix is the opposite of that. It stays too wet, creates low-oxygen conditions at the root zone, and gives rot-causing pathogens like Pythium exactly what they need. Avoid any mix containing water-retaining crystals.
Three reliable rooting mix options:
- 50% perlite + 50% cactus/succulent potting mix — good aeration with a little structure
- 100% perlite — maximum drainage; transplant once roots reach 1–2 cm
- 50% perlite + 50% coarse horticultural pumice — excellent if you want to skip the cactus mix entirely
Aim for a medium pH of 5.5–6.5, which mirrors the slightly acidic organic debris of the plant’s native canopy habitat. Above pH 7.0, iron and manganese become unavailable, causing yellowing in newly rooted cuttings. A basic digital pH meter takes the guesswork out of this completely.
Watering, Humidity, and Light During Rooting
Watering Without Causing Rot
Before roots form, the cutting can’t process water — so less is always more. Mist the medium lightly every 2–3 days, just enough to keep it from going bone-dry. The top half-inch should feel barely damp, not wet. Once you feel resistance when you give the cutting a gentle tug, roots have formed and you can transition to light bottom watering.
Using a Humidity Dome
A clear plastic humidity dome or a loosely draped clear plastic bag helps maintain 60–70% relative humidity, reducing moisture loss through the stem segments before roots form. Leave a small gap for air exchange — a fully sealed dome with no airflow invites Botrytis gray mold.
Light Levels
Place cuttings in bright indirect light (1,000–1,500 foot-candles) — a north- or east-facing windowsill works well. Direct sun causes rapid desiccation before roots can establish. Deep shade (below 200 foot-candles) doesn’t give the cutting enough energy to drive root development. If you’re using grow lights, a full-spectrum LED panel at 12–14 hours per day and 200–500 foot-candles is appropriate for the rooting phase.
Temperature, Pests, and Common Problems
Temperature and Heat Mats
The root-zone sweet spot is 65–75°F (18–24°C). Below 60°F, root development slows dramatically. Above 85°F, microbial activity in the medium accelerates and rot risk climbs. If your home runs cool, a seedling heat mat set to 70°F placed under the propagation tray makes a real difference. Always monitor with a soil thermometer rather than relying on ambient room temperature.
Pests and Disease
Three threats are worth knowing:
- Fungus gnats lay eggs in moist medium; larvae eat developing root primordia. Combat with a dilute hydrogen peroxide drench (3% H₂O₂ mixed 1:4 with water), a thin perlite topdressing to deter egg-laying, and yellow sticky traps to catch adults.
- Mealybugs can hitch a ride from an infested mother plant. Inspect every joint and the underside of segments before taking any cutting — look for white, cottony masses.
- Botrytis gray mold colonizes cut surfaces in humid, stagnant air. A small fan on low nearby provides enough airflow to prevent it.
Troubleshooting Table
| Symptom | Likely Cause | Fix |
|---|---|---|
| Soft, brown base | Rot from overwatering or skipped callusing | Re-cut above the rot, re-callus, replant in fresh dry mix |
| Wrinkled, shriveling segments | Underwatering or too much direct sun | Move to shade, mist more frequently |
| No roots after 10+ weeks | Wrong timing, too cold, or medium too wet | Check soil temp, adjust moisture, consider re-cutting |
| Yellow segments | pH above 7.0 or overwatering | Test and adjust medium pH; reduce watering |
Caring for Newly Rooted Cuttings
Transplanting
Once roots reach 1–2 cm — confirmed by that gentle tug resistance — move the cutting into a slightly richer but still well-draining mix. A good transition blend is 60% quality potting soil and 40% perlite, with pH kept between 5.5–6.5. Handle the roots carefully; they’re still fragile at this stage.
Fertilizing
Start fertilizing about four weeks after transplanting, once the plant is visibly growing. Use a balanced 20-20-20 water-soluble fertilizer monthly from spring through summer. In fall, switch to a low-nitrogen formula (such as 5-10-5) to encourage blooming rather than leafy growth.
Encouraging Your First Bloom
Plants rooted in summer are typically well-established enough to attempt bloom induction that same autumn. Starting in late September or October:
- Provide 12–14 hours of complete, uninterrupted darkness every night — even brief light exposure can reset the process.
- Keep nighttime temperatures at 50–60°F (10–15.5°C).
- Maintain these conditions for 4–6 weeks.
Once buds are visible, move the plant back to its normal bright indirect light spot and resume regular watering.
Frequently Asked Questions
How long does it take Christmas cactus cuttings to root?
Under optimal conditions — 65–75°F, bright indirect light, appropriate moisture — most cuttings root in 3–8 weeks. Cuttings taken outside the summer window, or in cooler conditions, can take 8–12 weeks. Confirm rooting by gently tugging the cutting; resistance means roots have formed.
Can you propagate Christmas cactus in water?
Yes. Suspend the callused cutting so only the very base touches water, and change the water every 3–4 days to prevent bacterial buildup. Transfer to soil once roots reach 1–2 cm — water-adapted roots struggle to transition if you wait longer. Water propagation tends to be slightly slower than rooting in perlite.
Should I use rooting hormone on Christmas cactus cuttings?
It’s optional, not essential. A low-concentration IBA powder or gel (0.1–0.3%) applied to the callused cut end can reduce rooting time by 1–2 weeks. If you’re propagating a rare or sentimental cultivar where every cutting counts, the small extra step is worth it.
How many cuttings can I take from one plant?
As many as the one-third rule allows: never remove more than one-third of the mother plant’s total stem mass in a single season. A large, mature plant could easily yield 20–30 cuttings while staying well within that limit. Give the mother plant time to recover and resume fertilization before taking another round.
Can old or woody Christmas cactus stems be propagated?
Old, lignified stems root poorly and aren’t worth the effort. Always select green, flexible tip segments from the current or previous season’s growth — these have the highest carbohydrate reserves and the most active tissue for root initiation. If your plant is very old and mostly woody, focus on the green growth at the stem tips.