Quick Answer: The best time to repot a holiday cactus is late winter to early spring (February–April), right after blooms fade and before active summer growth begins. Repot every 2–3 years under normal conditions. If you’re dealing with root rot, severe pests, or a cracked pot, repot immediately — season doesn’t matter.
Whether you have a Thanksgiving cactus (Schlumbergera truncata), a Christmas cactus (S. × buckleyi), or an Easter cactus (Hatiora gaertneri), knowing when to repot a holiday cactus can mean the difference between a bloom-covered showpiece and a plant that slowly declines despite your best care. The timing rules are consistent across all three species, and they’re more nuanced than most houseplant guides suggest.
Why Repotting a Holiday Cactus Is Different
Holiday Cacti Are Epiphytes, Not Desert Plants
Despite the name, holiday cacti share nothing with a saguaro. In their native Brazilian cloud forests, they grow wedged into tree crotches and bark crevices, rooting into accumulated leaf litter, moss, and organic debris. Their roots are fine, fibrous, and built for a loose, airy environment — not dense soil.
That epiphytic lifestyle has a practical consequence: the potting medium breaks down faster than it would for a typical houseplant. As organic particles decompose and compact, air pockets collapse and root rot risk climbs sharply.
Why Being Root-Bound Helps Blooming
Here’s something most guides skip. Holiday cacti bloom more reliably when they’re slightly root-bound. A little root pressure, combined with the right light and temperature cues, helps trigger the photoperiod-driven blooming response. Jumping up more than two inches in pot diameter leaves too much wet medium around the roots — which invites rot and redirects the plant’s energy toward root production instead of flowers.
8 Signs Your Holiday Cactus Needs Repotting
1. Roots escaping drainage holes or circling the root ball. Roots poking out the bottom, or visibly circling when you slide the plant out, are the classic sign. You may also notice soil drying out within a day or two of watering, or new stem segments that seem stunted.
2. Compacted, degraded potting medium. When the mix breaks down into fine particles, the air-filled spaces roots depend on collapse. Water pools on the surface before it absorbs, the medium smells sour or musty, and the soil may have visibly shrunk from the pot walls. Most commercial mixes reach this point within 18–24 months.
3. Salt and mineral crust on soil or pot walls. A white or rust-colored crust on the soil surface or on the outside of a terracotta pot signals mineral buildup. Accumulated fertilizer salts raise the electrical conductivity of the medium, creating a physiological drought — roots can’t absorb water properly even when the soil is moist. Tip browning and yellowing older segments are common side effects.
4. Mushy roots or signs of root rot. If your plant wilts despite wet soil, or you catch a foul smell from the root zone, pull it out and check. Healthy roots are white to tan and firm. Brown-black, mushy roots signal rot — and this is an emergency. Don’t wait for spring.
5. Unexplained decline despite good care. Potting mixes have a finite capacity to hold nutrients. Once that’s depleted, even regular fertilizing won’t compensate. Pale segments, weak new growth, and poor bud production despite consistent care all point here.
6. Soil-dwelling pests. Tiny flies hovering around the soil are likely fungus gnats (Bradysia spp.), whose larvae chew on fine root hairs. White waxy residue on the roots suggests root mealybugs. Both are difficult to eliminate without replacing the growing medium entirely.
7. Cracked or broken pot. A structurally compromised pot needs replacing immediately. Roots can anchor into cracks and make removal traumatic if you wait.
8. Newly purchased plant in dense greenhouse media. Greenhouse mixes are optimized for rapid commercial production, not your living room. They’re often peat-heavy and moisture-retentive in ways that cause problems with typical home watering habits. Plan to repot after the current bloom cycle ends.
When to Repot Holiday Cactus: Timing by Season
The Ideal Window: Late Winter to Early Spring
February through April is the sweet spot. Blooms have finished, the plant is entering its active growing season, and roots recover quickly as new growth begins. This window applies to all three holiday cactus species under normal circumstances.
Repotting After Each Bloom Cycle
If your plant blooms outside the typical winter window — Easter cactus flowers March through May — the same principle applies: repot immediately after the last blooms drop. The calendar date matters less than where the plant is in its own cycle.
| Species | Bloom Period | Best Repotting Window |
|---|---|---|
| Thanksgiving cactus | October–November | December–February |
| Christmas cactus | December–January | February–March |
| Easter cactus | March–May | May–June |
When NOT to Repot: During Budding and Bloom
Repotting while buds are forming or flowers are open reliably triggers bud drop. Root disturbance causes transplant shock, and the plant responds by jettisoning its buds to conserve resources. If your plant is budded up, set the new pot aside and wait.
Emergency Repotting: Timing Rules Go Out the Window
Root rot, severe pest infestation, or a cracked pot override every timing guideline. Waiting for February when your plant has mushy black roots isn’t a strategy — it’s a death sentence. Repot immediately, treat the underlying problem, and focus on recovery.
How to Repot a Holiday Cactus: Step-by-Step
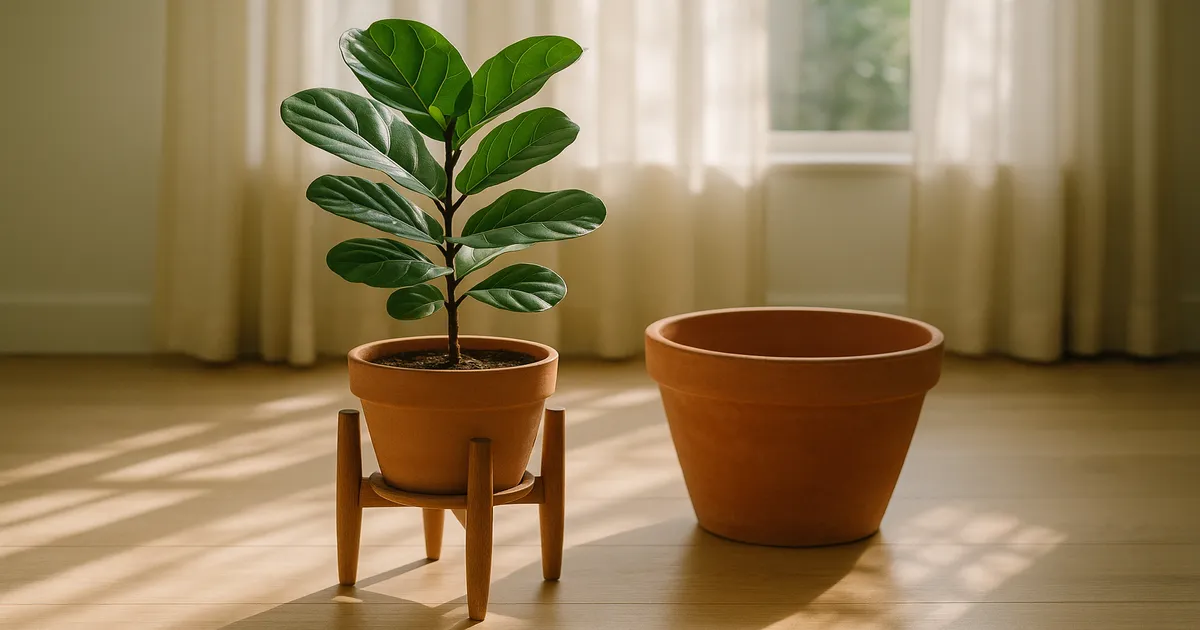
Choosing the Right Pot
Go up only 1–2 inches in diameter from the current pot. Unglazed terracotta is ideal — it breathes, regulates moisture, and helps prevent overwatering. Plastic retains moisture longer, which can work in very dry climates or for growers who tend to underwater. Glazed ceramic is fine with careful watering. Whatever you choose, drainage holes are non-negotiable.
The Best Soil Mix
Standard potting mix is too dense. Standard cactus mix is often too lean and dry for a cloud-forest epiphyte. You want something in between:
- 50% coarse orchid bark or perlite
- 25% standard potting mix or coco coir (Fox Farm Ocean Forest)
- 25% coarse horticultural sand or pumice
Target a pH of 5.5–6.5. If you’d rather buy than mix, a cactus/succulent blend amended with an extra 20–30% perlite works well.
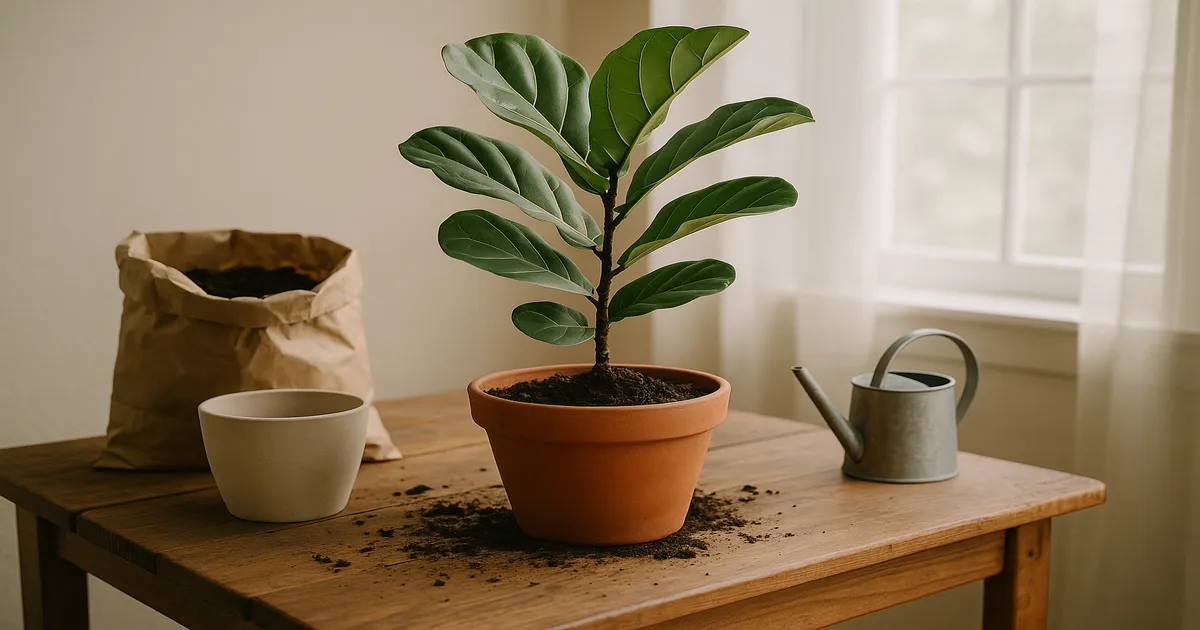
Step-by-Step Process
- Water 24–48 hours before repotting. Hydrated roots are more resilient and less likely to snap during handling.
- Prepare the new pot. Add a small layer of bark chips or coarse gravel over the drainage hole to keep medium from washing out — without blocking drainage.
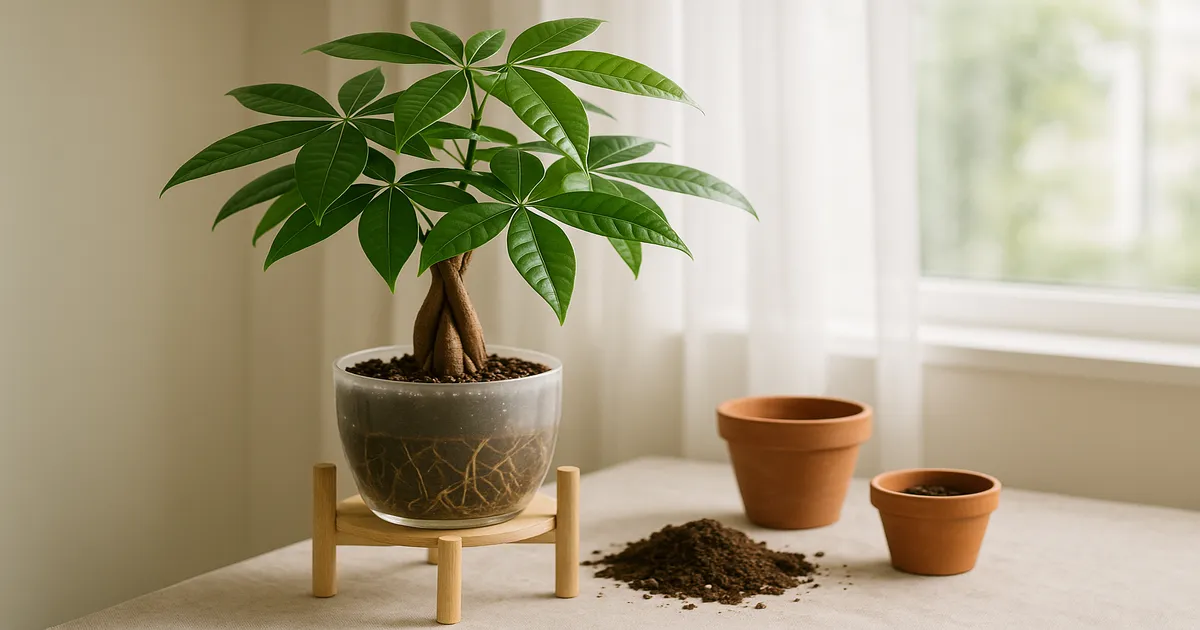
- Remove the plant gently. Tip the pot sideways and ease the root ball out. Never pull by the stem.
- Inspect and trim roots. Cut away dead, mushy, or tightly circling roots with sterile scissors. Dust cut surfaces with powdered sulfur or activated charcoal to discourage pathogens.
- Remove 30–50% of the old medium. Shake it loose gently — no need to strip roots bare unless treating rot.
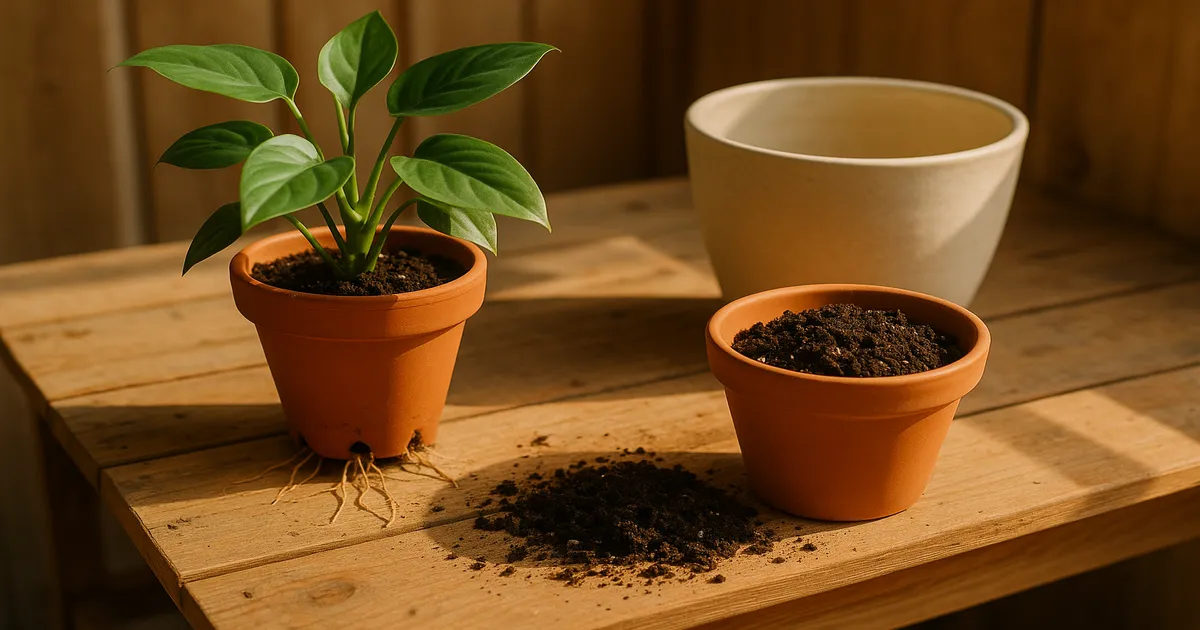
- Position in the new pot. The crown (where stems meet roots) should sit about ½–1 inch below the pot rim.
- Fill with fresh medium. Firm it gently around the roots to close air pockets, but don’t pack it hard.
- Water lightly. Just enough to settle the medium. Hold off on fertilizer for 4–6 weeks.
- Move to bright indirect light. Keep it out of direct sun for 2–3 weeks while roots establish.
Treating Root Rot During Repotting
Cut all affected roots back to healthy white tissue. Soak remaining roots for 10–15 minutes in a dilute hydrogen peroxide solution (3% hydrogen peroxide mixed 1:4 with water) to knock out surface pathogens. Let roots air-dry for a few hours, then repot into completely fresh, sterile medium. Working a biological fungicide containing Trichoderma spp. or Bacillus subtilis into the new medium adds a layer of preventive protection. (Trifecta Crop Control)
Handling Pest Infestations at Repotting Time
- Fungus gnats: Discard all old medium. Drench the new medium with a Bacillus thuringiensis israelensis (Bti) solution and set yellow sticky traps for adults. Let the soil surface dry completely between waterings going forward.
- Root mealybugs: Remove all old medium and rinse roots under lukewarm running water. Soak roots in a neem oil or insecticidal soap solution for 15 minutes before repotting into fresh medium.
Post-Repotting Care
Watering After Repotting
Water just enough to keep the medium from drying out completely — lightly moist, not saturated. Fresh medium retains more moisture than compacted old mix, so check before you water rather than going by a schedule. A soil moisture meter takes the guesswork out of this.
Light and Humidity
Place the plant in bright indirect light — think a few feet back from a bright east or west window, ideally 1,500–3,000 foot-candles. Avoid direct sun for the first 2–3 weeks; stressed roots can’t support a plant that’s also fighting sun scorch. Aim for 50–60% relative humidity, which mirrors the Brazilian cloud forest conditions these plants evolved in.
When to Resume Fertilizing
Wait 4–6 weeks before feeding. Once you resume, use a balanced water-soluble fertilizer (20-20-20) at half strength through spring and summer. In late August or September, switch to a low-nitrogen, high-phosphorus bloom booster — something like a 2-10-10 formula — to encourage bud set. Skip fertilizer during bloom and winter dormancy.
If Buds Drop After Repotting
Bud drop after repotting is transplant shock in action, and it’s temporary. The plant is redirecting resources to root recovery — a sensible survival response. Keep conditions stable: consistent light, no cold drafts, no dramatic temperature swings. Resist the urge to move the plant around or change your watering routine. It will rebloom next season.
Preventing Repotting Problems Before They Start
Water correctly. Water thoroughly when the top 1–2 inches of medium feel dry, and never let the plant sit in standing water. Every 2–3 months, flush the medium with plain water until it runs freely from the drainage holes, then discard the runoff. This leaches accumulated salts before they cause visible damage.
Top-dress annually. Between full repottings, replace the top 1–2 inches of growing medium with fresh mix each year. It’s a five-minute task that replenishes organic matter, improves surface drainage, and extends the time before a full repot is necessary.
Monitor soil pH. Holiday cacti want a pH of 5.5–6.5. If pH creeps above 7.0, amend with a dilute sulfur-based acidifier or switch to a more acidic water source. Watch for white crust on the soil surface — that’s your visual cue that salt buildup needs flushing now, not later.
Choose the right pot from the start. Always use a pot with drainage holes. If you love a decorative cachepot, use it as a sleeve around a plain nursery pot — and empty any water that collects in it within 30 minutes of watering. Resist the urge to give your plant “room to grow” with an oversized container. Snug is better for blooming.
Frequently Asked Questions
When should I repot a holiday cactus after buying it?
Wait until the current bloom cycle ends, then repot. Greenhouse growing mixes are peat-heavy and moisture-retentive in ways that cause problems with home watering habits, so transitioning to a better-draining mix soon after purchase is worthwhile — just don’t do it while the plant is flowering.
Can I repot a holiday cactus while it is blooming?
It’s strongly advisable not to. Repotting during bloom almost always triggers bud drop as the plant diverts resources to root recovery. Wait until the last flower fades, then repot. The only exception is a genuine emergency — root rot or a broken pot — where waiting would cause more damage than the transplant stress.
What size pot does a holiday cactus need?
Choose a pot only 1–2 inches larger in diameter than the current one. Holiday cacti bloom more reliably when slightly root-bound, and oversized pots hold excess moisture that dramatically increases rot risk. When in doubt, go smaller rather than larger.
How long does it take a holiday cactus to recover from repotting?
Most holiday cacti settle in within 3–4 weeks when repotted at the right time with good technique. New stem segment growth is the clearest sign that recovery is underway. If you repotted during a stressful period or treated root rot, allow 6–8 weeks and keep conditions as stable as possible.
Should I use cactus soil for a holiday cactus?
Standard cactus mix alone isn’t quite right — it’s typically too lean and dry for an epiphyte that evolved in a humid cloud forest. Amend it by mixing in an extra 20–30% perlite and some coco coir or orchid bark. The DIY blend of 50% orchid bark or perlite, 25% potting mix, and 25% coarse sand or pumice hits the right balance of drainage and moisture retention.