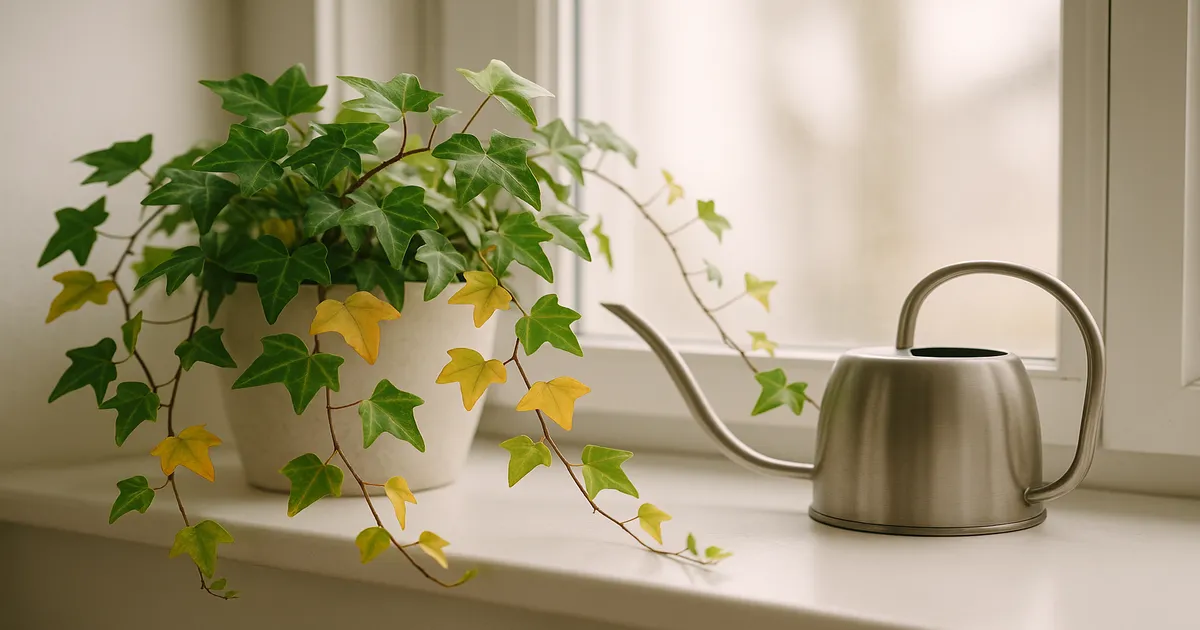
Quick Answer: The most common reason English ivy gets yellow leaves is overwatering and root rot, but improper light, nutrient deficiencies, spider mites, low humidity, and temperature stress can all trigger yellowing too. A few yellowing lower leaves is perfectly normal — widespread or rapid yellowing means something needs fixing. Pinpoint the cause by noting which leaves are affected and what the pattern looks like.
If you’ve been staring at your English ivy wondering “why does my English ivy have yellow leaves?”, you’re not alone — it’s one of the most common houseplant complaints. The good news is that ivy is resilient, and once you identify the cause, recovery is usually straightforward. The tricky part is that a dozen different problems can produce the same symptom, so you need to read the clues carefully.
Is Some Yellowing Normal?
Normal vs. Abnormal Yellowing: How to Tell the Difference
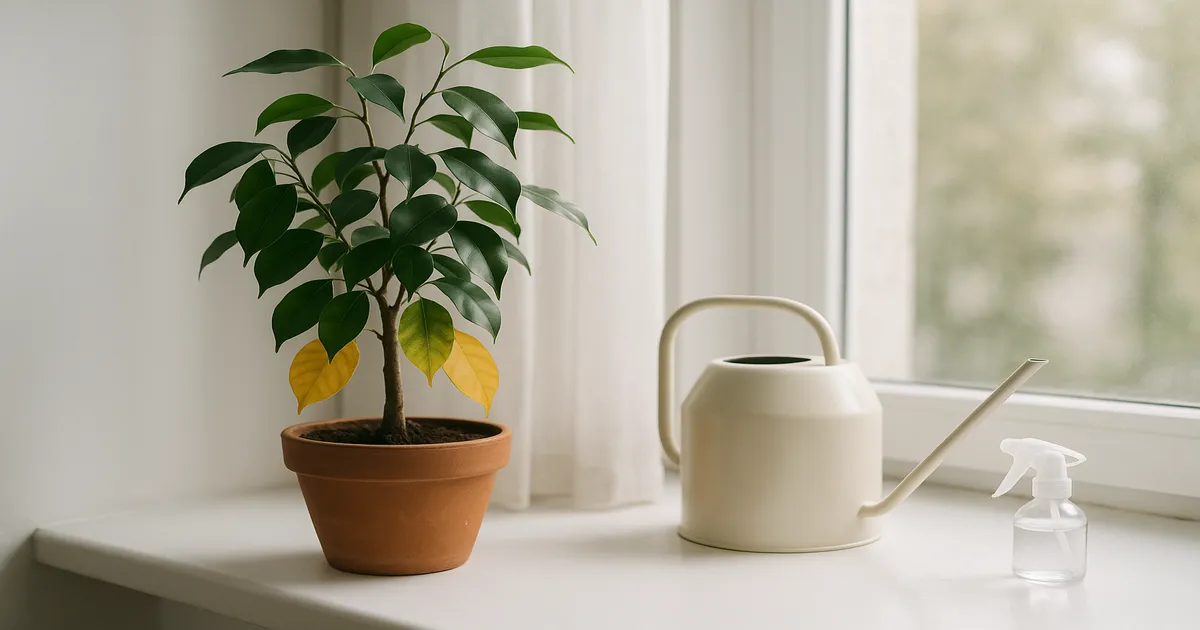
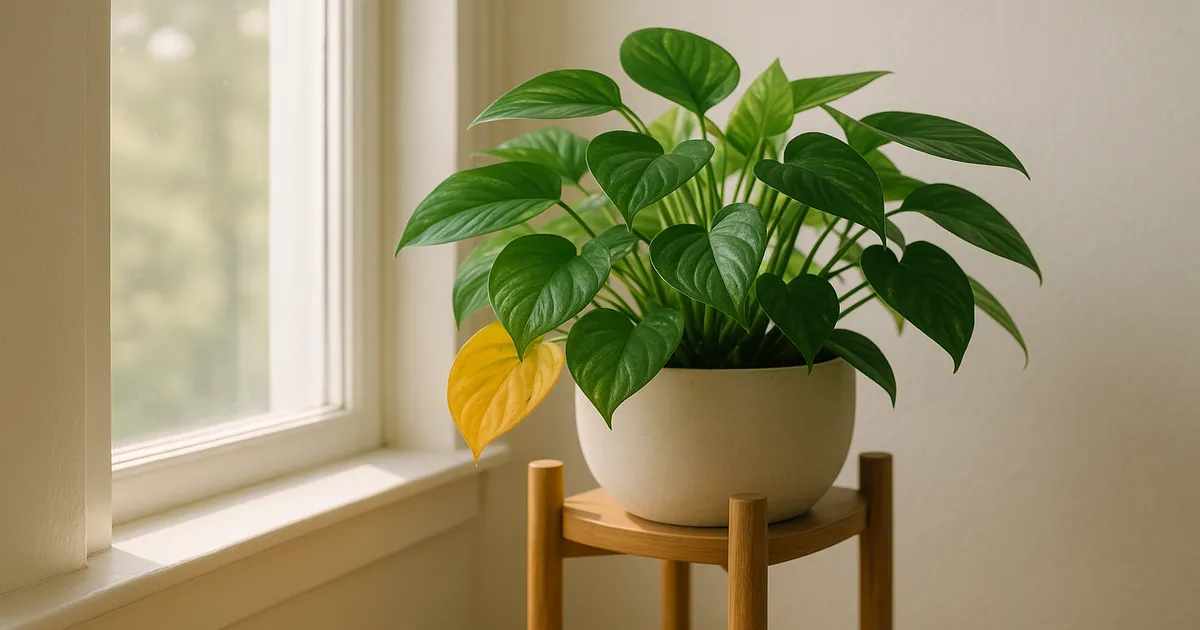
Losing a leaf here and there is completely normal. English ivy routinely sheds one to three of its oldest, innermost leaves at a time — a process called senescence, where the plant recycles nutrients from aging foliage to support new growth. If a small number of lower leaves quietly turn yellow and drop, that’s biology, not a crisis.
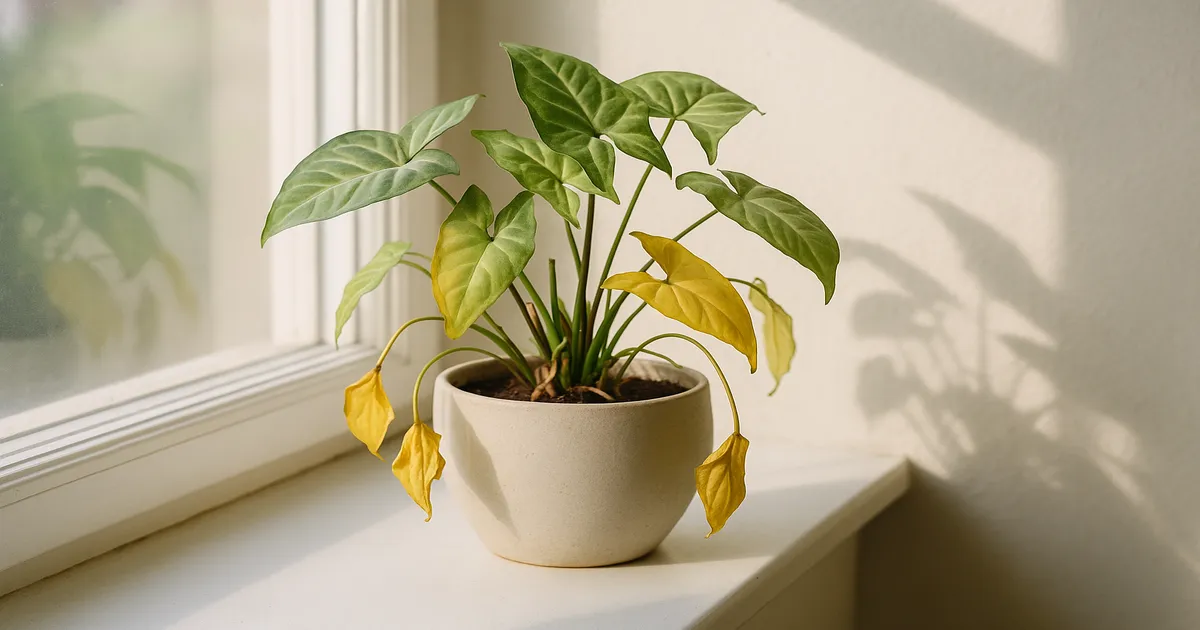
What isn’t normal: yellowing that spreads rapidly, affects younger or mid-stem leaves, or shows up in unusual patterns like striping between veins. Speed and location are your first diagnostic clues.
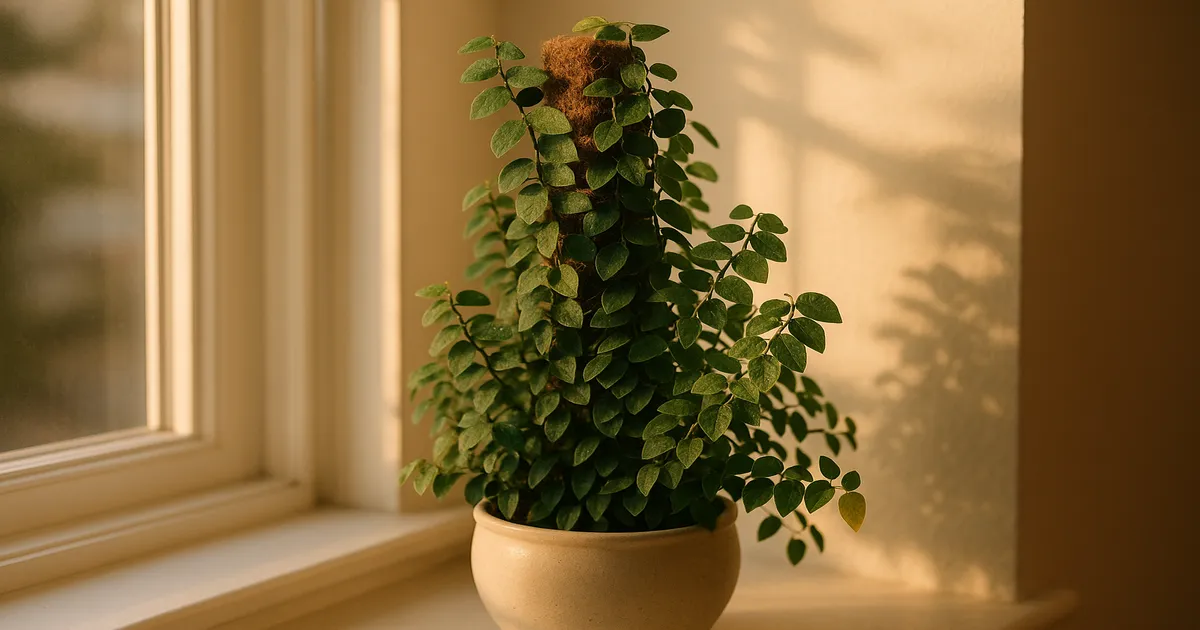
Healthy English ivy has deep, glossy leaves with three to five distinct lobes and often pale or silvery veining. Variegated cultivars like ‘Glacier’ and ‘Goldheart’ naturally have cream or gold sections with less chlorophyll, making them slightly more prone to yellowing under stress than solid-green varieties.
10 Common Causes of Yellow Leaves on English Ivy
Overwatering and Root Rot
This is the number-one culprit. When the root zone stays waterlogged, roots are deprived of oxygen and begin to die — and dead roots can’t deliver water or nutrients to leaves. The plant yellows from the bottom up, the soil may smell sour or sulfurous, and affected leaves often feel soft rather than crisp.
Pots without drainage holes and heavy, compacted soil make this dramatically worse. If your ivy is sitting in a saucer full of water, root rot is likely already underway.
Underwatering and Drought Stress
Drought stress looks deceptively similar to overwatering. When the root zone dries out completely, chlorophyll production breaks down and leaves yellow — but here they’ll also feel papery, curl inward, or develop crispy brown tips. The soil will be bone dry and may be pulling away from the pot edges. English ivy wants consistently moist (never soggy) soil, not the forget-and-flood cycle.
Too Little or Too Much Light
In low light (below roughly 200 foot-candles), the plant can’t photosynthesize efficiently, producing uniform pale yellowing across the whole plant, often paired with thin, leggy new growth. Too much intense direct sun bleaches chlorophyll through photooxidation, leaving washed-out or scorched patches — especially on south- or west-facing leaves.
Bright indirect light (1,500–3,000 foot-candles) is the sweet spot. Think a few feet back from a bright window, not on the sill in full afternoon sun.
Nutrient Deficiencies (Nitrogen, Iron, Magnesium)
Nitrogen deficiency is the most common: yellowing starts with older, lower leaves first, as the plant pulls nitrogen from aging tissue to feed new growth. Iron deficiency produces interveinal chlorosis — the leaf turns yellow while the veins stay green — and is usually caused by soil pH above 7.0 locking iron into insoluble forms. Magnesium deficiency looks similar but tends to appear on older leaves, since magnesium is a central atom in the chlorophyll molecule. The pattern of which leaves are affected, and whether veins stay green, is key to telling these apart.
Spider Mites and Other Pests
Spider mites are the biggest pest threat to indoor ivy. They pierce leaf cells and extract chlorophyll, leaving a characteristic stippled or speckled yellowing — look for fine webbing on leaf undersides and tiny moving dots under a magnifying glass. They thrive in hot, dry conditions, which is why populations explode in winter when central heating drops indoor humidity.
Other sap-suckers — aphids, scale insects, and mealybugs — also cause yellowing, often accompanied by sticky honeydew residue on leaves and stems.
Temperature Stress and Cold Drafts
English ivy is happiest between 50–75°F (10–24°C). Cold drafts from windows, air conditioning vents, or exterior doors cause localized chilling injury — cell membranes rupture, and the leaves nearest the cold source turn yellow, then brown. Sustained heat above 80°F (27°C) accelerates moisture loss and can trigger yellowing when combined with low humidity. If yellowing is concentrated on one side of the plant near a window or vent, temperature stress is a strong suspect.
Low Humidity
Indoor air — especially in winter with central heating running — often drops to 20–30% relative humidity. English ivy prefers 40–60%. Low humidity causes water stress and creates the exact conditions spider mites love. Leaves may yellow at the margins before browning and crisping at the edges. This cause is easy to overlook because the soil might look fine while the air around the plant is far too dry.
Root-Bound Conditions
When roots have filled every inch of the pot, they can no longer access adequate water or nutrients — even if you’re watering and fertilizing correctly. Compacted roots also become oxygen-deprived, mimicking overwatering symptoms. Signs include yellowing paired with stunted growth, roots circling the pot or escaping from drainage holes, and soil that dries out unusually fast after watering.
Transplant Shock After Repotting
Temporary yellowing of a few lower leaves within two to four weeks of repotting is normal. Moving ivy disrupts the root system, and the plant temporarily redirects resources while it re-establishes. As long as new growth looks healthy and the yellowing is limited to older leaves, there’s nothing to worry about.
Soil pH Imbalance
English ivy needs a soil pH of 6.0–7.0. Below 6.0, manganese and aluminum can reach toxic levels and damage roots. Above 7.0, iron, manganese, and other micronutrients become chemically unavailable even if they’re present in the soil. Hard tap water gradually raises soil pH over time — a slow-moving cause that catches many growers off guard.
How to Diagnose Why Your English Ivy Has Yellow Leaves
Reading the Pattern: Which Leaves Are Yellow?
The location and pattern of yellowing is your most useful diagnostic tool:
- Lower/older leaves yellowing uniformly → overwatering or nitrogen deficiency
- Interveinal yellowing (yellow leaf, green veins) → iron or magnesium deficiency; check soil pH
- Stippled or speckled yellowing with fine webbing → spider mites
- Uniform pale yellowing across the whole plant + leggy growth → insufficient light
- Yellowing concentrated near a window or vent → cold draft or temperature stress
- Yellowing + crispy tips + bone-dry soil → underwatering
Checking Soil Moisture and Roots
Push your finger 1–2 inches into the soil. Still damp? Hold off watering. Bone dry? Water thoroughly. A soil moisture meter takes the guesswork out — aim for a reading of 3–4 on a 1–10 scale before watering.
If you suspect root rot, unpot the plant and inspect the roots directly. Healthy roots are white or tan and firm. Rotted roots are brown or black, mushy, and may smell foul.
Inspecting for Pests
Take the plant to a bright light and examine the undersides of leaves with a magnifying glass or hand lens. Look for fine webbing (spider mites), tiny moving specks, cottony white masses (mealybugs), or sticky residue (aphids, scale). A quick check every week or two means you catch infestations before they spiral.
Assessing Light and Environment
A free lux meter app on your phone gives a reasonable estimate of light levels — aim for the equivalent of 1,500–3,000 foot-candles. Also note proximity to vents, radiators, and drafty windows, and use a hygrometer to check humidity. These simple tools remove a lot of guesswork.
How to Fix Yellow Leaves on English Ivy
Fixing Overwatering and Root Rot
- Unpot the plant and brush away old soil.
- Trim any roots that are brown, black, or mushy with sterile scissors. Dust cut ends with cinnamon or powdered sulfur as a natural antifungal.
- Repot into fresh, well-draining mix: standard potting soil blended with 30–40% perlite. A quality bagged mix works well as a base.
- Choose a terracotta pot with drainage holes — terracotta wicks away excess moisture through its walls.
- Water only when the top 1–2 inches of soil are dry. Never leave water sitting in the saucer for more than 30 minutes.
Correcting Underwatering
For severely dry, hydrophobic soil, bottom-watering works better than pouring from the top. Set the pot in a basin of room-temperature water for 20–30 minutes and let the soil absorb moisture from below, then drain completely. Going forward, check soil moisture every 3–5 days in summer and every 7–10 days in winter rather than watering on a fixed schedule.
Improving Light Conditions
Move your ivy to within 3–5 feet of an east- or north-facing window for steady bright indirect light. If natural light is limited, a full-spectrum LED grow light positioned 6–12 inches above the plant for 12–14 hours a day is an excellent substitute. Rotate the plant a quarter turn every few months so all sides receive even exposure.
Treating Nutrient Deficiencies
- General deficiency: Feed with a balanced 20-20-20 water-soluble fertilizer at half the recommended strength every 2–4 weeks during spring and summer. (Jack’s Classic All Purpose 20-20-20)
- Nitrogen deficiency: Switch to a fertilizer with a higher first number (e.g., 5-1-1 fish emulsion).
- Iron deficiency / interveinal chlorosis: Apply chelated iron as a soil drench or foliar spray, and test your soil pH.
- Magnesium deficiency: Dissolve 1 teaspoon of Epsom salt per gallon of water and apply as a soil drench or foliar spray once monthly.
Stop fertilizing in fall and winter — unused salts accumulate and stress roots.
Eliminating Spider Mites and Other Pests
Spray the entire plant — especially leaf undersides — with insecticidal soap solution (2 teaspoons per quart of water) or a 2% neem oil solution. Repeat every 5–7 days for three to four treatment cycles to break the full egg-to-adult lifecycle. For scale, dab with a cotton swab soaked in 70% isopropyl alcohol before following up with neem oil. Boosting humidity immediately also helps — spider mites hate it.
Managing Temperature and Humidity
Move the plant away from cold drafts, air conditioning vents, and radiators. Keep ambient temperature between 55–75°F (13–24°C). For humidity, a cool-mist ultrasonic humidifier targeting 40–60% relative humidity is the most effective long-term solution — misting leaves is only a temporary fix and can promote fungal disease. Grouping plants together or placing pots on a pebble tray (with the pot sitting above the waterline) also helps.
Preventing Yellow Leaves on English Ivy
A few consistent habits go a long way:
- Water by feel, not schedule. Check the top 1–2 inches of soil before every watering. Use room-temperature water; cold water can shock roots, and tap water benefits from sitting overnight to allow chlorine to off-gas.
- Get the soil right. A mix of quality potting soil with 30–40% perlite and a small amount of coarse orchid bark keeps roots healthy and well-aerated. Test soil pH once a year, especially if you use hard tap water.
- Keep light consistent. Bright indirect light year-round is the single biggest factor in keeping ivy leaves healthy and green. Rotate the plant quarterly for even exposure.
- Fertilize only in the growing season. Feed every 2–4 weeks in spring and summer; nothing in fall or winter.
- Quarantine new plants. Keep new additions away from your existing collection for two to four weeks. Inspect leaf undersides weekly, and maintain humidity above 40% as a first line of defense against spider mites.
- Repot every 1–2 years, or when roots are visibly circling the pot or escaping drainage holes.
English Ivy Care Cheat Sheet
| Parameter | Ideal Range |
|---|---|
| Light | Bright indirect (1,500–3,000 foot-candles) |
| Water | When top 1–2 inches of soil are dry |
| Soil pH | 6.0–7.0 |
| Temperature | 50–75°F (10–24°C) |
| Humidity | 40–60% |
| Fertiliser | Balanced (20-20-20), half-strength, every 2–4 weeks in spring–summer only |
| Repotting | Every 1–2 years, or when root-bound |
⚠️ Toxicity warning: English ivy is toxic to humans, cats, and dogs if ingested. The sap can also cause contact dermatitis — wear gloves when pruning or repotting.
Frequently Asked Questions: Why Does My English Ivy Have Yellow Leaves?
Should I remove yellow leaves from English ivy?
Yes. Remove leaves once they’re fully yellow or more than half discolored — they won’t recover, and leaving them on can invite fungal disease. Use clean scissors or pinch them off at the stem. Removing them also gives you a clearer view of whether the problem is progressing or resolving.
Can yellow English ivy leaves turn green again?
Generally, no. Once a leaf has yellowed significantly, the chlorophyll is gone and it won’t regreen. The exception is very mild, early-stage yellowing caused by a temporary nutrient deficiency or light issue — correct the problem quickly and partially affected leaves may partially recover. Your focus should be on stopping the spread and ensuring new growth comes in healthy.
How often should I water English ivy to prevent yellow leaves?
There’s no single schedule — it depends on pot size, soil mix, humidity, and season. Check the top 1–2 inches of soil before every watering and water only when that layer is dry. In practice, this often works out to every 5–7 days in summer and every 10–14 days in winter, but always let the soil guide you rather than the calendar.
Why are my English ivy leaves turning yellow and falling off?
Rapid yellowing followed by leaf drop usually points to overwatering and root rot, severe underwatering, or a significant pest infestation — all of which create enough stress to trigger accelerated leaf loss. Check soil moisture and root health first, then inspect for pests. If the plant is losing leaves quickly, act fast: unpot, inspect the roots, and address the underlying cause immediately.
Why does my English ivy have yellow leaves despite regular watering?
“Regular watering” is often the problem, not the solution. Watering on a fixed schedule without checking soil moisture leads to overwatering in cooler months and underwatering in summer. Yellow leaves despite consistent watering can also indicate root rot (roots can’t deliver water even if the soil is moist), nutrient deficiency, low light, low humidity, or a pest infestation. Check the roots, assess light levels, and look for pests before assuming it’s a watering issue.