Quick Answer: A moss pole does not directly cause root rot. The real danger is indirect — a saturated pole combined with poor drainage, overwatering, or a dense potting mix can push moisture levels into the danger zone where rot-causing pathogens thrive. Get those three variables right and your moss pole is completely safe.
If you’ve ever stared at a yellowing Monstera and wondered, will this moss pole cause root rot? — you’re not alone. It’s a reasonable concern. Moss poles are designed to stay moist, and root rot loves moisture. But the relationship between the two is more nuanced than it first appears, and understanding it will make you a much better grower.
Will a Moss Pole Cause Root Rot? The Direct Answer
No. A moss pole is an inert support structure. It cannot, on its own, rot your plant’s roots. Root rot is caused by specific pathogens — primarily Pythium and Phytophthora (water molds), plus Fusarium and Rhizoctonia — that thrive when soil oxygen drops below roughly 10% by volume. The pole doesn’t create that condition by itself.
The danger is in how a saturated pole interacts with everything else in the pot. When a heavily soaked moss pole sits inside a dense, poorly draining substrate in an oversized container under dim light, the whole system stays wet far too long. That’s when anaerobic pockets form, pathogens mobilize, and roots begin to break down. The sections below cover every link in that chain.
What Is a Moss Pole and How Does It Affect Moisture?
A moss pole is a vertical support — usually a PVC pipe, wooden dowel, or wire mesh core — wrapped in sphagnum moss or coco coir fiber. Its job is to mimic the bark of a tree trunk, giving climbing tropical plants a moist, textured surface to attach aerial roots to.
Sphagnum vs. coco coir: Sphagnum moss has hollow hyaline cells that can absorb 16–26 times their dry weight in water, so a fully saturated sphagnum pole holds a significant moisture reservoir right at the center of your pot. Coco coir dries slightly faster in most conditions, but it still contributes meaningful moisture to the surrounding environment. Neither material is inherently dangerous — the question is always how that moisture interacts with the rest of your setup.
How aerial roots respond: Aerial roots are coated in velamen radicum, a spongy multi-layered tissue that rapidly absorbs surface moisture and then dries out without damage. Soil roots have no such adaptation. They need oxygen in the rhizosphere to function, and prolonged saturation suffocates them. Misting a moss pole feeds the aerial roots, which are built to handle it. The problem arises when misting water runs down the pole and into the potting mix, where soil roots are far less forgiving.
Which plants use moss poles: The species most commonly paired with moss poles are climbing or hemi-epiphytic aroids — Monstera deliciosa, M. adansonii, Philodendron melanochrysum, P. verrucosum, Epipremnum aureum, Rhaphidophora tetrasperma, and Scindapsus pictus. In their native habitats across Southeast Asia and Central America, these plants grow up tree trunks in warm, humid conditions with excellent drainage. Their roots never sit in waterlogged soil.
7 Ways a Moss Pole Setup Can Contribute to Root Rot
1. Overwatering Combined With a Saturated Pole
When you water the substrate while the moss pole is already fully saturated, the combined moisture load can push soil past field capacity — the point at which gravity can no longer drain the excess. Anaerobic pockets form, and Pythium and Phytophthora release motile zoospores that swim through saturated pore spaces directly to root tissue. The result is brown, mushy, sulfur-smelling roots.
2. Poor Drainage and Dense Potting Mix
Every container has a perched water table — a zone of permanently saturated substrate at the bottom that never fully drains, regardless of how many drainage holes you have. This zone sits higher in smaller pots, reducing usable root space. A pot without drainage holes makes this catastrophic. Standard commercial potting mixes compound the problem: they’re designed for vegetables and bedding plants, not aroids. A good aroid mix needs macroporosity above 30% — meaning more than a third of its volume should be large air pores. When a moss pole adds moisture to a dense, low-porosity substrate, that water has nowhere to go and the critical 24–48 hour drying window most aroids tolerate is easily blown past.
3. Misting Runoff Entering the Substrate
Daily misting of a moss pole is good practice — unless the water runs down the pole and into the soil. Each misting event adds water to the system. If the substrate hasn’t dried adequately from the last watering, cumulative runoff keeps the root zone perpetually wet. It’s a slow-motion overwatering problem that’s easy to miss.
4. Overpotting
Roots absorb water from the soil immediately around them. Excess substrate in an oversized pot stays wet for weeks because no roots are pulling moisture from it. Pot diameter should be no more than 1–2 inches larger than the current root ball. Add a moist moss pole to an oversized pot and you’ve created a high-humidity microenvironment the roots simply can’t manage.
5. Low Light Slowing Transpiration
Below 200 foot-candles, stomata stay mostly closed, transpiration slows dramatically, and the plant takes up far less water. A pot that dries in 7 days under bright indirect light (1,500–3,000 foot-candles) might take 14–21 days to dry in a dim corner. A moist moss pole in that same dim corner adds ambient humidity that slows surface evaporation further.
6. Cold Temperatures Weakening Root Metabolism
Root metabolism slows significantly below 60°F (15°C). Roots become less efficient at absorbing water and oxygen, leaving them vulnerable to pathogen attack even in moderately moist — not waterlogged — conditions. A damp moss pole against a cold exterior wall in winter creates a cold, wet microclimate at the stem base that Phytophthora and Fusarium find ideal.
7. Pathogens Introduced via Unsterilized Moss
Commercially harvested sphagnum is generally low-risk, but field-collected or unsterilized moss can harbor Pythium, Phytophthora, and fungus gnat eggs (Bradysia spp.). Fungus gnat larvae feed on root hairs and create entry wounds for secondary infections — effectively triggering root rot even in a well-draining setup. Recycled poles from previously infected plants can carry dormant pathogen spores for months.
Signs Your Plant Has Root Rot
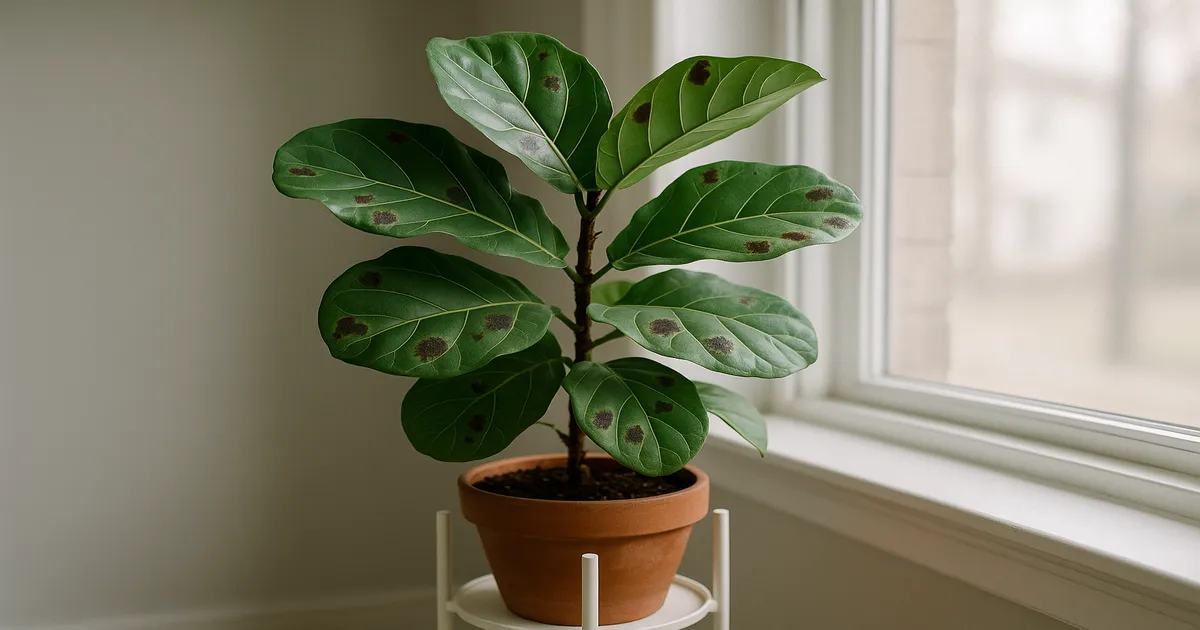
Yellowing leaves that don’t respond to watering, wilting despite moist soil, and stunted growth are the first warning signs. A mushy, darkened stem base is more serious. If the plant looks thirsty but the soil is wet, suspect root rot immediately.
Unpot and rinse the roots to confirm. Healthy roots are white or light tan and firm. Rotting roots are brown or black, mushy, and emit a sulfurous odor — that smell comes from anaerobic bacteria decomposing organic matter. When you rinse them, the mushy tissue slides off easily, sometimes leaving just a thread-like strand of vascular tissue behind.
Stem rot vs. root rot: Root rot originates underground and works upward. Stem rot (basal rot) appears as a soft, dark, water-soaked area at the soil line or where the pole contacts the stem — and it can occur even when the roots themselves are still healthy. If you see stem softening near the pole but firm roots below, you’re dealing with stem rot, not root rot. The treatments overlap, but the source is different.
How to Fix Root Rot: Step-by-Step
1. Unpot carefully. Water lightly 24 hours before unpotting — slightly moist soil releases roots more gently than bone-dry. Tip the pot sideways and ease the root ball out without pulling the stem. Rinse roots under lukewarm water until you can see them clearly.
2. Trim and treat. Sterilize scissors with 70% isopropyl alcohol before you start and between every cut. Remove all brown, mushy, or hollow roots back to healthy, firm tissue. Dust cut ends with powdered cinnamon (a mild antifungal) or a sulfur-based fungicide powder. Allow roots to air-dry for 20–30 minutes before repotting.
3. Repot into the right mix. Use a chunky aroid mix — approximately 40% medium orchid bark, 20% coarse perlite, 20% coco coir, 10% pumice, and 10% horticultural charcoal. Choose a terracotta pot with drainage holes that is only 1–2 inches larger than the trimmed root ball. Terracotta dries 20–30% faster than plastic or glazed ceramic, giving recovering roots the breathing room they need.
4. Handle the pole. Never reuse moss material from an infected plant — pathogen spores can persist in it for months. Discard the old moss, sterilize the core with a 10% bleach solution, and re-wrap with fresh, sterilized sphagnum. If the core is wooden and shows any discoloration or soft spots, replace it entirely.
How to Use a Moss Pole Without Causing Root Rot
Use the right potting mix. The single most protective step is a genuinely chunky, fast-draining aroid mix (ratios above). Dense, peat-heavy mixes and moss poles are a bad combination. Aim for macroporosity above 30% and a pH of 5.5–6.5. A pre-blended option like Bonsai Jack Aroid Potting Mix hits these targets reliably.
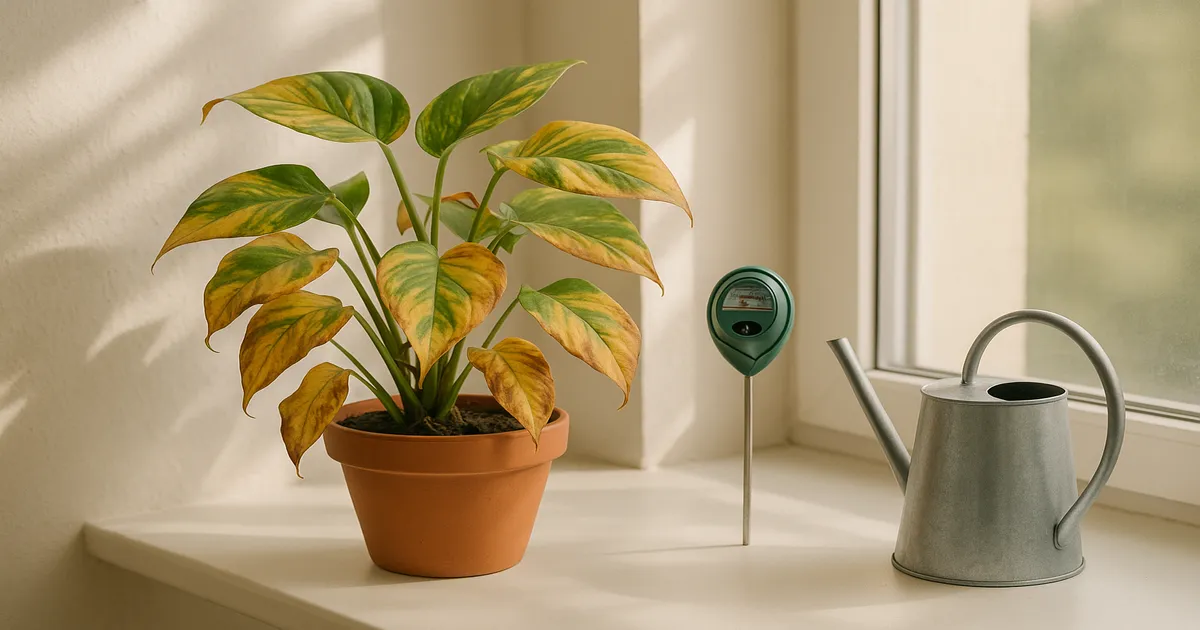
Treat the pole and soil as separate systems. Water the substrate only when the top 1–2 inches of soil are dry and the pot feels noticeably lighter — the “lift test.” A capacitance-type soil moisture meter is even more reliable; wait until it reads 3–4 on a 1–10 scale before rewatering. Mist only the upper two-thirds of the pole with a narrow-nozzle spray bottle, keeping the nozzle away from the soil surface.
Get the light and temperature right. Aim for bright indirect light — 1,500–3,000 foot-candles, typically within 3–5 feet of a south- or east-facing window. In lower light, reduce watering frequency to compensate for slower drying. Keep temperatures between 65–85°F (18–29°C) and never let the root zone drop below 60°F. In winter, move plants away from cold windows; a seedling heat mat set to 70–75°F can protect roots during cold months.
Pre-hydrate new poles correctly. Soak the pole thoroughly, then wring or squeeze out the excess until the moss feels damp like a wrung-out sponge — roughly 60% moisture content. It should not drip when held. Starting with a properly hydrated (not saturated) pole dramatically reduces the moisture load introduced to the pot at setup.
Sterilize sphagnum before use. Soak loose sphagnum in boiling water for 10 minutes. This kills Pythium, Phytophthora, fungus gnat eggs, and most other pathogens without damaging the moss structure. Let it cool completely, then wring to the correct moisture level before wrapping your pole.
Control fungus gnats. Fungus gnats thrive around moist moss poles, and their larvae damage roots directly, opening the door to secondary infections. Apply Bacillus thuringiensis var. israelensis (Bti) as a soil drench — a biological larvicide that kills larvae without harming plants or beneficial organisms. Place yellow sticky traps near the pot to monitor adults, and allow the top 2 inches of soil to dry completely between waterings to disrupt the larval life cycle.
Frequently Asked Questions
Can a moss pole cause root rot in an otherwise healthy setup?
Unlikely, but not impossible. In a well-draining chunky mix with correct watering habits, a moss pole poses very little risk. The danger only materializes when the pole’s moisture combines with other stressors — dense soil, poor drainage, low light, or overpotting. Fix those variables and the pole is safe.
Should I water my moss pole separately from the soil?
Yes. Treat them as two separate systems. Mist the upper two-thirds of the pole with a spray bottle, and water the substrate only when the top 1–2 inches of soil are dry and the pot feels light. This prevents the cumulative moisture buildup that leads to anaerobic conditions.
Is sphagnum moss or coco coir better for avoiding root rot?
Neither is inherently safer, but coco coir poles tend to dry slightly faster than sphagnum, which reduces the moisture contribution to the surrounding substrate. Sphagnum holds more water — up to 26 times its dry weight — which is excellent for aerial root development but requires more careful watering discipline. Both work well when paired with a chunky, fast-draining aroid mix.
How do I know if my Monstera has root rot from a moss pole setup?
Look for yellowing leaves, wilting despite moist soil, and a darkened or mushy stem base. Unpot the plant and check the roots — rotting roots are brown or black, soft, and smell sulfurous. Healthy roots are white or cream-colored and firm. If most roots are mushy, act immediately: trim, treat with cinnamon or fungicide powder, and repot in fresh, chunky substrate.
Can I reuse a moss pole after my plant had root rot?
Partially. Discard all moss material — pathogen spores can survive in it for months. You can sterilize a PVC or wire core with a 10% bleach solution and re-wrap it with fresh, sterilized sphagnum. Any wooden core showing softening or discoloration should be replaced entirely.