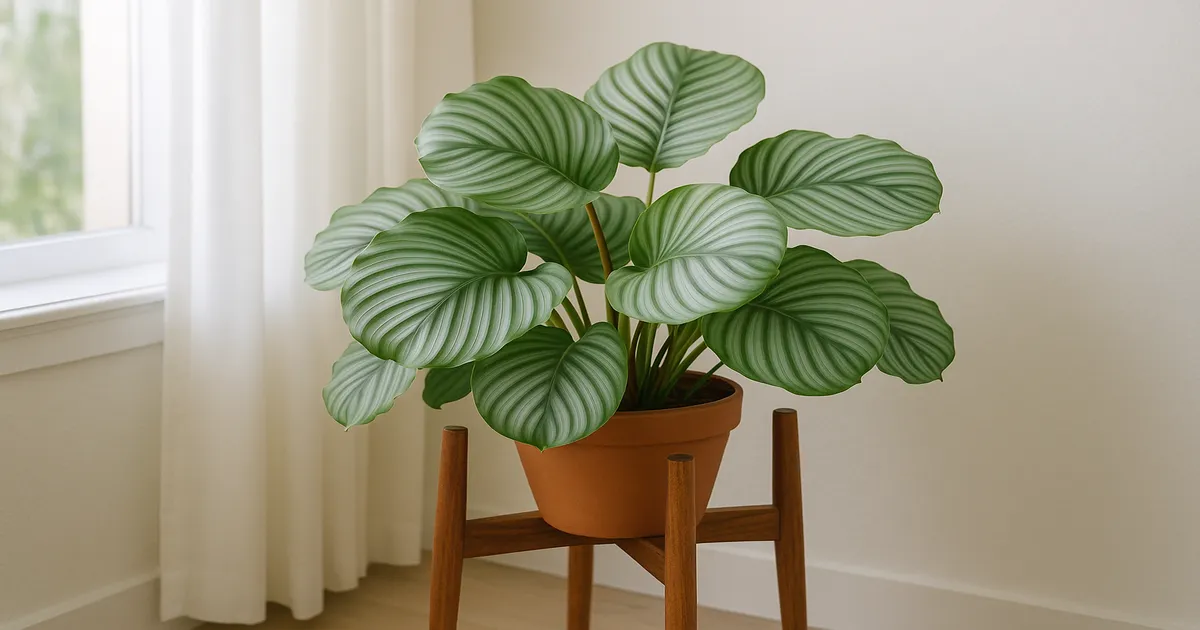
Quick Answer: Yes, you can almost certainly revive your Calathea Orbifolia — as long as the rhizome (the thick root base) is still firm and healthy, the plant has enough to work with. The most common culprits are overwatering, poor water quality, and low humidity. Expect to wait 4–8 weeks before you see meaningful new growth, and accept that existing damaged leaves won’t repair themselves — healthy new leaves are the real sign of success.
If you’re asking “can I revive my Calathea Orbifolia?” the honest answer is probably yes — but only if you diagnose the problem correctly first. Treating root rot the same way you’d treat drought stress will make things significantly worse. This guide walks you through identifying exactly what went wrong, fixing it properly, and keeping it from happening again.
Can You Revive a Calathea Orbifolia? How to Tell If It’s Still Salvageable
The rhizome is your lifeline. Unpot the plant and feel the thick, fleshy root base — if it’s firm and pale, you have a viable plant worth saving. If it’s entirely mushy, black, and foul-smelling all the way through, recovery is unlikely.
Even a plant with no remaining leaves can sometimes regrow from a healthy rhizome. Conversely, a plant that looks leafy but has completely rotted roots is in serious trouble. Always check the roots before deciding whether to treat or let go.
What Recovery Actually Looks Like
Recovery is slow and sometimes discouraging. For the first few weeks you may see no visible change — or even continued decline as the plant stabilises. The first real sign that things are turning around is usually a tightly rolled new leaf emerging from the centre of the plant.
Damaged leaves — brown tips, crispy edges, yellowed blades — will not heal. Trim them if they bother you, but don’t mistake their lack of improvement for failure. New, healthy growth is the only metric that matters.
Why Is My Calathea Orbifolia Struggling? The Most Common Causes
Overwatering and Root Rot
Overwatering is the number one killer of Calathea Orbifolia. When roots sit in waterlogged soil, opportunistic pathogens like Pythium and Phytophthora move in fast — sometimes destroying the root system within days. Watch for yellowing lower leaves, a sour smell from the soil, and stems that feel soft at the base.
Underwatering and Drought Stress
C. orbifolia has large, thin leaves with a high surface area, which means they lose moisture quickly. When underwatered, leaves curl inward along the midrib, edges turn crispy and brown, and the soil visibly pulls away from the pot edges. The leaves feel thin and papery rather than firm and slightly waxy.
Tap Water Quality: Fluoride and Chlorine Damage
This is the most underdiagnosed problem with Calatheas. Municipal tap water in the US is typically fluoridated to around 0.7 mg/L — enough to cause visible damage over time, because Calatheas accumulate fluoride in their leaf tissue rather than blocking it at the root. Chlorine and chloramine can also harm beneficial soil microbes and cause mild edge browning. Hard water (above 120 mg/L total dissolved solids) gradually raises soil pH, locking out micronutrients.
Too Much or Too Little Light
Direct sunlight — even just an hour or two — can bleach the plant’s distinctive silver stripe pattern and cause scorched brown patches in the centre of leaves. Too little light stalls growth and makes the soil dry more slowly, which quietly increases root rot risk. The sweet spot is bright indirect light, roughly 1,500–3,000 foot-candles (16,000–32,000 lux), typically found near a north- or east-facing window.
Low Humidity
Calathea Orbifolia evolved in the humid understory of Bolivian rainforests, where relative humidity regularly exceeds 70–90%. Most homes sit at 30–50% RH — and can drop to 20–25% in winter with central heating running. When ambient humidity is low, the vapour pressure deficit between the leaf interior and the surrounding air increases, pulling moisture out of leaf margins faster than the plant can replace it. The result is the familiar crispy brown edging.
Temperature Stress and Cold Drafts
The safe range is 18–27°C (65–80°F). Below 15°C (59°F), cellular damage begins; below 10°C (50°F), it can be fatal. Common culprits include air conditioning vents blowing directly on the plant, drafty windows in winter, and spots near exterior doors that open frequently.
Pest Infestations
Spider mites thrive in low humidity and leave fine webbing on leaf undersides. Fungus gnat larvae damage roots in overly moist soil. Mealybugs appear as white cottony masses in leaf axils. Any of these will compound whatever other stress your plant is already under, so check the undersides of leaves regularly.
Nutrient Deficiency or Fertiliser Burn
Uniform yellowing of older leaves suggests nitrogen deficiency. Yellow patches between the veins on new growth (interveinal chlorosis) usually points to iron or manganese deficiency — often caused by soil pH drifting above 7.0 rather than a true nutrient absence. Over-fertilising causes the opposite problem: salt buildup draws water out of root cells, causing tip and edge browning that mimics drought stress.
How to Read Your Plant: Symptom-to-Cause Diagnosis
Brown tips vs. brown edges: Fluoride tip burn starts precisely at the tip and works inward in a narrow V-shape — very defined and symmetrical. Low-humidity browning is messier, affecting the whole leaf margin irregularly and often appearing on multiple leaves at once. Fertiliser salt burn looks similar to humidity stress but is usually accompanied by white crusty deposits on the soil surface or pot rim.
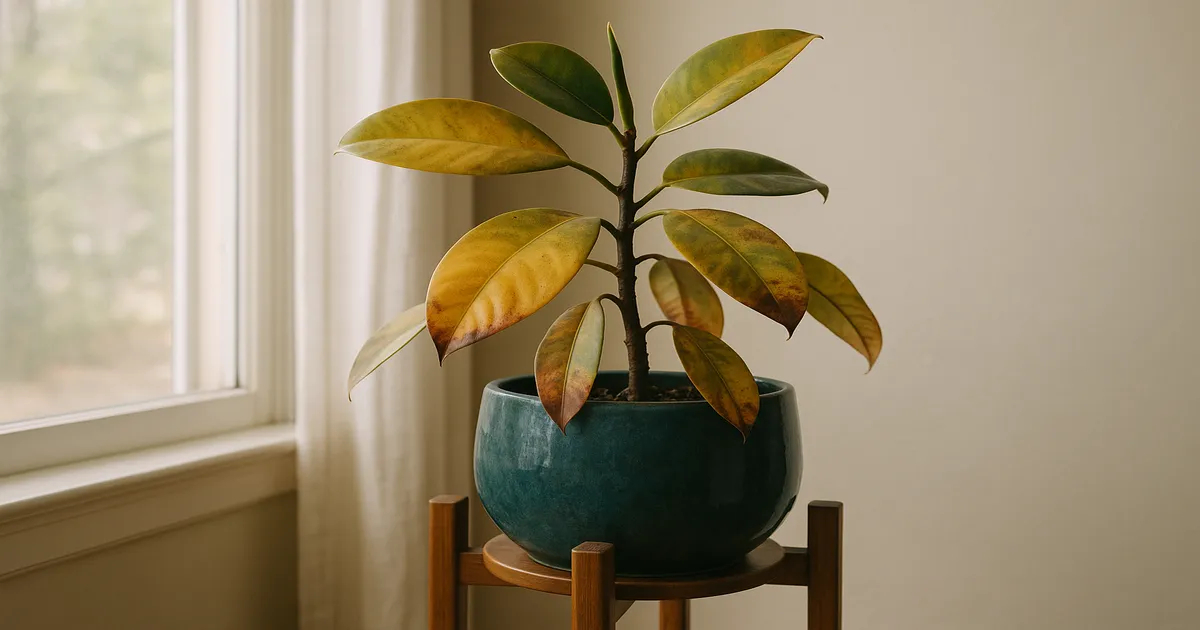
Yellow leaves: Yellow lower leaves that feel soft alongside soggy soil almost always point to overwatering. Yellowing across the whole plant with dry soil suggests underwatering or root damage so severe the plant can’t take up water. Uniform yellowing that starts on the oldest leaves and progresses upward — with otherwise healthy soil moisture — is a classic sign of nitrogen deficiency.
Curling leaves: Leaf curling along the midrib (rolling inward like a taco) is the plant’s emergency response to moisture loss. It happens with underwatering, very low humidity, or heat stress above 30°C (86°F). Check the soil first: if it’s dry, water immediately. If it’s moist, the problem is environmental — humidity or temperature.
Wilting despite moist soil: This is a root rot red flag. When roots are rotted, they physically cannot transport water to the leaves — so the plant wilts even though the soil is wet. If your plant is drooping and the soil is damp, unpot it immediately and inspect the roots. Don’t water again until you know what you’re dealing with.
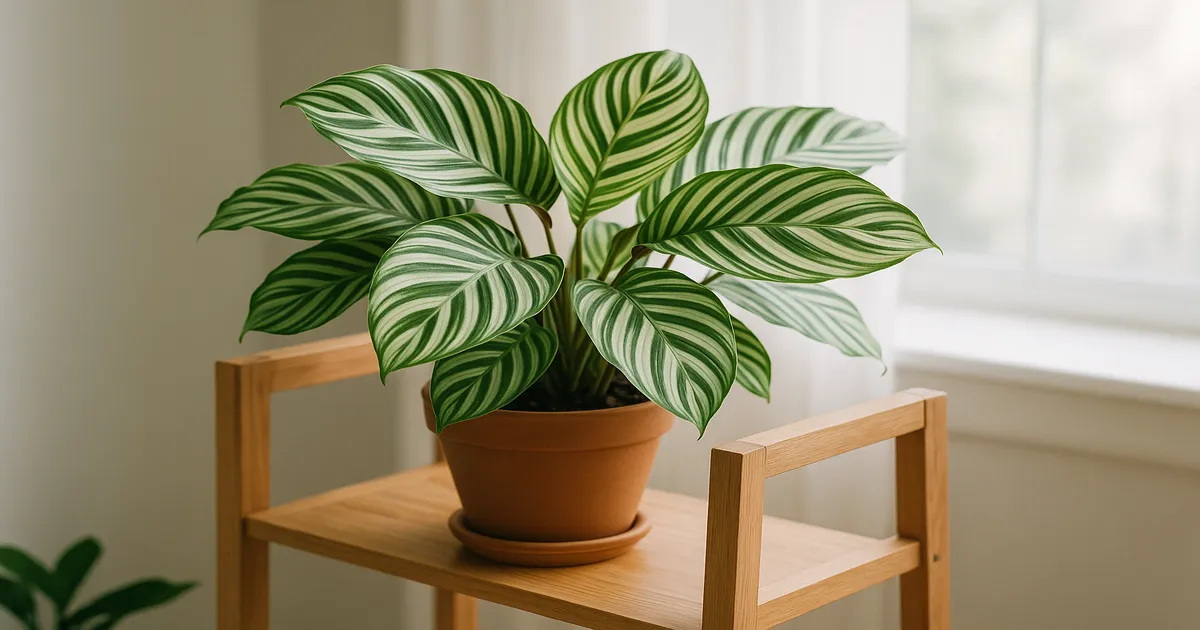
Faded or bleached stripe pattern: The silver stripes on C. orbifolia are created by light-reflecting air pockets between cell layers. When exposed to too much light, those cells are damaged and the pattern washes out. Brown patches in the middle of leaves (not just edges) confirm direct sun scorch.
How to Revive a Calathea Orbifolia with Root Rot: Step by Step
What You’ll Need
- Sterilised pruning scissors (cleaned with 70% isopropyl alcohol)
- Powdered cinnamon or a sulphur-based fungicide powder
- Fresh, well-draining potting mix
- A clean pot with drainage holes, 2–5 cm larger than the root ball
- A moisture meter to guide watering during recovery
Inspecting and Pruning Damaged Roots
- Gently remove the plant from its pot and shake off as much old soil as possible.
- Rinse the roots under room-temperature water to get a clear view.
- Healthy roots are white-to-tan and firm; rotted roots are brown or black, mushy, and smell sour or foul.
- Cut away all rotted material with sterilised scissors, cutting back to healthy white tissue. Sterilise the blades between each cut.
- Let the trimmed root system air-dry for 30–60 minutes in a warm spot out of direct sun.
The Best Soil Mix for Recovery
Standard potting mix alone retains too much moisture. A good recovery blend:
- 60% high-quality indoor potting mix (Fox Farm Ocean Forest)
- 20% perlite (for drainage and aeration)
- 20% orchid bark or coarse coco coir (to prevent compaction)
This drains freely while still holding enough moisture for roots to access. Target a slightly acidic pH of 6.0–6.5 — most quality potting mixes fall within this range, but you can confirm with an inexpensive soil pH meter.
Repotting and Aftercare
Dust the cut root ends with powdered cinnamon or a sulphur-based antifungal powder before repotting — both have demonstrated antifungal properties and help seal wounds against reinfection. Place the plant in its new pot, fill in with fresh soil, and water lightly — just enough to settle the mix, not to saturate it.
For the first 2–3 weeks, water sparingly. The reduced root system can’t absorb much, and soggy soil at this stage will restart the rot cycle. Keep the plant in a warm spot with bright indirect light and high humidity to reduce transpiration stress.
Once stable, drench the soil with a biological fungicide containing Bacillus subtilis or Trichoderma harzianum — these beneficial microorganisms colonise the root zone and actively suppress the pathogens that cause root rot. They won’t cure active rot, but they’re excellent insurance against recurrence.
Fixing Water Quality: The Hidden Cause of Persistent Brown Tips
Calatheas are fluoride accumulators. Their roots don’t efficiently block fluoride from entering the plant, so it travels up through the transpiration stream and concentrates in the leaf tips, where evaporation is highest. At those concentrations, fluoride disrupts enzymes in the Calvin cycle and damages chloroplast membranes — causing the characteristic tip burn that no amount of careful watering will fix.
Best water types, ranked:
- Rainwater — naturally soft, slightly acidic (around pH 5.6), fluoride-free. The gold standard.
- Reverse osmosis filtered water — removes 90–95% of fluoride and most dissolved minerals. Consistent and reliable.
- Distilled water — completely mineral-free. Works well, but supplement occasionally with a dilute fertiliser since there are no beneficial minerals present.
- Overnight-rested tap water — allows chlorine to off-gas, but does NOT remove chloramine or fluoride. A partial solution at best.
Every 2–3 months, flush the soil thoroughly: water slowly and fully, let it drain completely, then repeat 3–4 times in one session. This pushes accumulated mineral salts out through the drainage holes before they reach damaging concentrations. Don’t fertilise for at least two weeks afterward.
When trimming fluoride-damaged tips, use clean scissors and cut at a slight angle following the natural curve of the leaf. This preserves the organic silhouette rather than leaving a blunt, obviously cut edge.
Light, Humidity, and Temperature: Getting the Environment Right
Light
Bright indirect light — 1,500–3,000 foot-candles — is the target. In practical terms, that means near a north- or east-facing window, or set back 1–2 metres from a south- or west-facing window filtered by a sheer curtain. In low-light homes, a full-spectrum LED grow light with a colour temperature of 4,000–6,500K and a PPFD of 50–150 µmol/m²/s at the plant surface works well. Run it 12–14 hours per day on a timer.
Humidity
The most effective options, ranked:
- Ultrasonic humidifier — place it nearby and use a hygrometer to confirm you’re hitting 60–70% RH.
- Plant grouping — clustering several plants together raises local humidity through collective transpiration. Effective and free.
- Pebble tray — raises humidity by roughly 5–10% in the immediate vicinity. Useful as a supplement, not a standalone fix.
Misting is fine but overrated. The humidity boost lasts only a few minutes — far too short to make a meaningful difference. If you do mist, use filtered water, do it in the morning so leaves dry before evening, and don’t let water pool in the leaf axils.
Temperature
Keep the plant between 18–27°C (65–80°F) and away from any source of cold or hot drafts. Problem spots include air conditioning vents, gaps around single-pane windows in winter, and heating radiators that cycle between hot and cold. A simple rule: if you’re comfortable in short sleeves, your Calathea probably is too — but it has zero tolerance for cold drafts, even briefly.
Long-Term Care: Preventing Future Decline
Watering: Forget fixed schedules. Water when the top 2–3 cm of soil has dried out, but before the soil dries completely through. In the growing season this usually works out to every 7–10 days; in winter, extend to 10–14 days. A moisture meter removes the guesswork entirely.
Fertilising: Feed with a balanced liquid fertiliser at half the recommended strength, once or twice a month during spring and summer only. Stop completely in autumn and winter. Flush the soil every few months to prevent salt accumulation. White crusty deposits on the soil surface are your cue to flush immediately and hold off feeding for a month.
Repotting: Repot in spring, into a pot only 2–5 cm larger than the current one. Going too large means excess soil stays wet too long — a direct path back to root rot. Handle the roots gently, disturb them as little as possible, and water lightly afterward. Expect 2–4 weeks of sulking: some drooping and leaf yellowing is normal transplant shock.
Pest prevention: High humidity is your best defence against spider mites — they hate it. Check the undersides of leaves every week or two; catching an infestation early makes treatment far easier. Quarantine any new plants for at least two weeks before placing them near your Calathea. If you do find pests, treat with insecticidal soap or neem oil, repeating every 5–7 days for three cycles to break the pest life cycle.
Frequently Asked Questions About Reviving Calathea Orbifolia
How do I know if my Calathea Orbifolia is dead or just dormant?
C. orbifolia doesn’t go truly dormant the way some plants do, so “dormancy” is rarely the explanation for a collapsed plant. Unpot it and check the rhizome — if it’s firm and pale, the plant is alive and can recover even with no leaves. If the rhizome is entirely mushy, black, and foul-smelling with no firm sections remaining, it is most likely beyond saving.
Why does my Calathea Orbifolia keep getting brown tips even with proper watering?
Persistent brown tips despite good watering almost always come down to water quality. Fluoride in tap water accumulates in leaf tissue over time and causes tip burn regardless of how carefully you water. Switch to rainwater, reverse osmosis filtered water, or distilled water, and flush the soil every couple of months to clear accumulated mineral salts. Existing tips won’t recover, but new growth should emerge clean.
How long does it take for a Calathea Orbifolia to recover?
Most plants show some stress for 2–6 weeks after repotting — drooping, a pause in new growth, and occasional yellowing of lower leaves are all normal. Full recovery, with active new leaf production, typically takes 4–8 weeks under good conditions. If the plant was also dealing with root rot before the repot, allow closer to 8–12 weeks before drawing conclusions.
Can I cut off all the damaged leaves?
You can remove heavily damaged leaves, but avoid stripping the plant bare if possible. Even damaged leaves are still photosynthesising to some degree and contributing energy to the recovery process. Remove leaves that are more than 50% brown or yellow, and leave the rest until healthy new growth replaces them.
Should I fertilise my Calathea Orbifolia during recovery?
No — hold off on fertilising for at least 6–8 weeks after treating root rot or repotting. The root system is compromised and cannot process nutrients efficiently; fertilising too soon risks chemical burn on tender new roots. Once you see consistent new leaf growth, resume feeding at half strength.