Quick Answer: To grow hollyhock from seed, gently scarify the hard seed coat with 220-grit sandpaper, soak seeds for 12–24 hours, then sow 6 mm deep at 65–75°F in a sterile, well-draining mix. Use biodegradable pots to protect the deep taproot. Most hollyhocks bloom in their second year, but first-year flowering is possible with annual cultivars started indoors 8–10 weeks before last frost. Expect germination in 10–14 days under optimal conditions.
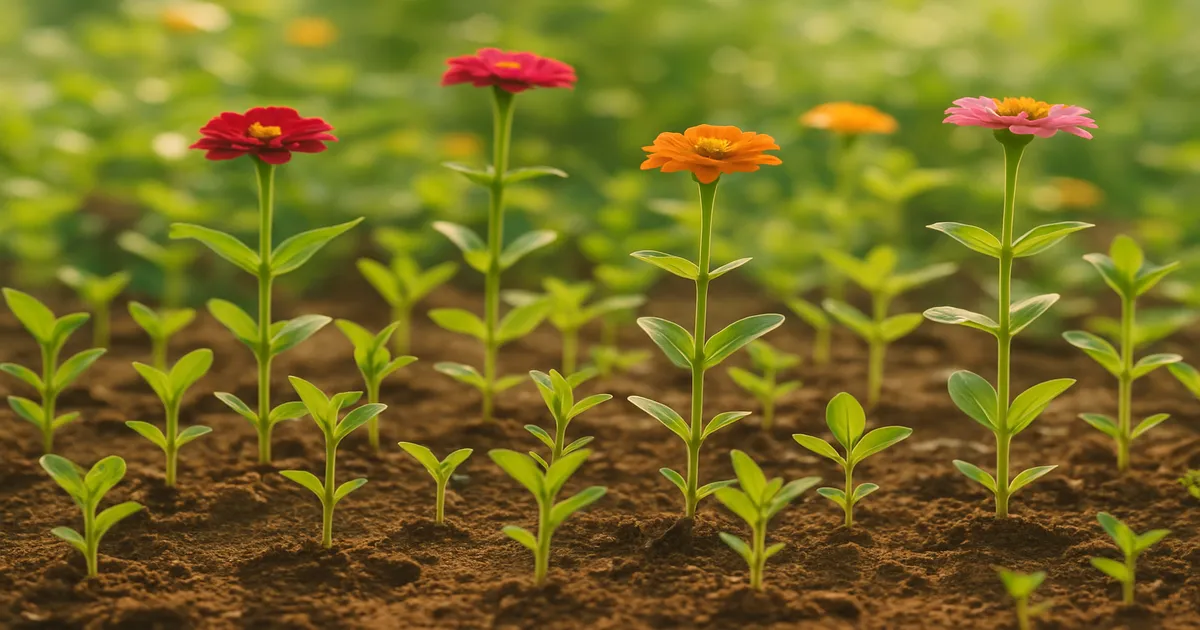
Learning how to grow hollyhock from seed is one of the most rewarding projects a cottage gardener can take on — and one of the most misunderstood. These towering beauties (Alcea rosea) are often abandoned after a disappointing first attempt, usually because of a missed step in timing or seed preparation. Get those two things right and the rest falls into place.
Understanding Hollyhock Seeds: Biology and Cultivar Choice
What Do Hollyhock Seeds Look Like?
Hollyhock seeds are flat and disc-shaped, arranged in a ring inside a segmented capsule called a schizocarp. Gardeners often call these seed heads “cheeses” because they resemble a tiny wheel. Each capsule holds 10–25 seeds and they’re easy to collect and save.
The seed coat contains suberin and lignin — the same compounds that make bark waterproof. This is why scarification matters: without it, water struggles to penetrate and germination is slow and erratic.
How Long Do Hollyhock Seeds Stay Viable?
Stored correctly, hollyhock seeds remain viable for 2–5 years. Keep them cool (below 50°F/10°C), dry (under 50% relative humidity), and dark. A sealed glass jar in the back of the fridge works well. For longer-term storage, a dedicated seed organiser keeps batches labelled and separated.
Not sure about an older batch? Do a quick paper-towel test: place 10 seeds on a damp paper towel in a sealed bag at 70°F for 14 days. A germination rate above 70% means you’re good to go.
Best Hollyhock Cultivars to Grow from Seed
Cultivar choice shapes your whole growing strategy.
- ‘Chater’s Double’ — the classic heirloom with fully double, powder-puff blooms; grow as a biennial for best results
- ‘Majorette Mixed’ — semi-double, compact at 60–90 cm; can flower in year one from an early indoor start
- ‘Queeny Purple’ — dwarf habit (around 60 cm), container-friendly, and a reliable first-year bloomer
- ‘Nigra’ — near-black single flowers; a magnet for bees and butterflies
- ‘Halo’ series — striking bicolor blooms with contrasting centres
- Alcea ficifolia ‘Happy Lights’ — the fig-leaved hollyhock; significantly more resistant to rust, making it worth seeking out if your garden has a recurring rust problem
All are hardy in USDA zones 3–9.
When to Sow Hollyhock Seeds
Biennial Sowing Strategy (Flower in Year Two)
Most hollyhocks need vernalization — 6–10 weeks of cold exposure between 32–50°F — to trigger the shift from leafy rosette to flowering stalk. This is why sowing in spring for same-year bloom usually fails with standard cultivars.
For biennial growing in the Northern Hemisphere, sow outdoors or in a cold frame between May and July. Plants spend summer and autumn building a strong rosette, overwinter naturally, then send up their flower spikes the following year.
Annual Sowing Strategy (Flower in Year One)
Want blooms in the first season? You need a head start and the right cultivar. Start ‘Majorette Mixed’, ‘Queeny Purple’, or other compact annual types indoors 8–10 weeks before your last frost — typically January or February in most temperate zones. Grow them under lights and they’ll flower by midsummer.
Autumn Sowing in Mild Climates
Gardeners in zones 7–9 have a third option: sow in September or October and let seeds stratify naturally over winter. They germinate in early spring and often establish faster than spring-sown plants. Make sure soil temperature is still above 60°F at sowing time so seeds can absorb water before the cold sets in.
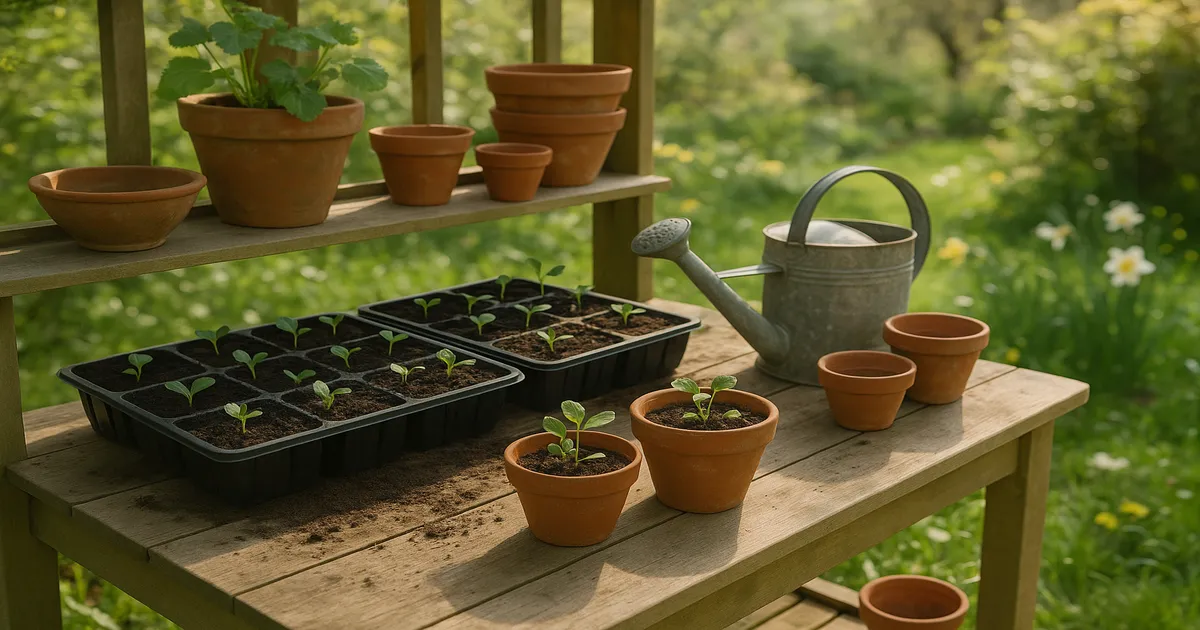
How to Grow Hollyhock from Seed: Step-by-Step Sowing Guide
Scarifying and Soaking Seeds
This step alone can transform your germination rate from patchy to near-perfect.
- Fold a sheet of 220-grit sandpaper in half, place seeds inside, and rub gently for 10–15 seconds — or nick the edge of each seed lightly with a nail file.
- Drop the scarified seeds into room-temperature water and soak for 12–24 hours.
- Discard any seeds that float. Floaters are almost always non-viable.
Choosing the Right Growing Medium
Skip garden soil entirely. Use a sterile soilless seed-starting mix with 20–30% perlite blended in for drainage. A quality organic seed starter keeps things simple and consistent. The goal is a medium that holds moisture without staying soggy — hollyhock seeds rot quickly in waterlogged conditions.
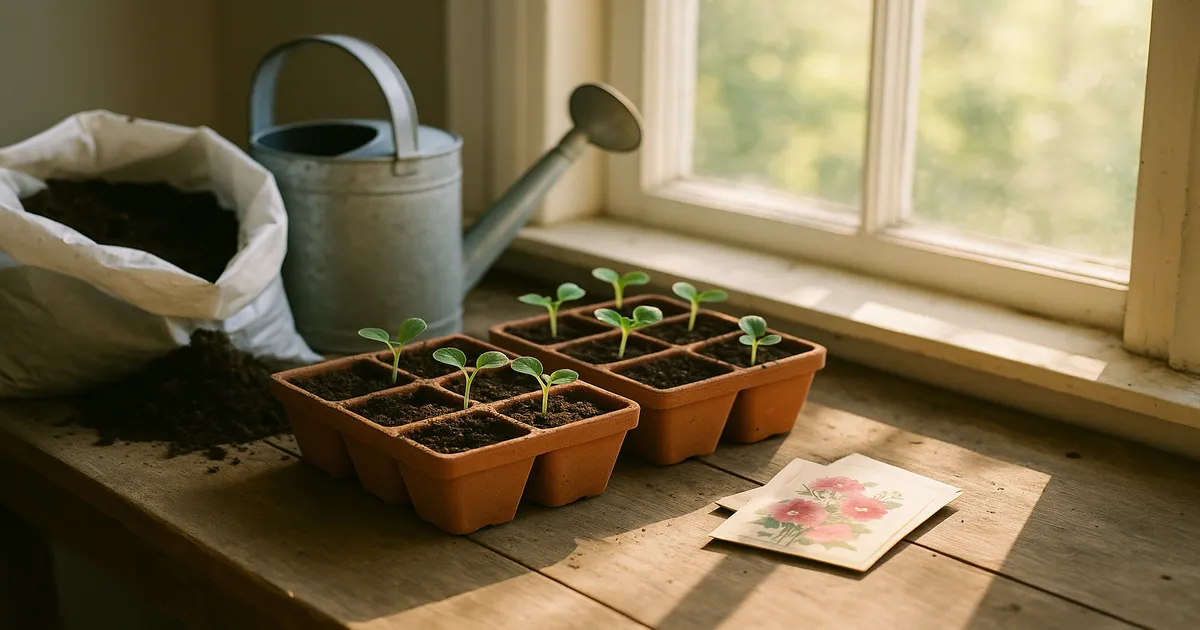
Sowing Depth, Spacing, and Temperature
Sow seeds at 6 mm (¼ inch) depth, spaced at least 2.5 cm apart. Maintain a consistent soil temperature of 65–75°F (18–24°C) — use a seedling heat mat with a thermostat probe placed directly in the growing medium, not just measuring ambient air.
Germination typically takes 10–14 days. If nothing has happened by day 21, the seeds are likely non-viable or the temperature has been inconsistent.
Using Biodegradable Pots to Protect the Taproot
This step is non-negotiable. Hollyhocks develop a deep, fleshy taproot within the first few weeks — often reaching 15–20 cm before you’d even think about transplanting. Disturbing it can set plants back by weeks or kill them entirely.
Sow into coir pots, newspaper pots, or peat pots from the start. At transplant time, the whole pot goes in the ground and the walls decompose naturally. No root disturbance, no drama.
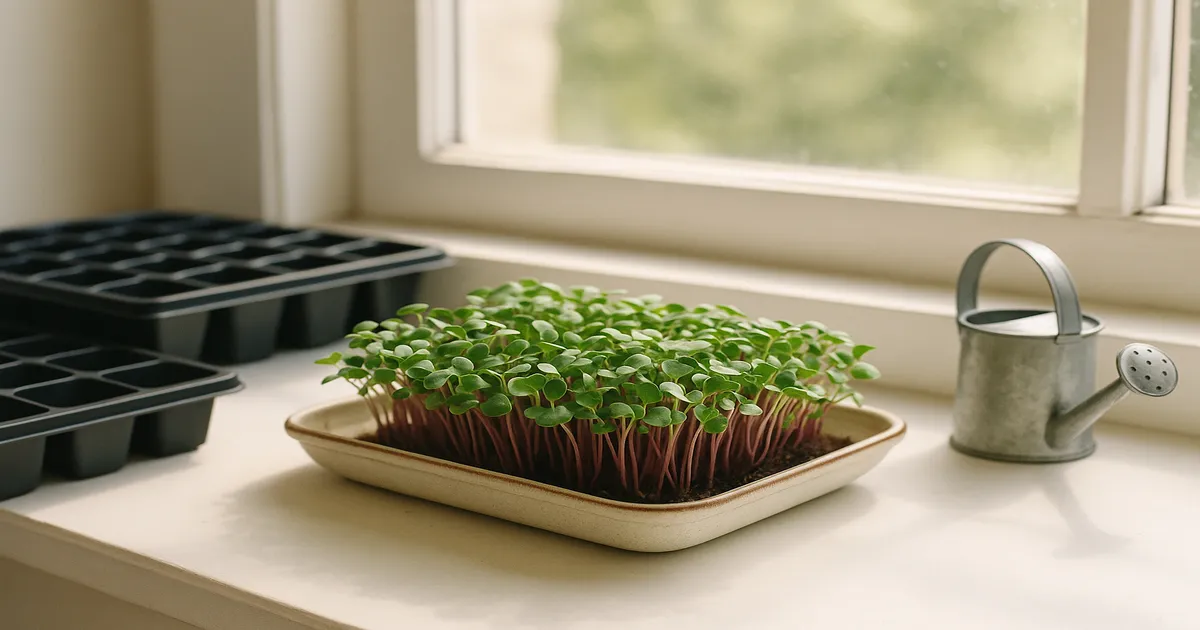
Caring for Hollyhock Seedlings Indoors
Light: Preventing Leggy Growth
Hollyhock seedlings need bright light. Below roughly 500 foot-candles they’ll stretch toward any available source, developing weak stems prone to collapse and disease. Position full-spectrum LED grow lights 5–10 cm above seedling tops and run them for 14–16 hours per day. Rotate trays 180° every 2–3 days for even coverage.
Watering to Prevent Damping Off
Always water from the bottom. Set trays in shallow water for 20–30 minutes, then remove. This keeps foliage and stem bases dry — the opposite of what damping-off pathogens need. A light dusting of horticultural cinnamon on the soil surface around seedling bases adds antifungal protection without any chemical inputs.
Air Circulation and Feeding
Run a small oscillating fan on low near seedlings for 1–2 hours daily. The gentle movement triggers thigmomorphogenesis — stems respond to physical stress by building thicker cell walls — so seedlings transplant dramatically better than those raised in still air.
Hold off on fertilizing until the first true leaves appear. Once they’re visible, apply a dilute balanced liquid fertilizer at quarter-strength weekly. Avoid high-nitrogen formulas at this stage; they push soft growth that’s more vulnerable to fungal attack and transplant stress.
Transplanting Hollyhock Seedlings Outdoors
Hardening Off
Move seedlings outdoors for 1–2 hours in a shaded spot on day one, then gradually increase both sun exposure and time outside over 7–10 days. By the end, they should be spending full days outside in their final light conditions.
Choosing the Right Site and Soil
Hollyhocks need full sun — at least 6–8 hours of direct sunlight daily. They’ll tolerate partial shade but flowering suffers noticeably. Given that mature plants reach 1.5–3 metres, choose a spot sheltered from strong winds, or plan to stake tall cultivars.
Soil should be well-drained with a pH of 6.0–7.0. Work 5–8 cm of aged compost into the top 30 cm before planting to improve drainage, nutrient availability, and microbial activity.
Spacing, Planting, and Staking
Space plants 45–60 cm apart minimum. This isn’t just about room to grow — it’s your first line of defence against hollyhock rust, which spreads rapidly in crowded, poorly ventilated plantings.
Plant biodegradable pots at the same depth they were growing. Water in with a dilute phosphorus-rich fertilizer (a 5-15-5 formulation works well) to encourage root establishment. Insert stakes for tall cultivars at planting time rather than waiting until they’re needed — driving stakes near an established root system causes more damage than most gardeners realise.
Common Problems and How to Fix Them
Poor or Erratic Germination
Nine times out of ten this comes down to three things: skipping scarification, inconsistent soil temperature, or old seed. Revisit all three before giving up on a batch. Confirm your heat mat is hitting 65–75°F in the medium, not just in the air above it.
Damping Off
You’ll recognise damping off by a pinched, water-soaked stem at soil level — seedlings that were fine yesterday are lying flat today. Sterile mix, bottom watering, and fan circulation prevent most cases. For persistent problems, drench the growing medium with a biological fungicide containing Trichoderma harzianum or Bacillus subtilis.
Hollyhock Rust (Puccinia malvacearum)
Orange-yellow pustules on leaf undersides are the telltale sign. This fungus completes its entire life cycle on hollyhock — no alternate host needed — and spreads quickly when leaves stay wet for more than four hours.
- Remove and bag (don’t compost) infected leaves immediately
- Apply wettable sulfur or copper fungicide every 7–10 days
- Use neem oil as a preventive spray in early morning or evening
- Improve spacing, and switch to Alcea ficifolia ‘Happy Lights’ if rust is a recurring problem
Aphids, Spider Mites, and Japanese Beetles
- Aphids: blast off with a strong jet of water; follow up with insecticidal soap if populations rebound
- Spider mites: most common in hot, dry conditions; apply insecticidal soap or horticultural oil to both leaf surfaces, repeated every 5–7 days
- Japanese beetles: hand-pick in early morning when they’re sluggish; kaolin clay works as a physical deterrent
- Hollyhock weevil: a serious threat if you’re saving seed — inspect capsules regularly and remove any showing signs of damage
Ongoing Care and Saving Seeds
Feeding and Watering
Apply a balanced slow-release granular fertilizer (10-10-10) at transplant time. Once flower stalks begin to form, switch to a lower-nitrogen, higher-potassium formula such as 5-10-10. Excess nitrogen at this stage pushes foliage at the expense of flowers and increases rust susceptibility.
Water deeply and infrequently at the base of plants. Overhead irrigation is one of the biggest contributors to rust spread. A soaker hose or drip line is ideal.
Deadheading vs. Self-Seeding
Removing spent blooms regularly extends the flowering period but prevents self-seeding. If you want hollyhocks to naturalise — or you’re collecting seed — leave some heads to mature fully. The two goals are genuinely at odds, so decide which matters more before the season starts.
How to Collect and Store Seeds
Wait until the schizocarp capsules turn brown and papery before harvesting — green capsules contain immature seeds that won’t germinate reliably. Collect on a dry day, check capsules for weevil damage (small holes and hollowed seeds are the giveaway), and store below 50°F with under 50% relative humidity. Properly stored, seeds stay viable for up to five years.
Frequently Asked Questions
How long does it take for hollyhock seeds to germinate?
Under optimal conditions — soil temperature of 65–75°F and properly scarified, soaked seeds — hollyhocks typically germinate in 10–14 days. Allow up to 21 days before concluding the seeds are non-viable. Cold soil and skipped seed preparation are the most common causes of delay.
Do I need to scarify and soak hollyhock seeds before planting?
Yes to both. Gently rub seeds between 220-grit sandpaper for 10–15 seconds to break down the hard seed coat, then soak in room-temperature water for 12–24 hours. This two-step process significantly improves germination speed and uniformity. Discard any seeds that float after soaking.
Can hollyhocks flower in their first year from seed?
Yes — but only with the right cultivars and an early indoor start. Dwarf or annual types like ‘Majorette Mixed’ and ‘Queeny Purple’ can flower in year one when started indoors 8–10 weeks before last frost under grow lights. Standard biennial cultivars like ‘Chater’s Double’ require vernalization and almost always bloom in their second year.
Why are my hollyhock seedlings falling over at the base?
This is damping off, caused by soil-borne fungi (Pythium, Rhizoctonia, Fusarium) that attack the stem at soil level. Switch to sterile soilless mix, water from the bottom only, and run a fan near seedlings for 1–2 hours daily. For persistent cases, drench with a biological fungicide containing Bacillus subtilis or Trichoderma harzianum.
When is the best time to sow hollyhock seeds outdoors?
For biennial growing, sow outdoors between May and July in the Northern Hemisphere so plants establish before winter. Wait until soil temperature is consistently above 60°F for direct sowing. In mild climates (zones 7–9), autumn sowing in September or October is also effective, allowing natural cold stratification over winter.