Quick Answer: To grow vegetables from seeds, sow into a sterile seed-starting mix at the correct depth, maintain the right soil temperature for your crop, water carefully from below, and provide 14–16 hours of bright light daily. Once seedlings have true leaves and outdoor conditions are right, harden them off over 10–14 days before transplanting. Most vegetables take 5–21 days to germinate depending on species and temperature.
Learning how to grow vegetables from seeds opens up hundreds of varieties you’ll never find at a garden centre, and it costs a fraction of buying transplants. The process isn’t complicated, but a few key details — soil temperature, watering technique, and light — make the difference between strong seedlings and a tray of failures. This guide covers everything from choosing seeds to getting transplants in the ground.
How to Grow Vegetables from Seeds: Core Steps
- Choose quality seeds with a documented germination rate (aim for 80%+)
- Fill trays with a sterile, fine-textured seed-starting mix
- Sow at the correct depth — generally 2–3× the seed’s diameter
- Maintain the right soil temperature, using a heat mat if needed
- Water carefully; bottom watering is best
- Provide 14–16 hours of bright light daily once seeds sprout
- Harden off over 10–14 days before transplanting outdoors
Which Vegetables Are Easiest to Grow from Seed
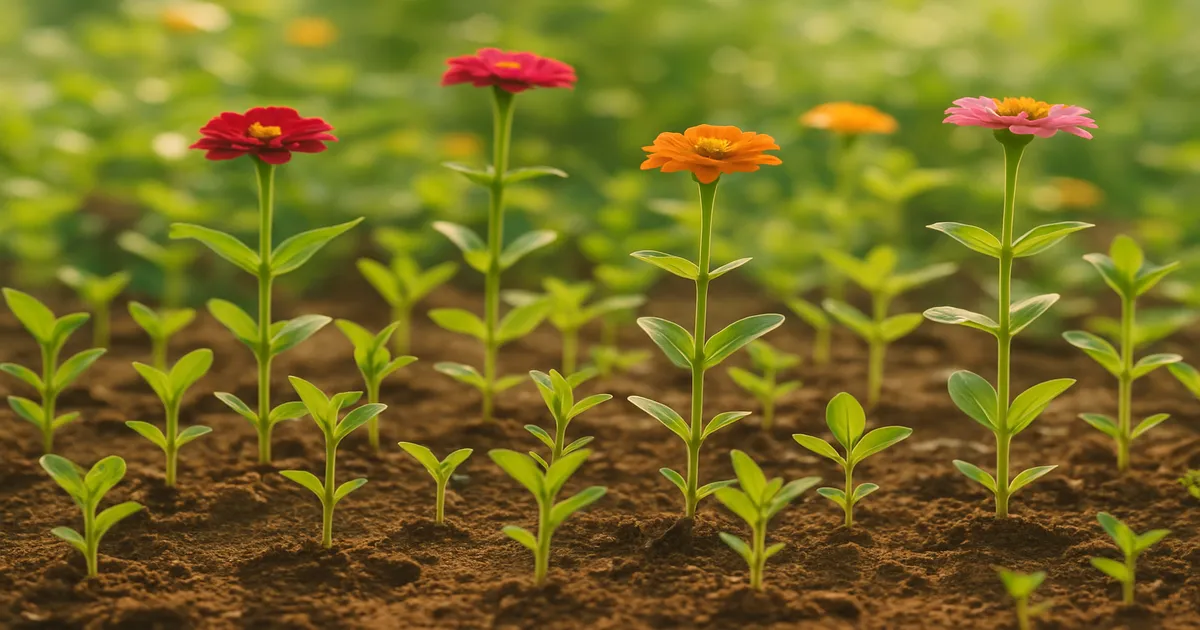
If you’re just starting out, stick to forgiving, fast-germinating crops. Beans, courgettes (zucchini), and cucumbers sprout in 3–7 days under warm conditions and grow vigorously. Lettuce is almost foolproof in cool weather. Tomatoes take more attention but reward the effort with enormous variety choice.
Most vegetables germinate within 5–21 days. Slow starters like celery and parsley can take three weeks or more — that’s normal, not a failure.
Understanding Seeds and Germination
The Science of Seed Germination
A seed is a dormant embryo surrounded by a nutrient store (endosperm) and a protective coat called the testa. Three conditions must align to wake it up: adequate moisture, appropriate temperature, and sufficient oxygen. When moisture triggers imbibition — the seed absorbing water and swelling — metabolic processes restart and the embryonic root (radicle) pushes outward.
Seed Viability: How Long Do Vegetable Seeds Last
Seed longevity varies significantly by species, and storage conditions matter enormously. Keep seeds cool (4–10°C), dark, and dry (below 50% relative humidity) to extend their life.
| Viability | Crops |
|---|---|
| Short (1–2 years) | Onions, parsnips, leeks |
| Medium (3–4 years) | Tomatoes, peppers, beans, carrots |
| Long (5–6+ years) | Cucumbers, squash, melons |
Not sure about old seeds? Do a quick germination test: place 10 seeds between damp paper towels in a sealed bag, keep them warm, and check after the expected germination window. Six or more sprouting means the batch is worth sowing.
Open-Pollinated, Heirloom, and F1 Hybrid Seeds
Open-pollinated (OP) seeds breed true to their parent, making them ideal for seed saving. Heirloom varieties are a subset of OP seeds with at least 50 years of documented history — prized for flavour and genetic diversity. F1 hybrids cross two inbred lines to produce hybrid vigour: higher yields and better disease resistance. The trade-off is that saved seeds from F1 plants won’t grow true, so you buy fresh each year.
What You Need to Start Seeds Indoors
Choosing the Right Seed-Starting Mix
Garden soil is a poor choice for seed starting. It compacts in containers, drains badly, and harbours pathogens and weed seeds. A good seed-starting mix is sterile, fine-textured, low in nutrients, and pH-balanced around 6.0–6.5. Look for blends containing fine peat moss or coco coir for moisture retention, perlite for drainage, and vermiculite for texture. Jiffy Professional Seed Starting Mix is a reliable off-the-shelf option.
High nutrient levels can inhibit germination and burn delicate emerging roots, so resist the urge to use a rich potting compost at this stage.
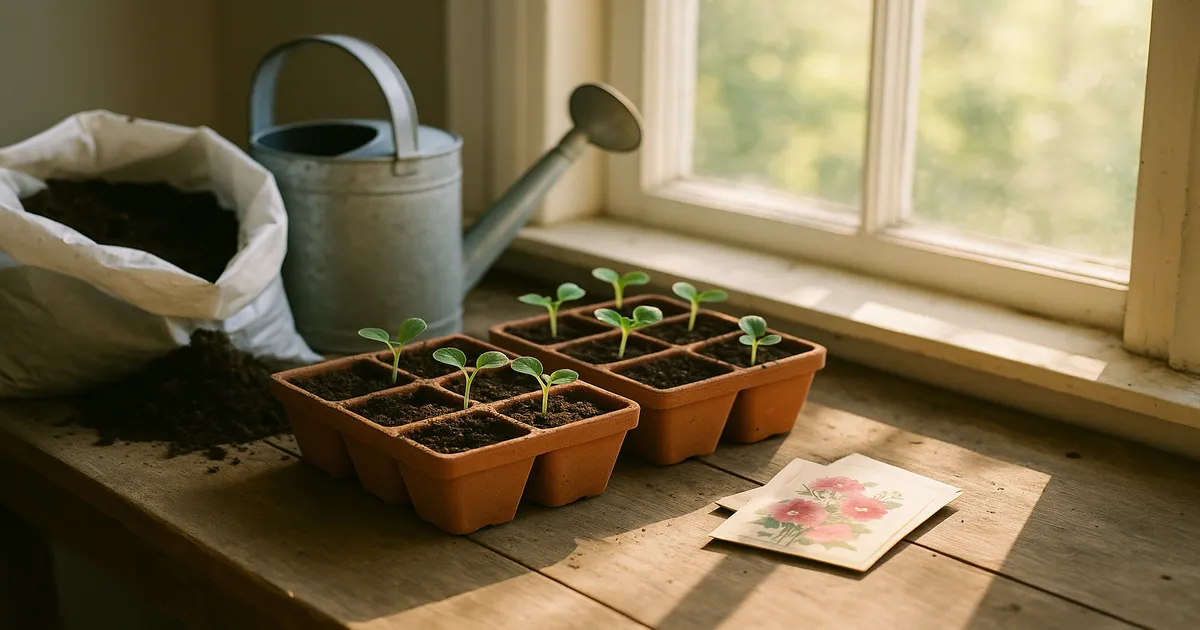
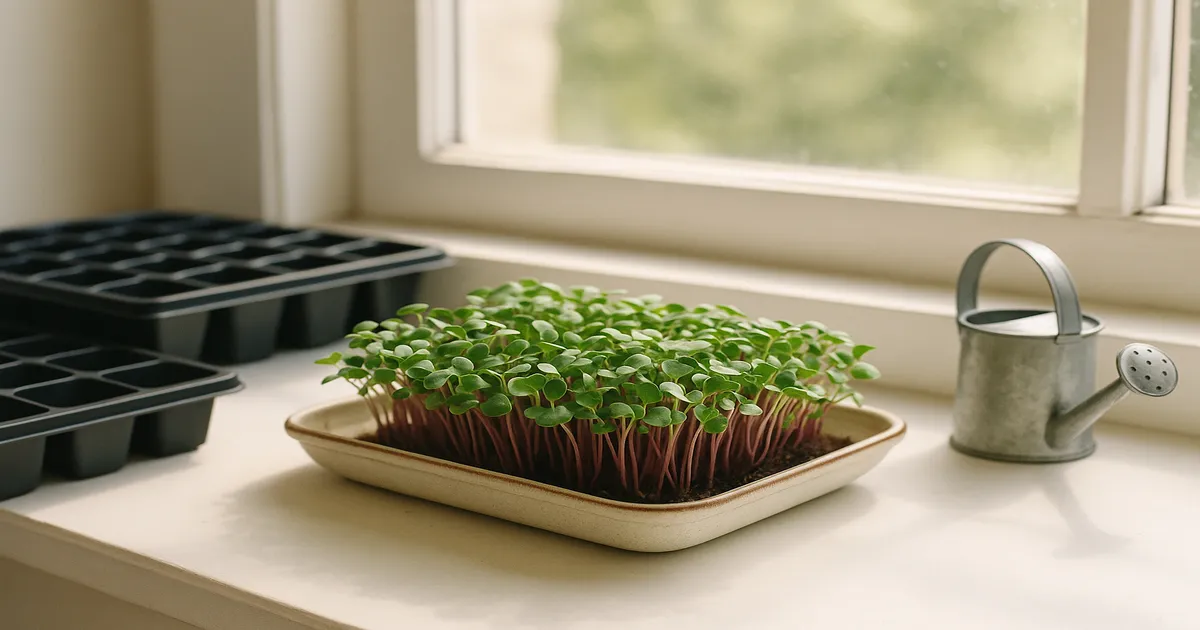
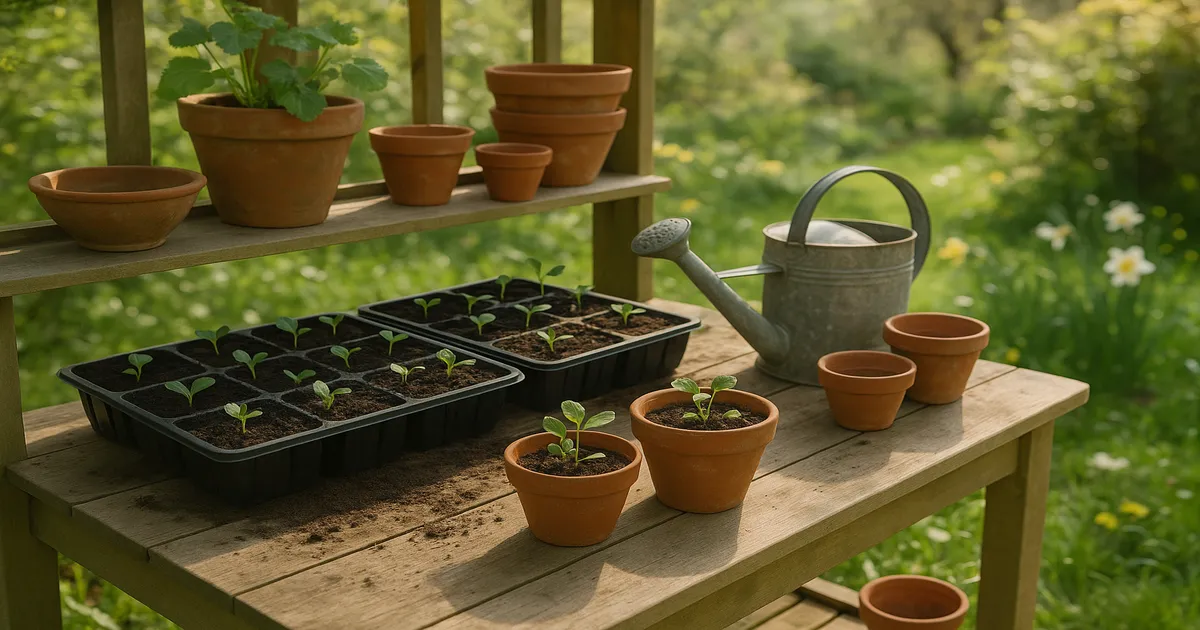
Containers and Trays
Cell trays give each seedling its own space and make transplanting straightforward. For crops that dislike root disturbance — cucumbers and squash especially — biodegradable coir or paper pots are worth the small extra cost, since you plant the whole pot and avoid disturbing the roots entirely. Bootstrap Farmer 1020 Heavy Duty Trays hold up to repeated use and fit standard humidity domes.
Heat Mats and Soil Thermometers
Soil temperature and air temperature are not the same thing. A tray sitting on a windowsill in a 20°C room can have soil that’s 5–8°C cooler — too cold for peppers or tomatoes to germinate reliably. A seedling heat mat raises soil temperature from below; pairing it with a thermostat controller lets you dial in the exact target. The Vivosun Seedling Heat Mat is a popular, affordable option that covers a standard 1020 tray.
Always verify temperature with a soil thermometer rather than an air thermometer. The Taylor Precision Products Soil Thermometer is inexpensive and accurate enough for seed starting.
Grow Lights vs. Windowsills
A south-facing windowsill delivers roughly 200–500 foot-candles on a bright day. Vegetable seedlings need at least 1,500–3,000 foot-candles, and fruiting crops like tomatoes prefer 3,000–10,000+. That gap is why windowsill seedlings so often go leggy and pale.
Full-spectrum LED grow lights or T5/T8 fluorescent shop lights close that gap effectively. Position fluorescent tubes 5–10 cm above seedling tops and run them 14–16 hours a day on a plug-in timer. Barrina T5 LED Grow Light Strips are a cost-effective choice that fit neatly above standard trays. Rotate trays 180° every few days to keep growth even.
Step-by-Step Guide to Sowing Vegetable Seeds
When to Start Seeds: Calculating Your Sowing Date
Work backwards from your average last frost date:
- Find your last frost date (local extension service or an online frost date calculator)
- Check the seed packet for the recommended indoor start time (e.g., “start 6–8 weeks before last frost”)
- Add 7–14 days for hardening off
- That gives you your sowing date
Starting too early is a common mistake. Overgrown, root-bound transplants struggle more at planting time than smaller, well-timed ones.
How Deep to Sow Different Vegetable Seeds
The standard rule is 2–3 times the seed’s diameter. In practice:
- Surface sow (barely cover with vermiculite): lettuce, celery
- 0.5–1 cm deep: tomatoes, peppers, brassicas
- 2.5–5 cm deep: beans, squash, corn, cucumbers
Sowing Tiny Seeds vs. Large Seeds
Tiny seeds like lettuce are tricky to space evenly. Mix them with fine sand at roughly a 1:4 seed-to-sand ratio, then sprinkle across the surface. Cover with just 2–3 mm of fine vermiculite — it’s light enough not to impede emergence and retains surface moisture well. Large seeds like beans and squash can be pushed in individually with a pencil or dibber to the correct depth.
Labelling and Record-Keeping
Label every tray immediately after sowing — not after you’ve finished the whole session. Different tomato or lettuce varieties look identical at the seedling stage, and memory is unreliable. A waterproof label with the variety name and sow date takes seconds and saves a lot of frustration later.
Germination Temperature and Watering
Optimal Soil Temperature by Vegetable Family
| Family | Crops | Optimal Soil Temp |
|---|---|---|
| Solanaceae | Tomatoes, peppers, eggplant | 21–32°C (70–90°F) |
| Cucurbitaceae | Cucumbers, squash, melons | 24–32°C (75–90°F) |
| Brassicaceae | Cabbage, broccoli, kale | 10–24°C (50–75°F) |
| Apiaceae | Carrots, parsley, celery | 15–24°C (60–75°F) |
Pepper seeds are particularly temperature-sensitive. At a typical room temperature of 20°C, germination rates drop sharply and can stretch to four weeks or more. A heat mat targeted at 27–30°C makes a dramatic difference.
Bottom Watering vs. Top Watering
Bottom watering is the preferred method. Set your tray inside a shallow container of room-temperature water and let capillary action draw moisture up through the drainage holes for 20–30 minutes, then remove. This keeps the surface drier, which discourages fungal problems. Before seedlings emerge, use a fine-mist spray bottle for any surface watering — it won’t displace seeds or compact the mix.
The target moisture level is often described as a wrung-out sponge: evenly damp throughout but not waterlogged, roughly 50–70% of field capacity.
How to Tell If Seedlings Are Overwatered or Underwatered
Overwatered seedlings look pale and limp despite wet soil; the stem base may appear pinched or water-soaked — early signs of damping off. Underwatered seedlings wilt and the mix pulls away from the sides of the container. Improved drainage and reduced watering frequency address overwatering; a thorough bottom-watering session usually recovers underwatered seedlings quickly if caught early.
Common Seed-Starting Problems and How to Fix Them
Damping Off: Causes, Symptoms, and Prevention
Damping off is caused by soil-borne pathogens — primarily Pythium, Rhizoctonia, and Fusarium — and it’s the most common seedling killer. Seedlings collapse suddenly at the soil line, the stem appearing pinched and water-soaked. It spreads through a tray within 24–48 hours.
Prevention is far more effective than treatment:
- Use sterile seed-starting mix
- Avoid overwatering
- Run a small fan on low to improve air circulation
- Don’t crowd seedlings
If damping off appears, remove affected plants and surrounding medium immediately. Drench remaining seedlings with a 1:9 dilution of 3% hydrogen peroxide and water to oxidise fungal pathogens. Biological drenches containing Trichoderma harzianum or Bacillus subtilis work well as preventatives.
Etiolation: Why Seedlings Go Leggy
Leggy, pale seedlings with long stretched stems are experiencing etiolation — the plant growing rapidly toward an inadequate light source. The fix is straightforward: move lights closer (5–10 cm above fluorescent tubes) and run them for 14–16 hours daily. Seedlings already etiolated can sometimes be saved by burying the elongated stem deeper when potting up, particularly with tomatoes, which root readily along their stems.
Poor or Uneven Germination
The most common culprits are old seeds, incorrect soil temperature, and wrong sowing depth. Check seed viability with a paper towel germination test before investing time in a full sowing. If temperature is the issue, a heat mat and soil thermometer will identify and solve it quickly. Uneven germination across a tray often points to inconsistent moisture — some cells drying out faster than others.
Caring for Seedlings After Germination
Thinning, Feeding, and Potting Up
Once seeds sprout, thin to the strongest single seedling per cell using scissors rather than pulling — cutting at soil level avoids disturbing the roots of the plant you’re keeping. Note that beetroot “seeds” are actually multi-germ fruit clusters, so thinning is always needed regardless of how carefully you sow.
Don’t feed at germination. Seed-starting mixes are intentionally low in nutrients, and that’s appropriate. Begin feeding once the first true leaves appear (not the initial cotyledons), starting with a balanced liquid fertiliser diluted to quarter strength. Full-strength feeds can burn young roots.
Pot up when roots start emerging from drainage holes or growth slows noticeably despite good care. Move seedlings into a container one size up — going too large at once can lead to waterlogging in unused mix. Always handle seedlings by the cotyledon or root ball, never the stem.
Strengthening Stems
A small fan running on low for a few hours a day encourages thigmomorphogenesis — mechanical stimulation that promotes thicker cell walls and stronger stems. It also reduces humidity at the leaf surface, cutting damping off risk. If growth is stunted despite good light and temperature, check for nutrient deficiency or a pH problem in the growing medium.
How to Grow Vegetables from Seeds: Hardening Off and Transplanting
The 10–14 Day Hardening Off Protocol
Indoor seedlings aren’t ready for the outdoors. Their cuticles are thin, their stomata aren’t calibrated for wind and fluctuating humidity, and they haven’t accumulated the protective compounds they need. Hardening off fixes that gradually.
| Days | Exposure |
|---|---|
| 1–2 | 1–2 hours in a sheltered, shaded spot |
| 3–4 | 3–4 hours with gentle morning sun |
| 5–7 | 6–8 hours with partial direct sun |
| 8–10 | Full day outdoors |
| 11–14 | Overnight outside if temperatures allow |
Over this period the cuticle thickens, stomatal sensitivity adjusts, and protective compounds accumulate — all adaptations that prepare the plant for outdoor life.
How to Transplant Seedlings Without Shock
Water seedlings thoroughly an hour before transplanting. Choose an overcast day or transplant in the evening to minimise heat and light stress. Dig a hole slightly larger than the root ball, settle the plant in, firm gently, and water in with a dilute seaweed extract solution — the natural growth compounds support root development and help the plant handle transplant stress. Maxicrop Original Seaweed Extract works well at this stage.
Cool-Season vs. Warm-Season Crop Timing
Cool-season crops — brassicas, lettuce, spinach, peas — tolerate light frost down to around -2°C and can go out 4–8 weeks before your last frost date. Warm-season crops — tomatoes, peppers, cucumbers, squash — are killed by frost and shouldn’t go outside until soil temperatures consistently exceed 13–16°C. Planting warm-season crops into cold soil stunts them even when air temperatures seem fine.
Frequently Asked Questions
How long does it take for vegetable seeds to germinate?
Most vegetable seeds germinate within 5–21 days under optimal conditions. Fast germinators like beans, courgettes, and cucumbers can sprout in 3–7 days in warm soil. Slow starters like celery, parsley, and parsnips regularly take 14–21 days or more — this is normal, not a sign of failure.
Can I use regular potting soil for starting vegetable seeds?
Standard potting soil isn’t ideal. It’s too coarse and nutrient-rich, can compact in small cells, and may harbour pathogens. A dedicated seed-starting mix — sterile, fine-textured, and low in nutrients — gives seeds the best chance of germinating and producing strong, healthy roots.
Why are my seedlings falling over at the soil line?
This is almost certainly damping off, caused by Pythium, Rhizoctonia, or Fusarium pathogens. It’s triggered by overwatering, poor air circulation, and non-sterile growing media. Remove affected seedlings immediately, improve ventilation, reduce watering frequency, and drench remaining plants with a dilute hydrogen peroxide solution (1 part 3% H₂O₂ to 9 parts water).
When are seedlings ready to transplant outside?
Seedlings are ready when they have at least two sets of true leaves, are well-rooted in their cell without being root-bound, and have completed a 10–14 day hardening-off period. Timing also depends on crop type: cool-season crops can go out before the last frost; warm-season crops need frost-free conditions and soil temperatures above 13–16°C.
Do I need a grow light, or will a windowsill work?
A windowsill can work for cool-season crops like lettuce in a bright south-facing room, but it rarely provides enough light for fruiting crops like tomatoes and peppers. Seedlings on windowsills typically go leggy within a few weeks. A basic T5 or LED grow light positioned 5–10 cm above seedlings and run for 14–16 hours a day produces noticeably stockier, healthier plants.