Quick Answer: To grow microgreens, sow seeds densely in a shallow tray, cover them for 3–5 days to drive germination, then move them into bright light. You’ll need a tray, seeds, a growing medium, and a light source — nothing more. Most beginners harvest their first crop within two weeks.
Growing microgreens at home is one of the fastest ways to produce fresh, nutrient-dense food indoors, and the learning curve is genuinely short. Whether you have a sunny windowsill or a spare corner with a grow light, this guide walks you through every step of how to grow microgreens — from choosing seeds to harvesting and storing your crop.
What Are Microgreens?
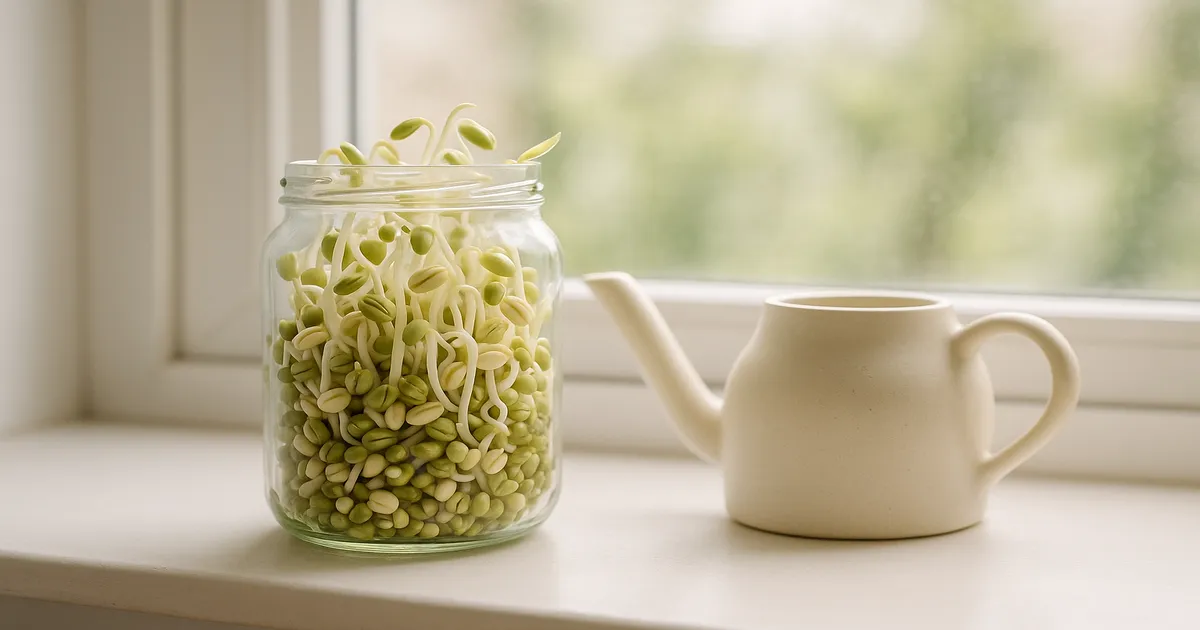
Microgreens are vegetable and herb seedlings harvested at the cotyledon stage — right when the first seed leaves are fully open and the first true leaves are just beginning to emerge. That’s earlier than baby greens, and completely different from sprouts, which are germinated in water and eaten root-to-seed with no growing medium involved.
A 2012 USDA study found that microgreens contain 4–40 times more concentrated nutrients — including vitamins C, E, and K, lutein, and beta-carotene — than their mature counterparts. That’s a meaningful nutritional return for a 10-day grow.
How Long Do They Take?
It depends on the species. Radish is ready in 5–7 days. Broccoli takes 7–10 days. Sunflower and pea shoots need 10–14 days. Basil and cilantro are the slowpokes at 14–21 days. Most beginners start with fast growers and work up from there.
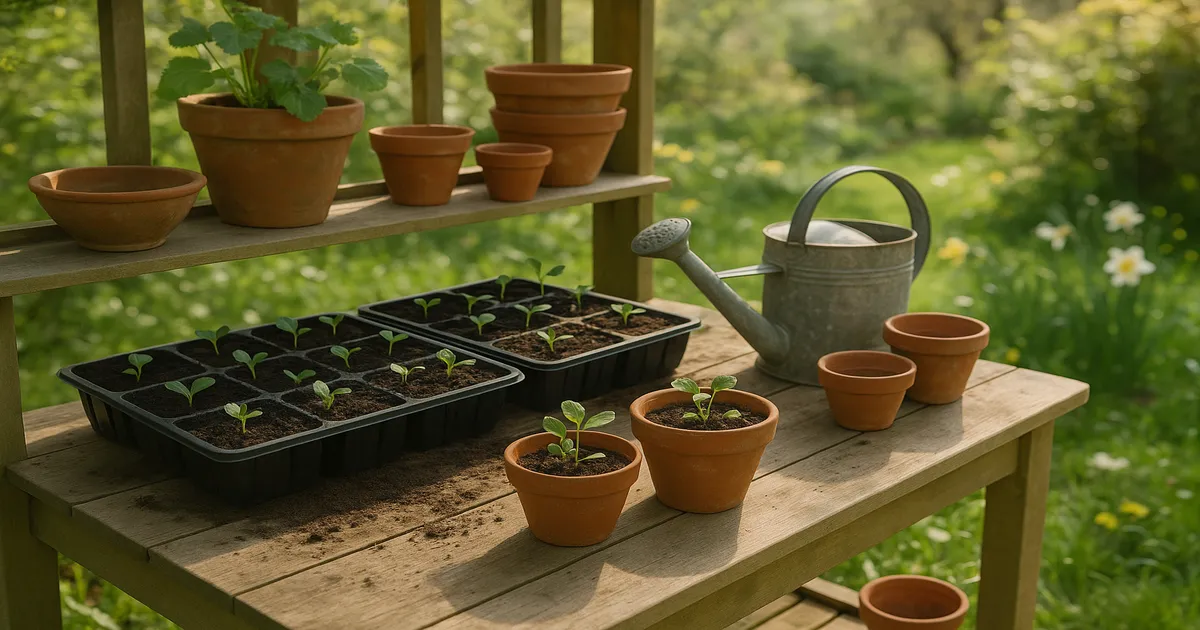
What You Need to Get Started
- Trays: Two 10×20-inch nursery trays — one with drainage holes for planting, one solid for bottom watering
- Seeds: Food-grade microgreen or sprouting seeds — never field seeds treated with fungicide
- Growing medium: A 70/30 blend of potting mix and coconut coir, or a soilless mat
- Light: A bright south-facing window or a full-spectrum LED grow light
- A spray bottle for initial misting
Best Microgreens for Beginners
Easiest Species to Start With
| Species | Days to Harvest | Flavor | Difficulty |
|---|---|---|---|
| Radish | 5–7 days | Spicy, peppery | Very Easy |
| Broccoli | 7–10 days | Mild, slightly bitter | Easy |
| Sunflower | 10–14 days | Nutty, mild | Easy |
| Pea shoots | 10–14 days | Sweet, fresh | Easy |
| Amaranth | 10–14 days | Earthy, mild | Easy |
| Basil | 14–21 days | Aromatic, sweet | Moderate |
| Cilantro | 14–21 days | Herbaceous | Moderate |
Start with radish or broccoli. They germinate fast, forgive minor watering mistakes, and taste good on nearly anything.
How to Source Safe, Food-Grade Seeds
This matters more than most beginners realize. Seeds sold for field planting are often treated with fungicides — fine for a farm, but a problem when you’re eating the seedlings days later. Always buy seeds explicitly labeled for microgreen or sprouting use. Reputable suppliers include True Leaf Market, Johnny’s Selected Seeds, and Mumm’s Sprouting Seeds.
Mucilaginous Seeds: A Special Case
Basil and arugula seeds produce a gel-like coating when wet, which causes them to clump and germinate unevenly. Do not pre-soak these. Spread them dry, mist lightly, and if clumping is still an issue, mix the seeds with a small amount of dry sand before spreading.
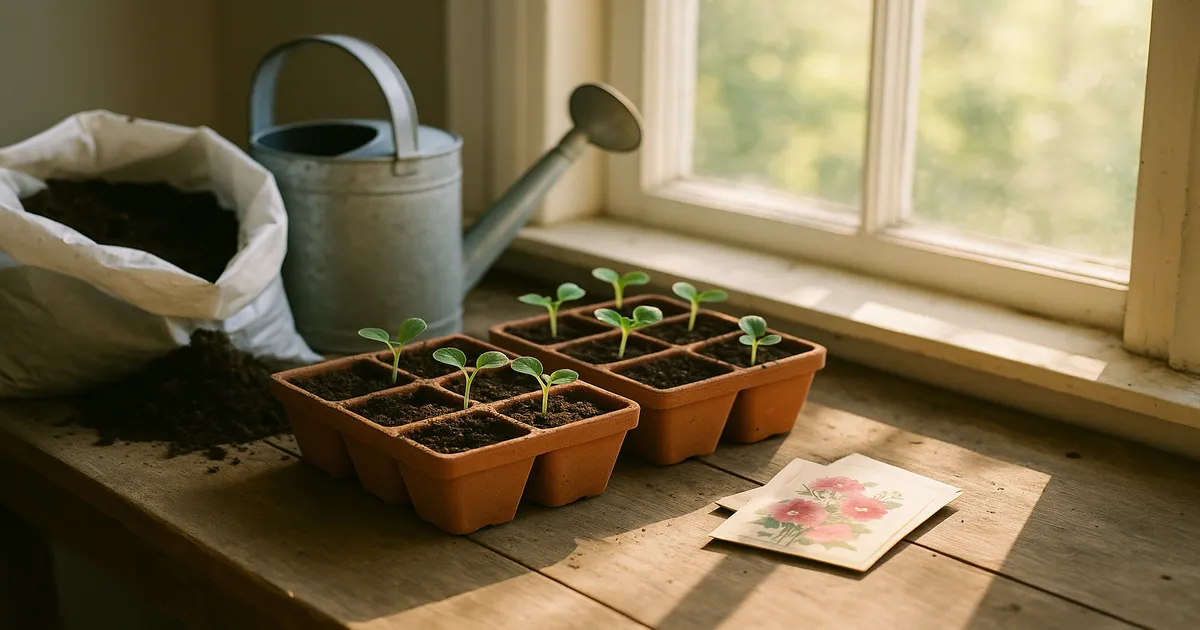
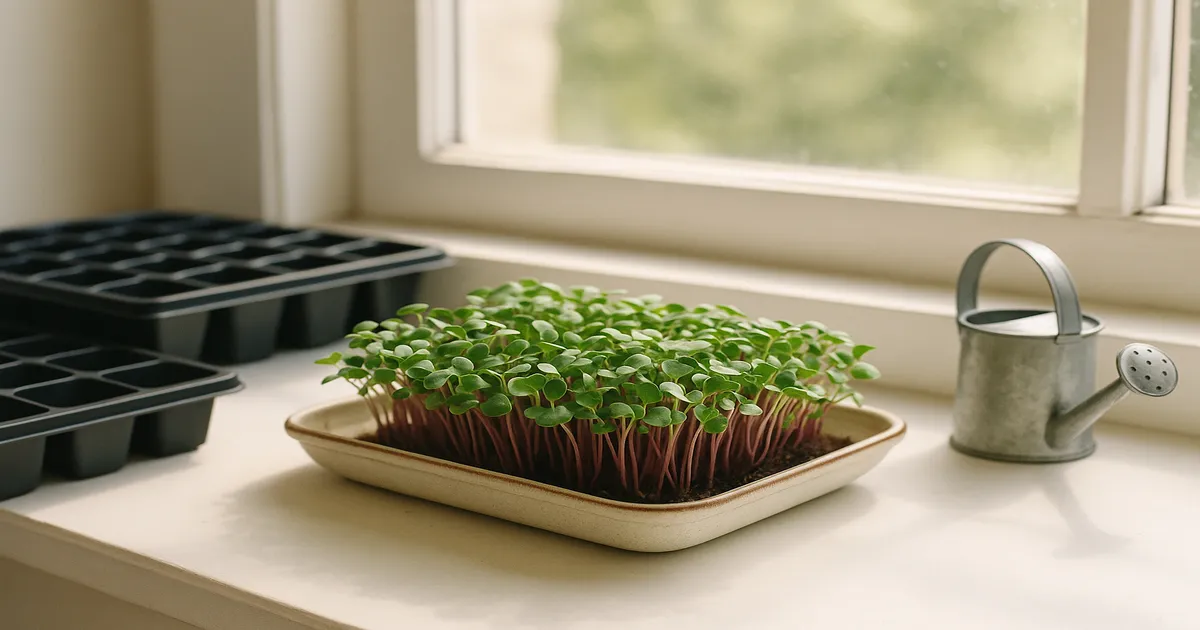
How to Grow Microgreens: Step-by-Step Setup
Trays and Growing Medium
The industry standard is a 10×20-inch nursery tray. Use two: a perforated tray for the growing medium nested inside a solid tray for bottom watering. This setup is inexpensive, stackable, and works for virtually every species. (Bootstrap Farmer 1020 Heavy Duty Trays)
For growing medium, a blend of 70% potting mix and 30% coconut coir hits the right balance of drainage, water retention, and aeration. Aim for a pH of 5.8–6.5 — outside that range, nutrient uptake suffers even when nutrients are present. If you prefer a soilless setup, hemp fiber mats are sterile, consistent in thickness, and significantly reduce damping-off risk.
Seeding Your Tray
Seed density varies by seed size:
- Small seeds (broccoli, kale, arugula): 1–1.5 oz per 10×20-inch tray
- Medium seeds (sunflower, peas): 3–4 oz per tray
- Large seeds (beet, chard): 2–3 oz per tray
Spread seeds as evenly as possible. Crowding creates poor airflow and sharply increases disease risk. After spreading, press seeds gently into the medium with a flat board or your palm so they make good contact with the surface.
Peas, sunflowers, and beets benefit from 8–12 hours of soaking in room-temperature water before planting. This softens the seed coat, improves germination uniformity, and typically cuts germination time by a day or two. Skip soaking for small or mucilaginous seeds.
The Blackout Period
After seeding, cover the tray with an inverted second tray or an opaque lid for 3–5 days. Darkness triggers etiolation — seedlings stretch upward searching for light, which drives strong initial stem development. Once you remove the cover and introduce light, chlorophyll synthesis kicks in rapidly and the greens color up within 12–24 hours.
Light, Temperature, and Air Circulation
Microgreens need bright indirect to moderate direct light — roughly 1,000–3,000 foot-candles. Pale, floppy stems reaching sideways are a clear sign of insufficient light.
A full-spectrum LED grow light positioned 2–4 inches above the canopy and running 12–16 hours per day is the most reliable setup. Blue-spectrum light (400–500 nm) promotes compact, stocky growth; red spectrum (600–700 nm) drives photosynthesis efficiency. Full-spectrum LEDs deliver both. A south-facing window can work in summer but is rarely consistent enough year-round. If you’re relying on a single window, rotate trays 180° daily to prevent one-sided leaning.
Most microgreens germinate best between 65–75°F (18–24°C). A seedling heat mat helps maintain consistent soil temperature during germination, especially in winter. Basil prefers warmer conditions (70–80°F), while pea shoots are comfortable as low as 50–65°F. Once seeds have sprouted, remove the heat mat — sustained warmth post-germination increases disease risk.
Don’t overlook airflow. Stagnant air creates a saturated microclimate at canopy level, exactly where fungal spores thrive. Even a small fan on its lowest setting, circulating air indirectly across your trays, can meaningfully reduce damping-off incidence.
How to Water Microgreens
Bottom Watering Is the Right Method
Bottom watering delivers moisture via capillary action from below, keeps foliage dry, and avoids dislodging seeds or compacting the growing surface. Top watering with any force does all the wrong things.
How to bottom water:
- Pour 1–2 inches of water into the solid outer tray
- Set the planted tray (with drainage holes) inside it
- Let the medium wick moisture upward for 20–30 minutes
- Remove the inner tray and allow excess water to drain completely
Water every 1–2 days, but let the medium guide you rather than the calendar. Press a finger about 1 cm into the growing medium — if it feels genuinely moist, wait; if it’s barely damp or pulling away from the tray edges, water now. Overwatering creates anaerobic conditions at the root zone, a fast track to Pythium rot. Underwatering stresses Brassicas enough to trigger glucosinolate accumulation, making them taste aggressively bitter.
Common Problems and How to Fix Them
Damping Off
Damping off is caused by soil-borne pathogens — primarily Pythium, Rhizoctonia, and Fusarium — that thrive in overwatered, poorly ventilated conditions. Affected stems look water-soaked, then thin and collapse at the base. You may see white fuzzy mycelium on the soil surface.
Fixes: Switch to bottom watering only. Add a fan for gentle indirect airflow. Apply a light dusting of food-grade cinnamon on the soil surface — cinnamaldehyde acts as a natural antifungal. You can also mist lightly with diluted 3% hydrogen peroxide (1 part H₂O₂ to 3 parts water) to suppress surface fungal growth. For future grows, inoculate your growing medium with a Bacillus subtilis-based biological control product before seeding.
Pale or Leggy Growth
Tall, floppy, yellowish greens need more light. Move them closer to a window, add a grow light, or reduce the distance between the light and canopy to 2–4 inches.
Uneven Germination
Before planting an unfamiliar seed lot, do a quick germination test: place 10 seeds on a damp paper towel, fold it over, and check after the species’ expected germination window. If fewer than 8 sprout, discard the lot. Uneven germination across a tray usually comes from inconsistent seed density or mucilaginous seeds that clumped during sowing.
Yellowing Leaves
Uniform yellowing across all leaves points to nitrogen deficiency. Yellowing between the veins while veins stay green (interveinal chlorosis) suggests iron deficiency. For extended-cycle crops (14–21 days) or anything grown in inert soilless media, apply a balanced liquid fertilizer at ¼ strength via bottom watering after day 10.
Mold on the Soil Surface
Surface mold is almost always a combination of too much moisture and too little airflow. Improve both simultaneously. A light dusting of cinnamon, consistent bottom watering, and a fan running nearby usually resolves it within a day or two.
Prevention and Ongoing Care
Sanitize between grows. Wash trays with hot soapy water, then sanitize with a 10% white vinegar solution or a 1% bleach solution. Rinse thoroughly and dry completely before storing. Never reuse growing medium from a previous crop — fresh medium is easier and safer.
Stagger your plantings. Sow a new tray every 5–7 days. It takes almost no extra effort and means you’re harvesting something fresh every week rather than feasting for two days and then waiting another two weeks.
Keep a grow journal. Label every tray with species, seed lot, sow date, and expected harvest date. Track humidity and temperature. Patterns — why one batch of broccoli was perfect and the next was patchy — become obvious after a few grow cycles when you have notes to compare.
Monitor humidity. Aim for 40–60% relative humidity. Too high and fungal pressure increases; too low and trays dry out faster than expected. A digital thermometer/hygrometer lets you track both. Keep day-to-night temperature variation under 10°F (5.5°C) — bigger swings stress seedlings and cause uneven germination.
Harvesting and Storing Microgreens
Harvest at the cotyledon stage — when the seed leaves are fully open and the first true leaves are just beginning to push through. This is when flavor peaks and, for crops like broccoli, when sulforaphane concentration is highest. Waiting longer doesn’t improve quality; it usually reduces it.
Use clean scissors or a sharp knife and cut just above the soil line. Harvest in the morning if possible — greens are most turgid then, and they’ll store better. Don’t wash them until you’re ready to eat.
Store unwashed microgreens in an airtight container lined with a dry paper towel in the refrigerator. Most varieties keep well for 5–7 days. The paper towel absorbs excess moisture that would otherwise accelerate wilting and decay.
Can you regrow them after cutting? Not meaningfully. Once you harvest at the cotyledon stage, the plant doesn’t have enough energy reserves to produce a worthwhile second crop. A few Brassica varieties may push a thin second flush, but quality drops significantly. Start a fresh tray instead — especially if you’re already staggering plantings every 5–7 days.
Frequently Asked Questions
How long does it take to grow microgreens from seed to harvest?
Fast growers like radish are ready in 5–7 days. Broccoli takes 7–10 days, sunflower and pea shoots 10–14 days, and slower crops like basil and cilantro need 14–21 days. Most beginners harvest their first tray within two weeks.
Do microgreens need fertilizer?
For most short-cycle crops (7–14 days), no — the seed’s cotyledons store enough nutrition to carry the plant through harvest. Extended-cycle crops (14–21 days) or anything grown in inert soilless media may show yellowing after day 10. In that case, apply a balanced liquid fertilizer at ¼ strength via bottom watering.
What is the best growing medium for microgreens?
A blend of 70% potting mix and 30% coconut coir is the most reliable all-around choice. It drains well, holds enough moisture, and stays near the ideal pH range of 5.8–6.5. For a soilless option, hemp fiber mats work well and reduce disease risk.
Why are my microgreens falling over or turning yellow?
Falling over usually means insufficient light — stems are etiolating and losing structural integrity. Move them closer to a window or lower your grow light to 2–4 inches above the canopy. Yellowing can indicate the same light problem, or nitrogen deficiency in longer-cycle crops grown in soilless media.
Can you regrow microgreens after cutting?
Generally not. Once harvested at the cotyledon stage, the plant lacks the energy reserves to produce a meaningful second crop. A few Brassica varieties may push a thin second flush, but quality drops significantly. Your time is better spent starting a fresh tray.