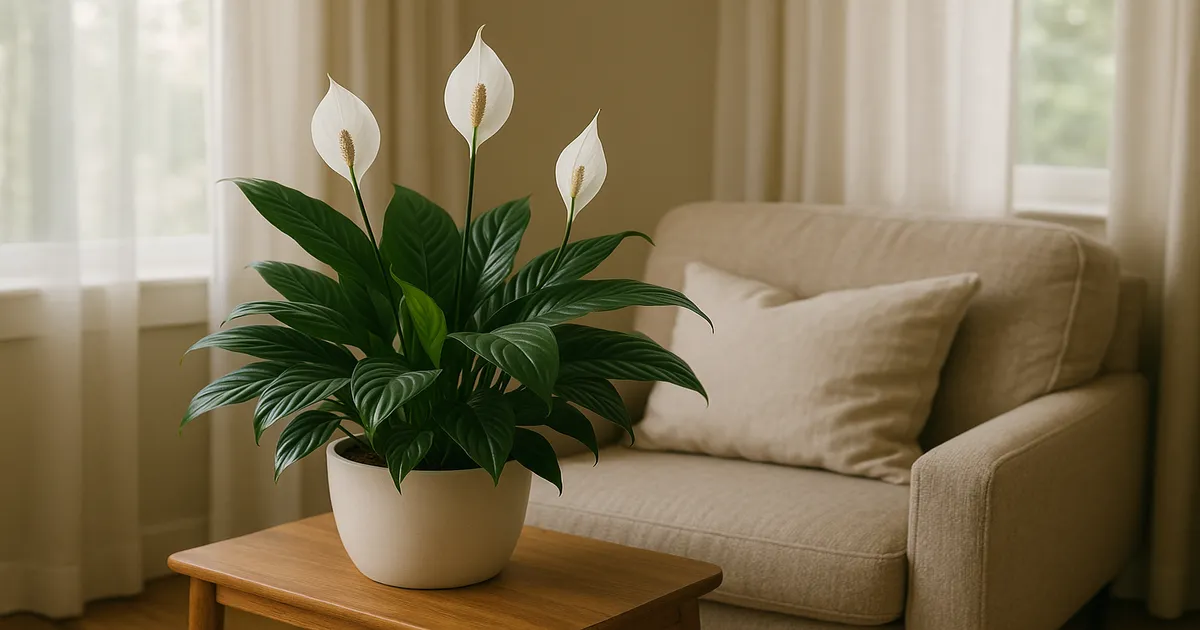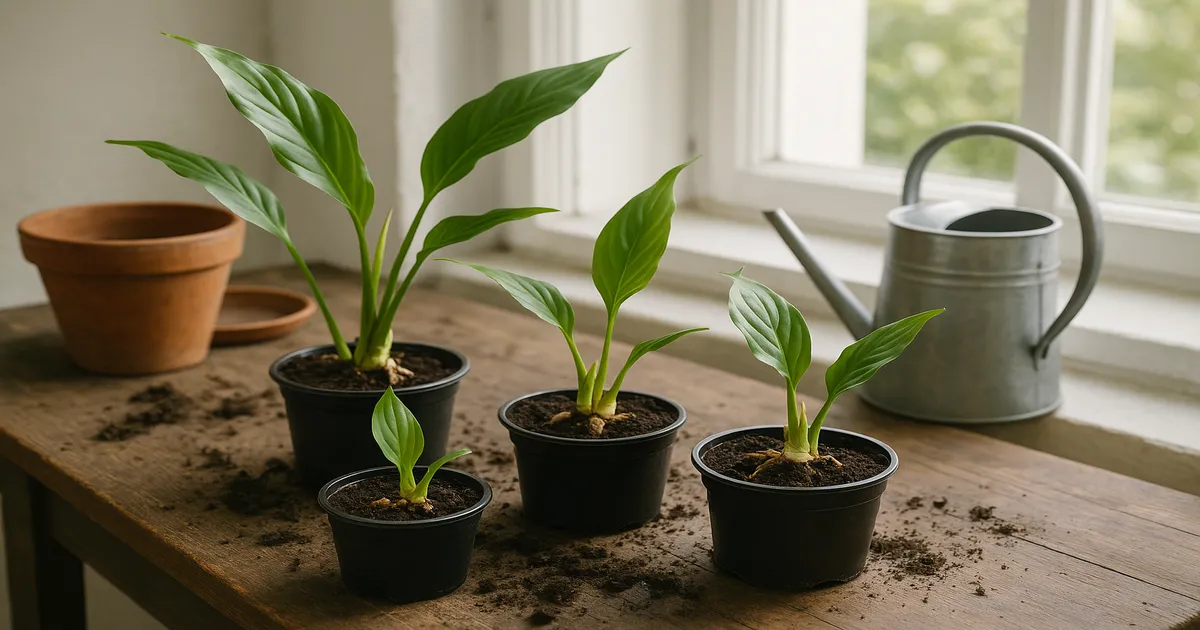
Quick Answer: The easiest and most reliable way to propagate peace lily plants is by dividing the root ball into separate rhizome clusters — a method with an 85–95% success rate. Late winter to early spring (February–April) is the ideal time. Offset separation is an equally beginner-friendly option when only one or two pups have formed.
Peace lilies are genuinely one of the most forgiving plants to propagate, largely because of how they grow. Learning how to propagate peace lily plants comes down to one simple fact: these are clump-forming, rhizomatous perennials that want to spread. With the right timing and technique, you can turn one crowded plant into several thriving ones in a matter of weeks.
How to Propagate Peace Lily Plants: Choosing Your Method
The Fastest, Most Reliable Method at a Glance
Division is the go-to method for good reason. Remove the plant from its pot, separate the root ball into sections — each with at least 2–3 leaves and a portion of roots — and pot them up individually. Most divisions show new growth within 3–6 weeks.
Which Propagation Method Is Right for You?
| Method | Difficulty | Success Rate | Time to Establishment |
|---|---|---|---|
| Rhizome division | Easy | 85–95% | 3–6 weeks |
| Offset/pup separation | Easy | 80–90% | 4–8 weeks |
| Seed propagation | Difficult | 30–60% | 6–18 months |
| Tissue culture | Expert only | Very high (commercial) | Months (lab-controlled) |
For most growers, the choice is simply between division and pup separation. Seeds are a rewarding challenge for advanced hobbyists, and tissue culture is a commercial process — not something you’d do at home.
Understanding How Peace Lilies Grow
Rhizomes, Offsets, and Pups
A peace lily grows from a rhizome — a fleshy, horizontal underground stem that stores energy and produces both roots and new growth points. Over time, lateral buds develop into offsets, also called pups: smaller rosettes that push up at the base of the mother plant with their own emerging root systems. That independent root development is exactly what makes them so easy to separate.
Mature plants sometimes also develop aerial roots — short, stubby roots visible just above the soil line. Divisions that include these tend to establish faster, since some root infrastructure is already in place.
Why Peace Lilies Are Easy to Divide
Because the plant spreads laterally rather than growing from a single taproot, each rhizome cluster is essentially self-contained. There’s no central structure you need to preserve intact. As long as each division has leaves, roots, and a section of healthy rhizome, it has everything it needs to survive on its own.
Best Cultivars for Propagation
- ‘Mauna Loa Supreme’ — produces abundant offsets and grows vigorously; the best choice for beginners
- ‘Sensation’ — the largest commercially available cultivar; divisions become impressive specimen plants quickly
- ‘Domino’ — a variegated cultivar that must be propagated by division; the variegation pattern is not stable from seed
- ‘Piccolino’ — a compact dwarf variety with smaller rhizome clusters; requires more careful, precise cutting
How to Propagate Peace Lily by Division (Step-by-Step)
When to Divide: Signs Your Plant Is Ready
The best window is late winter to early spring (February–April). As the plant exits its slower winter period, rising cytokinin levels accelerate root regeneration, giving divisions the best possible start. Look for these readiness signs:
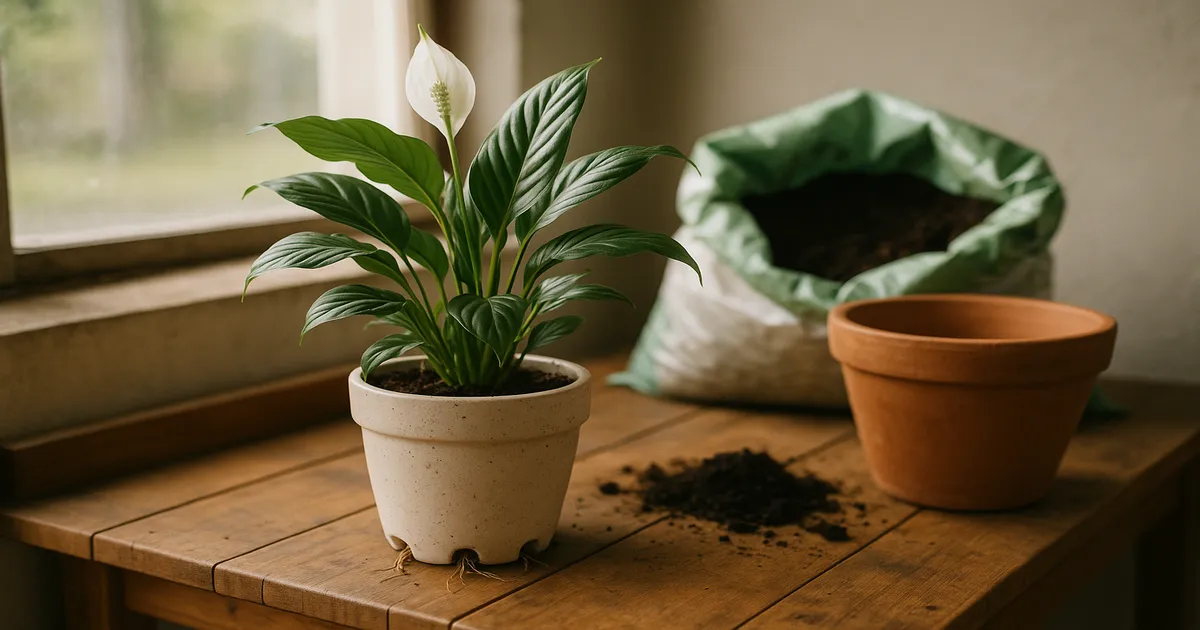
- Roots circling the bottom of the pot or escaping through drainage holes
- Two or more distinct offset clusters visible at the soil surface
- The plant wilts unusually quickly between waterings
Tools and Materials
- Sharp knife or pruning shears
- 70% isopropyl alcohol or 10% bleach solution for sterilization
- Powdered cinnamon or powdered sulfur (wound treatment)
- Fresh potting mix (see recipe in Step 4)
- New pots with drainage holes — terracotta is particularly good during recovery
- Gloves (peace lily sap contains calcium oxalate crystals that irritate skin and are toxic if ingested)
Step 1 — Remove the Plant and Expose the Root Ball
Water the mother plant thoroughly 24 hours before dividing. Fully hydrated tissue handles mechanical stress far better than dry tissue. Tip the pot sideways, support the base of the stems, and ease the root ball out. If it’s stuck, run a knife around the inside edge of the pot first.
Step 2 — Identify Rhizome Clusters
Lay the root ball on a clean surface and gently work away soil with your fingers to expose the rhizomes. Look for natural separation points — places where distinct clusters of leaves connect to separate rhizome sections. Take your time here. The clearer your picture of the root structure, the cleaner your cuts will be.
Step 3 — Make Clean Cuts and Treat the Wounds
Use your sterilized knife to cut decisively through the rhizome between clusters. Do not tear. Tearing creates ragged wound surfaces that are slow to heal and invite fungal pathogens like Pythium and Fusarium. Each division needs a minimum of 2–3 leaves and a visible portion of roots.
Once cut, dust the exposed rhizome surfaces with powdered cinnamon or powdered sulfur. Cinnamon contains cinnamaldehyde, a natural antifungal compound that works well as a first-line wound treatment.
Step 4 — Pot Up Divisions in the Right Soil Mix
A well-aerated, moisture-retentive mix is critical. Here’s a reliable recipe:
- 40–50% peat-based or coco coir potting mix
- 25–30% perlite
- 15–20% orchid bark or coarse horticultural sand
- Optional: 5–10% worm castings for gentle nutrition
Choose a pot only 1–2 inches larger in diameter than the root ball. Oversized pots hold excess moisture in unused soil, which dramatically increases root rot risk in an already-stressed plant. Target a soil pH of 5.8–6.5.
Step 5 — Post-Division Care for the First 6–8 Weeks
Place divisions in medium indirect light (200–1,000 foot-candles) — not their final bright spot. Keep humidity at 60–80%, water when the top inch of soil feels barely dry, and hold all fertilizer for at least six weeks. New leaf emergence is your signal that the division has established roots and is ready for more normal care.
How to Separate Peace Lily Pups and Offsets
Identifying Pups Ready for Separation
A pup is ready when it has at least 2–3 leaves of its own and you can feel small root initials at its base. Tug it very gently — if you feel resistance, roots are forming. Attempting separation before this point leaves the pup with no reserves to fall back on, and it will almost certainly collapse.
Separation Technique
This method works best when only one or two pups have formed and you want to keep the mother plant largely intact. Remove the plant from its pot, expose the base of the pup, and trace its connection to the mother rhizome. Cut rather than pull wherever possible. If the pup has its own root cluster, you can often tease it free with minimal cutting — just make sure any connection to the mother rhizome is cleanly severed rather than torn.
Pot pups using the same soil mix as full divisions. Because pups are smaller, they’re more vulnerable to moisture loss. A humidity tent — a clear plastic bag loosely draped over the pot — for the first two to three weeks makes a real difference. Open it for 15–30 minutes daily to prevent fungal buildup.
How to Grow Peace Lily from Seed (Advanced Method)
Seed propagation is genuinely difficult, and it’s worth understanding why before you attempt it.
Peace lily flowers are protogynous — the stigma (female part) is receptive before the pollen on the same flower is shed. This prevents self-fertilization, which means you’ll almost never get viable seeds from a single plant. You need two plants and careful timing.
Even with successful pollination, peace lily seeds are recalcitrant — they cannot be dried and stored. Sow them within one to two weeks of harvest, or viability drops sharply.
Hand-Pollination
When one plant’s spadix looks dusty and powdery (pollen-shedding stage), collect pollen on a small, clean paintbrush. Transfer it to the sticky, receptive stigmas on a different plant’s spadix — stigmas are typically receptive one to three days before that plant’s own pollen sheds. Successful pollination results in the spadix slowly developing small berries over the following months.
Harvesting and Sowing
Harvest seeds when the spadix berries turn dark green to black and feel slightly soft — this takes six to twelve months after pollination. Sow immediately on the surface of a moist, fine-textured seed-starting mix. Don’t bury them; peace lily seeds need light to germinate.
Germination conditions:
- Soil temperature: 70–80°F (21–27°C) — a seedling heat mat helps enormously
- Humidity: 80–90% — use a covered propagation tray
- Light: Low indirect light (50–200 foot-candles)
- Germination time: 10–20 days under optimal conditions
Seedlings grow slowly for the first several months. The full journey from seed to a mature plant takes 6–18 months. Named variegated cultivars like ‘Domino’ do not come true from seed — you’ll get plain green plants.
Why Peace Lily Propagation Fails (and How to Fix It)
Dividing too early. If a pup has fewer than three leaves and no visible root initials, it lacks the photosynthetic capacity to survive on its own. Wait until pups show resistance when gently tugged.
Tearing instead of cutting. Torn roots create large, irregular wounds that are slow to suberize and highly susceptible to rot. Always use a sterilized, sharp blade and treat cut surfaces with cinnamon or powdered sulfur immediately.
Wrong soil mix. Heavy, compacted soil creates anaerobic conditions that suffocate roots. Pure perlite dries out too fast for a plant with a limited root system. Use the blended mix in Step 4.
Low humidity. Damaged roots can’t supply water as fast as leaves lose it through transpiration. Below 40% relative humidity, the plant wilts rapidly. Maintain 60–80% using a humidity tent, pebble tray, or cool-mist humidifier.
Too much light. High light drives water loss through open stomata faster than damaged roots can compensate. Start divisions in medium indirect light (200–1,000 foot-candles) for the first two to three weeks, then gradually move toward bright indirect light (1,500–3,000 foot-candles).
Fertilizing too soon. Fertilizer salts applied to wounded root tissue pull water out of root cells by osmosis. Hold all fertilizer for six to eight weeks, wait for new leaf growth, then start at quarter-strength.
Cold temperatures. Below 55°F (13°C), root cell membranes partially solidify, crippling water and nutrient uptake. Keep divisions between 65–80°F (18–27°C). A heat mat set to 70–75°F under the pot actively accelerates root regeneration.
Post-Propagation Care
Watering
Keep the soil evenly moist but never waterlogged. Allow the top one to two inches to dry slightly between waterings — this encourages roots to grow downward in search of moisture. Use room-temperature, filtered, or distilled water; peace lilies are sensitive to fluoride and chlorine, which causes the characteristic brown leaf tips.
Humidity and Temperature
Target 60–80% relative humidity for the first six to eight weeks. Keep temperatures between 65–80°F and consider a bottom heat mat set to 70–75°F to speed root regeneration.
Light
Start in medium indirect light (200–1,000 foot-candles) for the first two to three weeks. Once new leaf growth confirms roots are functioning, gradually move toward bright indirect light (1,500–3,000 foot-candles). A north or east-facing windowsill, or a spot three to five feet back from a bright south or west window, works well during recovery.
Fertilizing
At six to eight weeks, when new leaves are actively emerging, give the first feed at quarter-strength using a balanced liquid fertilizer (20-20-20) or one slightly higher in phosphorus (10-20-10) to support root development. After that, feed monthly through spring and summer at half-strength, and reduce to quarterly — or not at all — in fall and winter.
Repotting
A division potted in a correctly sized container shouldn’t need repotting for one to two years. When roots begin circling the base or emerging from drainage holes, move up one pot size — and that rootbound plant is ready to divide again.
Setting Up Propagation for Success
Prepare the mother plant. Start optimizing care four to six weeks before you plan to divide. Ensure bright indirect light (1,500–3,000 foot-candles), water with filtered or room-temperature water, and feed regularly so rhizomes are packed with stored energy. Divisions from a healthy, well-fed plant establish dramatically faster than those cut from a struggling one.
Tool hygiene. Sterilize cutting tools with 70% isopropyl alcohol or a 10% bleach solution before each use, and re-sterilize between plants. Work on a clean surface — not directly in garden soil, which harbors pathogens.
Label everything. Mark every division with the cultivar name and the date of propagation. Once you have several pots of similar-looking plants, it’s easy to lose track — especially with variegated varieties like ‘Domino’. A plant stake and a permanent marker takes ten seconds and saves a lot of confusion later.
Toxicity reminder. Peace lily is toxic to cats, dogs, and humans if ingested. Keep plants and cuttings away from pets and children during propagation, and wash hands thoroughly after handling. Symptoms of ingestion include oral irritation, drooling, and vomiting — contact a vet or poison control immediately if ingestion is suspected.
Frequently Asked Questions
Can you propagate a peace lily in water?
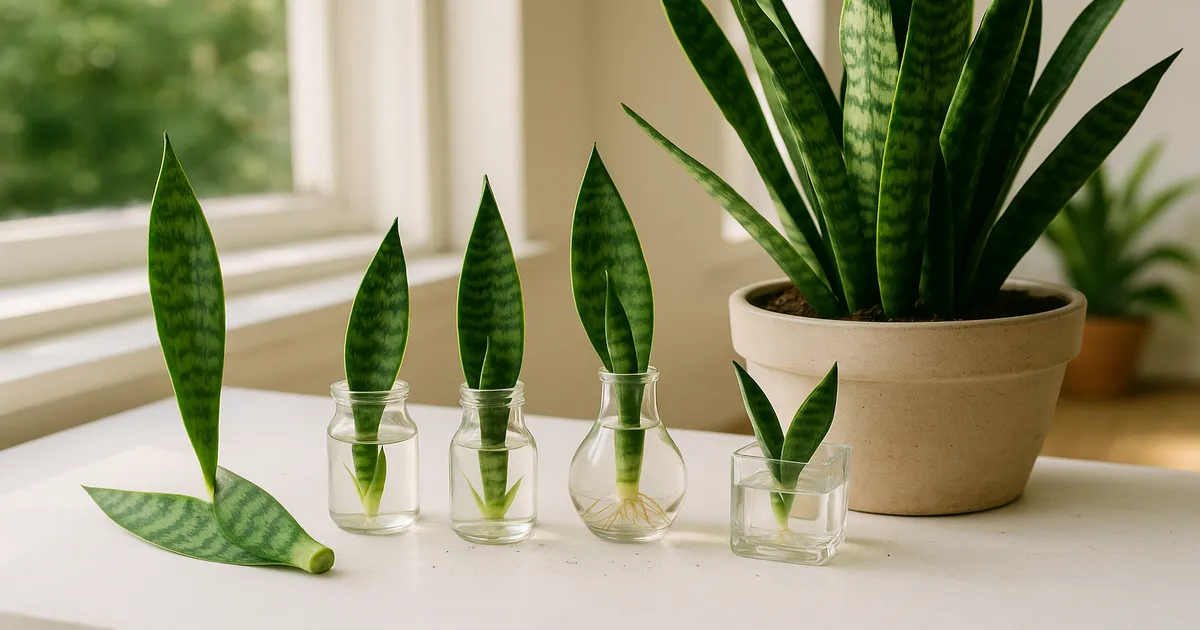
You can root peace lily divisions in water, but it’s not recommended. Divisions with established root systems transition poorly from water to soil, and the risk of rot is higher. Peace lilies propagate far more reliably directly into a well-aerated soil mix.
How long does it take for a peace lily division to establish?
Most divisions show new leaf growth within three to six weeks under good conditions — warm temperatures (65–80°F), moderate humidity (60–80%), and medium indirect light. Full establishment, where the plant is growing actively and ready for normal care, typically takes six to eight weeks.
Can you propagate a peace lily from a leaf or stem cutting?
No. Peace lilies cannot be propagated from a single leaf or stem cutting alone. They have no capacity to regenerate a full plant from leaf tissue. Successful propagation always requires a section of rhizome with at least one growth point attached — which is why division and pup separation are the only practical home methods.
What is the best time of year to divide a peace lily?
Late winter to early spring — February through April in the Northern Hemisphere — is ideal. As the plant comes out of its slower winter period, increasing cytokinin levels accelerate root regeneration and new growth. That said, if your plant is severely rootbound, dividing in summer is far better than waiting.
Why is my peace lily wilting after division?
Some wilting in the first one to two weeks is completely normal — the root system is temporarily unable to supply water as fast as the leaves lose it. Ensure humidity is at 60–80%, keep the plant out of direct sun, and resist the urge to overwater. If wilting persists beyond two weeks, check the roots for rot and confirm the soil mix is draining properly.