Quick Answer: Most peace lilies need repotting every 1–2 years, but the real trigger is what’s happening with the roots — not the calendar. If your plant is drying out within a day or two of watering, pushing roots out of the drainage holes, or looking miserable despite good care, it’s time to investigate. A mildly rootbound peace lily can actually bloom better, so urgency depends on how severe the crowding is.
Asking yourself “do I need to repot this peace lily?” is the right instinct — and the answer isn’t always obvious. Peace lilies are forgiving plants, but they do have a breaking point. Before you reach for a new pot, run through this quick checklist:
- Roots are growing out of the drainage holes or pushing above the soil surface
- The soil dries out completely within 1–2 days of watering
- Water runs straight through the pot without absorbing
- The plant droops, yellows, or stalls despite correct watering and light
If you checked two or more of those boxes, keep reading. This guide walks you through every reason a peace lily might need repotting — and exactly what to do about it.
Signs Your Peace Lily Needs Repotting
1. The Roots Have Run Out of Room
This is the most common reason. As a peace lily grows, its roots steadily fill the pot until there’s barely any soil left. Once roots occupy more than 60–70% of the pot volume, water can’t move through properly — the plant ends up thirsty even when you’re watering regularly.
Signs to look for:
- Roots coiling out of drainage holes or cracking through a plastic pot
- The pot feels unusually dense and heavy
- The plant wilts within a day or two of watering, then perks up briefly after
2. The Potting Mix Has Broken Down
Potting mix doesn’t last forever. Over 12–24 months, organic materials — peat, coco coir, bark — decompose and compact. Compacted soil loses the air pockets roots need to breathe, and without oxygen, the conditions that lead to root rot begin to develop.
Signs to look for:
- Soil shrinks away from the pot edges when dry
- Water channels straight through rather than absorbing evenly
- Persistent yellowing of lower leaves despite correct watering
3. Fertilizer Salts Have Built Up
Every time you fertilize — or water with hard tap water — dissolved mineral salts accumulate in the soil. Over time, those salts raise the soil’s electrical conductivity to a level that makes it hard for roots to absorb water, even when the soil feels moist.
Signs to look for:
- White or orange crusty deposits on the soil surface or pot exterior
- Brown, crispy leaf-tip burn that progresses inward
- Wilting despite consistently moist soil
4. Root Rot Has Damaged the Root System
Root rot is caused by pathogens like Pythium and Phytophthora that thrive in waterlogged, poorly aerated soil. A plant can lose nearly half its root mass before you see obvious above-ground symptoms — which is why the decline often seems to come out of nowhere.
Signs to look for:
- Persistent wilting that doesn’t improve after watering
- A foul, sulfurous smell from the soil
- Black, mushy roots when you unpot the plant (healthy roots are white and firm)
5. Pups Are Overcrowding the Pot
Peace lilies spread by producing offshoots — called pups — from their central rhizome. A single plant can become a crowded cluster of competing crowns, all fighting for the same water, nutrients, and root space.
Signs to look for:
- Multiple distinct leaf clusters emerging from different spots in the pot
- Smaller-than-normal new leaves
- Reduced or absent flowering despite otherwise good care
6. The Pot Size Is Wrong
An oversized pot holds more moisture than the roots can use, keeping soil wet long enough for rot to set in. An undersized pot restricts root growth and depletes nutrients quickly. Either way, the plant suffers.
- Over-potted: Yellowing, wilting, root rot despite infrequent watering
- Under-potted: Soil dries out almost immediately, stunted growth, roots escaping the pot fast
7. Soil-Dwelling Pests Have Moved In
Fungus gnats and root mealybugs are the two most common culprits. Fungus gnat larvae chew through fine root hairs; root mealybugs feed directly on roots and promote fungal growth with their secretions. Both are good reasons to repot into fresh, sterile soil.
Signs to look for:
- Tiny flies hovering near the soil surface (fungus gnats)
- White cottony masses on roots or at the soil line (root mealybugs)
- Unexplained decline despite correct watering and light
How to Tell If Your Peace Lily Is Rootbound
The Tip-Out Test
The only way to know for sure is to look. Here’s how to do it safely:
- Water the plant lightly an hour beforehand — moist soil holds together better.
- Place one hand over the soil surface with the stem between your fingers, then flip the pot upside down.
- Gently squeeze a plastic pot or tap the bottom of a rigid one to loosen the root ball.
- Slide the pot off and set the plant on a table.
Now examine what you’ve got.
Healthy roots are white to light tan, firm, and slightly fleshy. A healthy root ball holds its shape but still shows visible soil between the roots.
Problematic roots look different depending on the issue:
- Rootbound: A dense, pot-shaped mass of tightly circling roots with little soil visible
- Root rot: Brown or black, soft, and possibly foul-smelling
- Salt damage: Desiccated or brown, shriveled tips
When Being Rootbound Is Actually Fine
Here’s a nuance most guides skip: peace lilies tolerate mild crowding well and often bloom more freely when slightly pot-bound. If you tip out the plant and the roots are snug but you can still see some soil — and the plant is drying out at a normal pace (every 5–7 days) — there’s no urgent need to repot. The threshold for action is when roots dominate the entire pot volume and the soil dries out within 1–2 days.
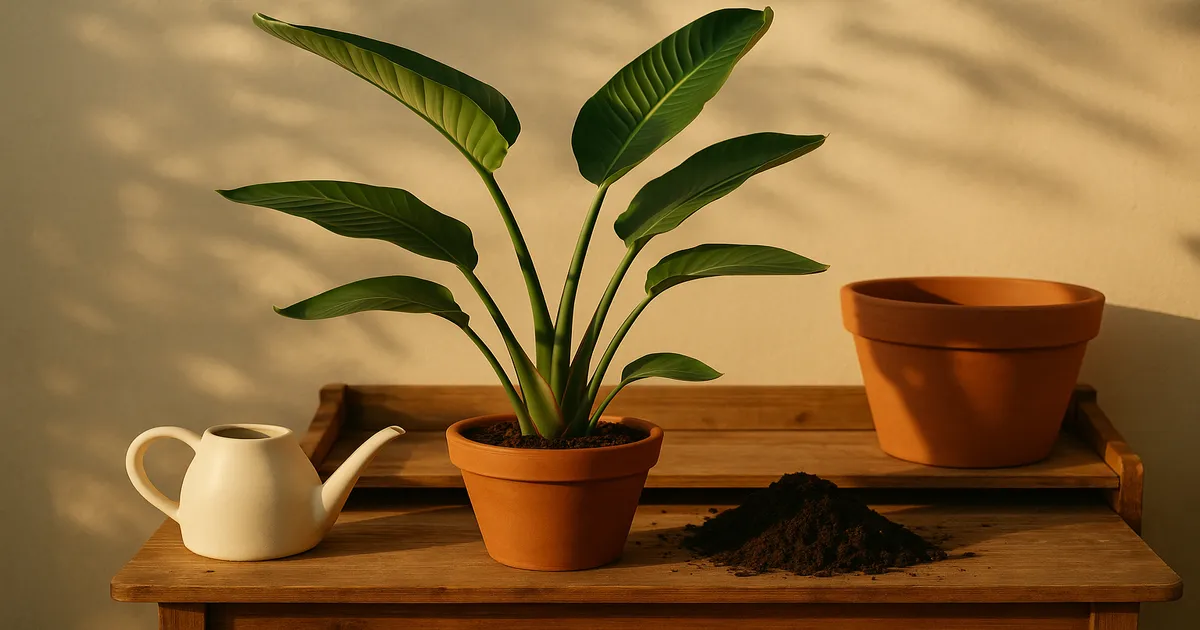
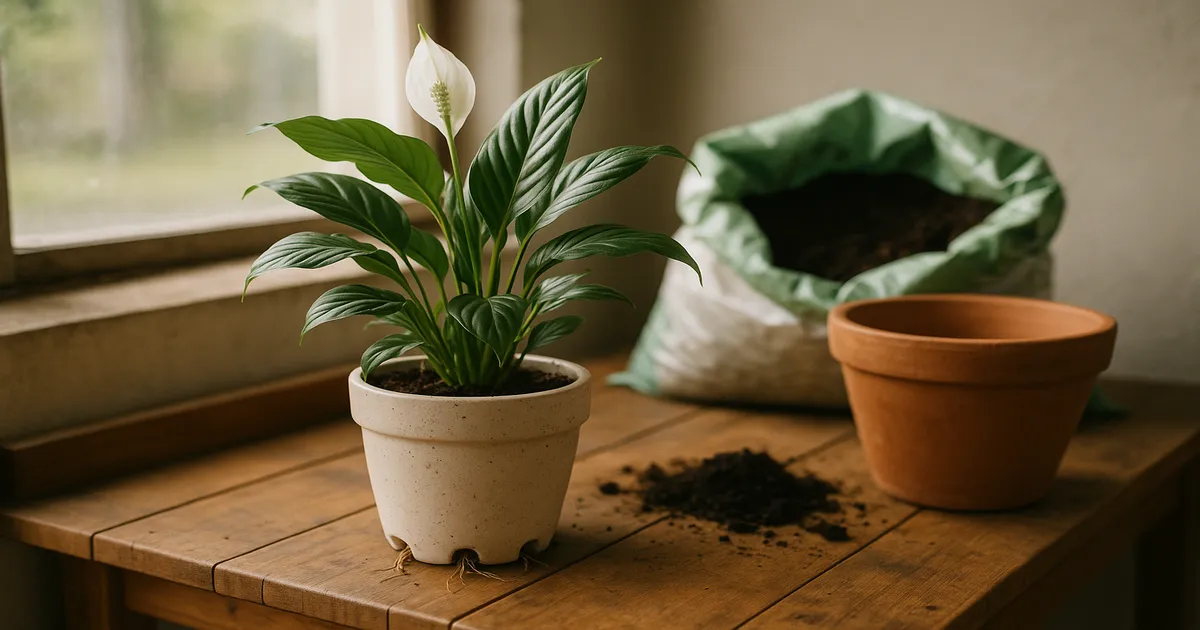
How to Repot a Peace Lily: Step-by-Step
Choosing the Right Pot
Always go up just 1–2 inches in diameter from the current pot — moving from a 6-inch to an 8-inch, for example. A larger jump risks over-potting and the root rot problems that follow.
- Terracotta: Breathable and forgiving if you tend to overwater; dries out faster
- Plastic or glazed ceramic: Retains moisture longer — good for drier homes or if you sometimes forget to water
Whatever you choose, drainage holes are non-negotiable.
The Best Soil Mix for Peace Lilies
Peace lilies need a well-draining, slightly acidic mix with a target pH of 5.8–6.5. A quality tropical houseplant potting mix works well as a base — something like Fox Farm Ocean Forest hits the right pH range and texture straight out of the bag.
For even better drainage, mix your own:
- 60% standard potting mix
- 20% perlite
- 20% orchid bark
This combination holds enough moisture to keep roots happy while letting excess drain freely and maintaining oxygen in the root zone.
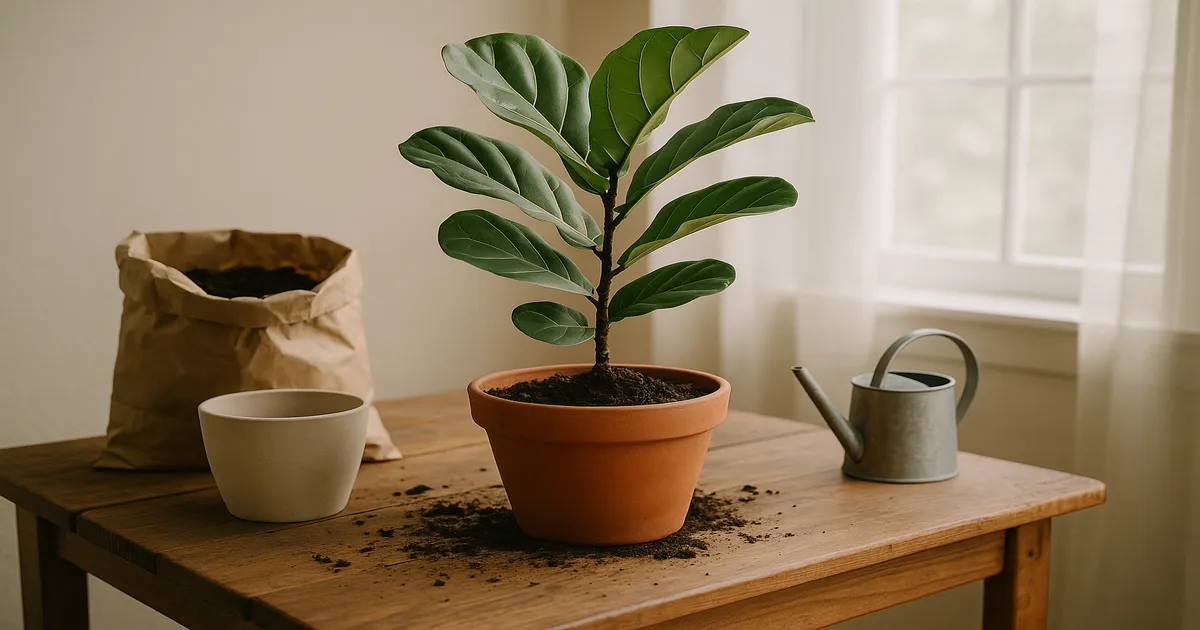
The Repotting Process
- Add a layer of fresh mix to the bottom of the new pot.
- Unpot the plant and gently loosen any tightly circling roots with your fingers.
- Remove as much old soil as you reasonably can — especially if it’s degraded or suspect.
- Set the plant so the base of the leaves sits about an inch below the pot rim.
- Fill in around the roots with fresh mix, pressing gently to eliminate air pockets.
- Water thoroughly until it drains freely from the bottom.
- Place in bright indirect light (1,500–3,000 foot-candles) and leave it alone for a few weeks.
How to Divide Peace Lily Pups
Once the plant is out of its pot, look for natural separations between crowns — places where distinct clusters of leaves emerge from their own root sections. Gently pull these apart by hand, or use clean scissors if the roots are tangled.
Each division needs at least 2–3 leaves and a viable section of roots. Pot each one into its own 4–6 inch container with fresh mix. Keep humidity high and light moderate (500–1,500 foot-candles) for the first 2–4 weeks while they settle in.
Fixing Specific Problems at Repotting Time
Treating Root Rot
Remove all the soil and inspect every root under good light. Using scissors wiped with 70% isopropyl alcohol, cut away anything black, mushy, or foul-smelling. Rinse the remaining roots with a diluted 3% hydrogen peroxide solution or a copper-based fungicide to knock back any remaining pathogens.
If you lost significant root mass, downsize the pot to match what’s left. Use a mix with extra perlite (up to 30%) for maximum aeration, and water sparingly until new roots establish over the next 3–6 weeks.
Dealing with Fertilizer Salt Buildup
If the buildup is mild, flush the soil: run water slowly through the pot for 3–5 minutes, let it drain, and repeat two or three times. If the crust is thick or the leaf burn is extensive, full soil replacement is the cleaner fix. Trim burned leaf tips back to healthy green tissue with sterile scissors. Going forward, fertilize at half-strength and flush the soil with plain water every 2–3 months.
Handling Soil Pests
Discard all infested soil — bag it and throw it out, don’t compost it. Then:
- Fungus gnats: Rinse the roots, repot in fresh sterile soil, and apply a Bacillus thuringiensis var. israelensis (Bti) biological drench to the new pot. Yellow sticky traps help catch adults in the meantime.
- Root mealybugs: Rinse roots thoroughly under running water, then soak them for 10–15 minutes in a neem oil solution (2 tsp neem oil + 1 tsp insecticidal soap per quart of water). Repot in fresh, sterile mix.
What to Do If the Plant Was Over-Potted
Unpot the plant, remove the excess soil from around the root ball, and move it into a correctly sized container — one where the roots fill roughly 60–70% of the pot volume. Use fresh mix to fill any gaps. This quick fix can reverse yellowing and wilting surprisingly fast.
Post-Repotting Care
Watering
Water thoroughly immediately after repotting — you want the fresh soil evenly moist and the roots in contact with their new medium. After that first watering, let the top 1–2 inches dry out before watering again. A simple soil moisture meter takes the guesswork out of this, especially while the plant is recovering. The root system is stressed and doesn’t need the added pressure of soggy soil.
Light and Humidity
Keep the plant in bright indirect light (1,500–3,000 foot-candles) — a spot a few feet from an east- or north-facing window works well for most homes. Avoid direct sun, which will stress an already-recovering plant. Aim for 50–60% relative humidity; if your home runs dry, a small humidifier nearby makes a real difference during recovery.
When to Fertilize Again
Wait 4–6 weeks before feeding. Fresh potting mix already contains some nutrients, and fertilizing too soon can burn tender new roots. When you do resume, use a balanced liquid fertilizer at half-strength every 4–6 weeks through spring and summer.
Normal vs. Concerning Signs
Some drooping and a yellow leaf or two in the first 1–2 weeks is normal transplant shock. The plant should bounce back with new growth within a few weeks. What’s not normal: persistent wilting that doesn’t improve, new roots turning dark and mushy, or a foul smell from the soil. Those signs suggest root rot is still active and needs to be addressed immediately.
How to Prevent Repotting Problems
Inspect roots every spring. Tip your peace lily out of its pot for a quick look — even if it seems healthy. Catching early rootbound conditions or soil degradation before they become a crisis is far easier than fixing a plant in decline. It takes two minutes and can save months of troubleshooting.
Water correctly. Water only when the top 1–2 inches of soil are dry. Always water until it drains freely from the bottom, and empty saucers within 30 minutes. Sitting in standing water is one of the fastest routes to root rot.
Fertilize lightly. Use a balanced, water-soluble fertilizer at half the recommended strength, every 4–6 weeks during spring and summer only. Flush the soil with plain water every 2–3 months to leach accumulated salts before they reach damaging levels.
Start with the right setup. Use a well-draining mix (pH 5.8–6.5), a pot with drainage holes, and a container that’s appropriately sized — not too generous. Even if your plant never becomes severely rootbound, plan to refresh the soil every 18–24 months regardless. Old, compacted soil causes problems on its own timeline.
Frequently Asked Questions
Do I need to repot my peace lily if it’s only been one year?
Not necessarily. Age alone isn’t a reliable trigger. Check the actual roots — if the plant is drying out normally (every 5–7 days), isn’t pushing roots out of the drainage holes, and looks healthy, it can wait. If it’s showing two or more of the warning signs listed above, repot regardless of how long it’s been in the current pot.
What size pot does a peace lily need?
Choose a pot only 1–2 inches larger in diameter than the current one. For most standard peace lilies (Spathiphyllum wallisii), that means working up from 4-inch to 6-inch to 8-inch pots over time. Going too large too fast leads to waterlogged soil and root rot, which is harder to fix than being slightly rootbound.
Why is my peace lily drooping after repotting?
Some drooping in the first week or two is normal transplant shock — the root system has been disturbed and needs time to re-establish. Keep the soil evenly moist (not soggy), maintain 50–60% humidity, and avoid direct sun. If drooping persists beyond two weeks or new roots are turning dark and mushy, check for root rot.
Do peace lilies like to be rootbound?
Mildly, yes. Peace lilies tolerate snug conditions better than many houseplants, and slight crowding can encourage blooming. The key word is mild — once roots are so packed that the soil dries out within a day or two of watering, the plant is past the sweet spot and needs a new pot.
What is the best time of year to repot a peace lily?
Spring is ideal. As the plant enters its active growing season, it has the energy to push new roots into fresh soil quickly. That said, peace lilies can be repotted year-round if the situation is urgent — root rot or severe rootbound conditions shouldn’t wait for spring.