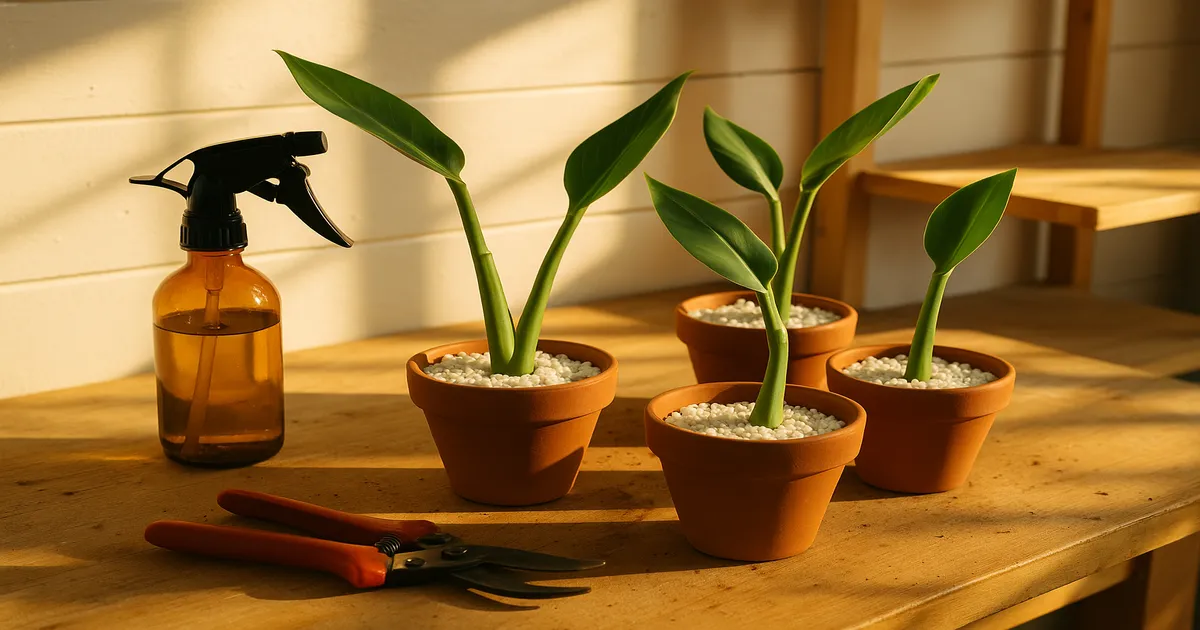
Quick Answer: The two practical bird of paradise propagation methods for home growers are division and seed germination. Division is faster — a well-rooted offset can reach blooming size in 2–4 years — but requires a mature parent plant. Seeds are easy to source but take 5–10 years to flower. Whichever bird of paradise propagation method you choose, patience isn’t optional. It’s the whole game.
Bird of paradise propagation is one of the most rewarding — and most humbling — projects in the houseplant hobby. Unlike a pothos you can root in a glass of water over a weekend, every bird of paradise propagation method demands real investment: the right timing, the right technique, and a genuine willingness to wait. This guide covers both methods in full, including what goes wrong and how to fix it.
Choosing the Right Bird of Paradise Propagation Method
Division is the go-to choice if you already own a mature, multi-stemmed plant. It produces a genetically identical clone, and a well-divided offset can reach blooming size in 2–4 years. The catch: you need a parent plant with developed offsets, and a careless division can set both plants back by a full growing season.
Seed germination is accessible to anyone — fresh seeds are easy to buy online — but the timeline is brutal. Germination alone takes 1–3 months, and first bloom from seed typically takes 5–10 years. It’s the only option if you don’t have an established plant to divide.
Tissue culture is a third method used commercially to mass-produce plants. It requires a sterile lab setup that isn’t realistic at home. Know it exists, then move on.
Realistic Timelines
| Method | Time to Established Plant | Time to First Bloom |
|---|---|---|
| Division | 6–12 months | 2–4 years post-division |
| Seed | 6–12 months (seedling) | 5–10 years |
| Tissue culture | Weeks (lab only) | 2–3 years |
Species and Propagation Basics
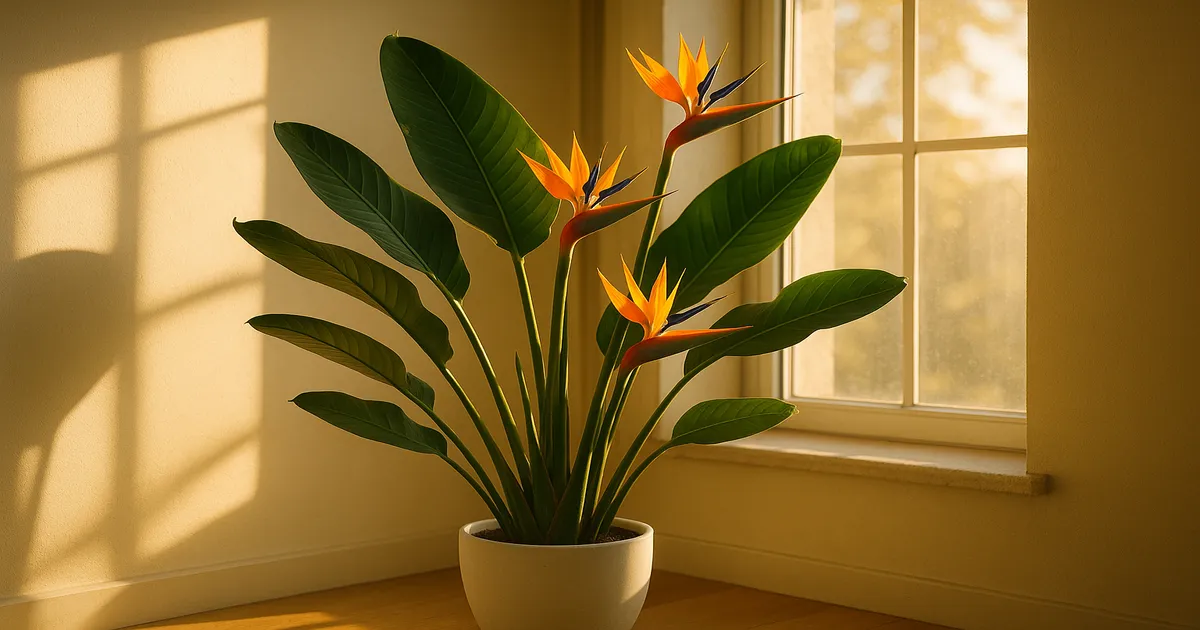
The genus Strelitzia contains five species, but two dominate the houseplant world. Strelitzia reginae — the classic orange bird of paradise — stays compact at 3–5 feet indoors and is the most commonly propagated. Strelitzia nicolai, the giant white bird of paradise, grows 6–10 feet indoors and produces offsets more readily, making division somewhat more forgiving.
Strelitzia juncea, with its narrow reed-like foliage, is notoriously difficult to divide and is better grown from seed. The remaining species — S. alba and S. caudata — are primarily of collector interest and follow similar propagation principles.
Why is Strelitzia so slow? Root regeneration after division depends on auxin (indole-3-acetic acid) concentrations in meristematic tissue, and Strelitzia produces these hormones slowly compared to faster-rooting tropicals. Seeds add another layer of delay through physical dormancy — a hard seed coat that blocks water uptake until it’s breached. Slow growth is baked into the plant’s biology. Working with it is possible; fighting it is not.
Method 1: Bird of Paradise Propagation by Division
When to Divide
Early-to-mid spring — March through April — is the optimal window. Rising temperatures and lengthening days naturally boost auxin production, which drives root regeneration. Dividing now also gives the offset an entire growing season to establish before its first winter.
Summer division is possible but adds heat stress on top of transplant shock. Fall and winter divisions rarely succeed. Root regeneration is sluggish when the plant is slowing down, and there’s no recovery time before dormancy sets in.
How to Select a Ready Offset
Don’t rush this step. A division-ready offset needs:
- At least 3–5 fully unfurled leaves of its own
- A visible, independent root cluster — not just a connection to the parent’s roots
- Clear physical separation from the parent rhizome at the base
If roots look sparse when you excavate, leave the offset attached for another full growing season. Separating it too early is the single most common reason divisions fail.
Step-by-Step Division
- Water the parent plant 24 hours before dividing — moist roots are more pliable and less prone to snapping.
- Remove the parent from its pot and lay it on its side on a clean surface.
- Excavate around the target offset with a hand trowel to assess root development before cutting anything.
- Sterilize your cutting tool — a sharp knife or pruning saw — with 70% isopropyl alcohol or a 10% bleach solution. Never use scissors; they crush tissue rather than cutting it cleanly.
- Make one clean, decisive cut through the rhizome connecting parent and offset. Avoid sawing back and forth.
- Dust all cut surfaces immediately with powdered sulfur or horticultural-grade activated charcoal to inhibit fungal colonization.
- Allow 30–60 minutes of callusing in a shaded spot before potting.
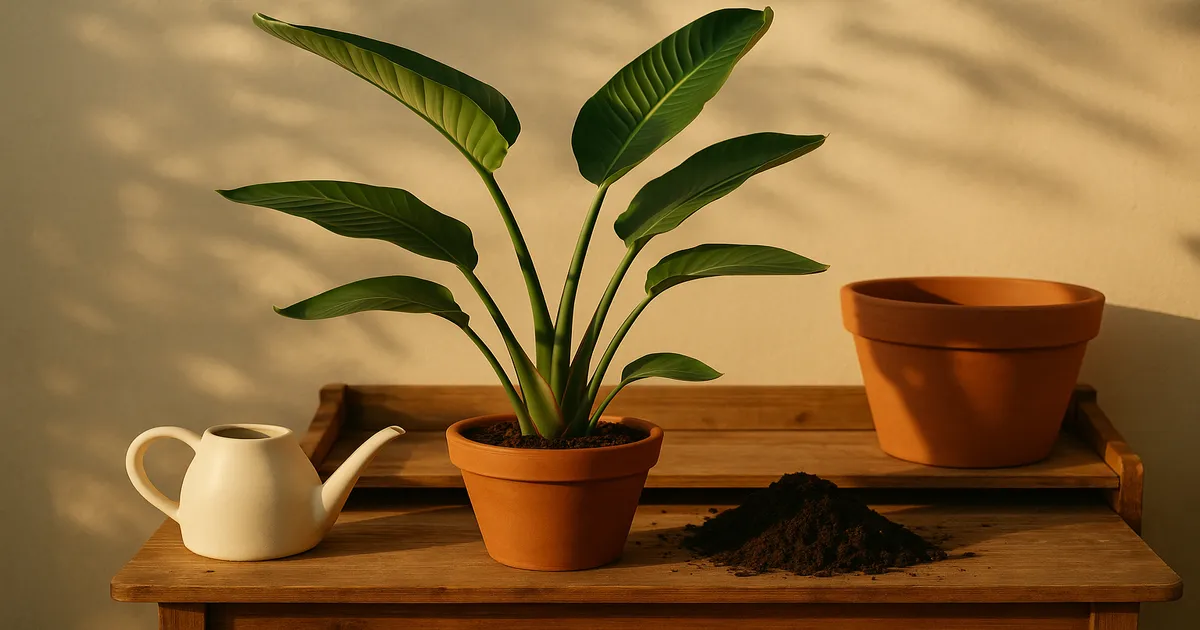
- Pot the offset in a well-draining mix (see the soil recipe below) in a pot only slightly larger than the root ball.
Post-Division Care: The First 8 Weeks
Place the new division in bright indirect light — roughly 1,500–3,000 foot-candles, which is a few feet back from a south-facing window or directly in front of a north-facing one. No direct sun for the first 4–6 weeks; the damaged roots can’t keep up with the water demand yet.
Keep ambient humidity at 60–70%. A pebble tray filled with water, grouping plants together, or a small humidifier all work well. Water when the top inch of soil dries out — evenly moist, never soggy. Hold off on fertilizer entirely for the first 8–12 weeks.
Method 2: Bird of Paradise Propagation from Seed
Sourcing Seeds
Seed freshness is everything. Viability drops sharply after 6 months and can fall below 50% within 1–2 years of harvest. Buy from reputable specialty seed suppliers and ask for — or verify — the harvest date. Avoid seeds sold without provenance information.
Scarification: Breaking Dormancy
The hard seed coat (testa) prevents water uptake until it’s breached. Two options:
- Mechanical scarification: Gently nick the seed coat with a nail file or fine sandpaper — just enough to break the surface without damaging the embryo inside.
- Warm water soak: Submerge seeds in water at 85–95°F (29–35°C) for 24–48 hours, refreshing the water if it cools.
Either method works; many growers combine both for stubborn seeds. Also remove the orange aril (the fluffy fiber attached to the seed) completely before sowing — it harbors mold-promoting compounds that can kill seeds before they sprout.
Sowing and Germination
Mix your sowing medium at roughly 70% seed-starting mix and 30% perlite. Sow seeds about half an inch deep, one per cell or small pot.
Soil temperature is the single most impactful variable. Maintain 68–77°F (20–25°C) at the root zone using a seedling heat mat and cover trays with a clear humidity dome. Expect germination in 4–8 weeks under ideal conditions — but 3 months is not unusual. Many growers discard viable seeds after a few weeks, assuming failure. Don’t.
Seedling Care
Once seedlings emerge, remove the humidity dome gradually over a week to acclimate them. Hold off on fertilizer for the first 3–4 months — seedlings have enough stored energy, and adding nutrients too early causes osmotic burn on immature roots.
After that initial period, begin feeding at quarter-strength with a balanced water-soluble fertilizer. And steel yourself: first bloom from seed takes 5–10 years. That’s not a typo.
7 Reasons Bird of Paradise Propagation Fails
- Dividing at the wrong time of year. Fall and winter divisions fail because auxin levels are low and root regeneration is sluggish.
- Separating underdeveloped offsets. An offset without its own root system has no way to take up water or nutrients after separation.
- Using dull tools. Torn tissue creates large, ragged wound surfaces that Fusarium and Pythium fungi colonize readily.
- Skipping scarification. Unscarified seeds may sit dormant for months or simply rot.
- Planting old seeds or leaving the aril attached. Both dramatically reduce germination rates.
- Wrong soil mix. Standard potting mix holds too much moisture for a plant with a compromised root system, inviting root rot.
- Fertilizing too soon. High salt concentrations draw water out of root cells through osmosis — the exact opposite of what a stressed plant needs.
Fixes: Soil, Timing, and Fertilizer
The Right Soil Mix
Combine 1 part quality potting mix + 1 part perlite + 1 part coarse horticultural sand or bark chips. This delivers drainage, aeration, and enough structure to support developing roots. Target a pH of 5.5–7.0. Every pot must have drainage holes — no exceptions.
Post-Propagation Microclimate
Bright indirect light, 60–70% humidity, temperatures consistently above 55°F (13°C), and no cold drafts. If you’re in a dry climate or running central heat through winter, a humidifier is a practical necessity, not a luxury.
Fertilizer Ramp-Up Schedule
- Weeks 1–12: No fertilizer.
- Months 3–5: Quarter-strength balanced fertilizer (10-10-10 or 20-20-20), every 4 weeks.
- Months 5–6: Half-strength balanced fertilizer.
- 6+ months post-propagation: Transition to a phosphorus-forward formula (10-30-10 or similar) during the growing season to support root and rhizome development.
- Fall and winter: No fertilizer.
Seasonal Propagation Calendar
Spring (March–May): Your primary action window. Divide as new growth emerges in March or April. Start seeds indoors in late February so seedlings have a head start when outdoor temperatures warm.
Summer (June–August): Early summer division is possible, but heat stress compounds transplant shock. Move new divisions immediately to medium indirect light (500–1,500 foot-candles) and increase watering frequency while maintaining excellent drainage.
Fall (September–November): Skip division entirely. Use this time to identify developing offsets and plan which ones will be ready for spring.
Winter (December–February): No division. However, February is a great time to start seeds indoors under grow lights with a heat mat, giving seedlings a 6–8 week head start before the main growing season.
Setting Up for Success Before You Start
Maintain a healthy parent plant. A stressed or pest-riddled parent produces poor-quality offsets. Keep it fed during the growing season, treat pest issues promptly, and let it become slightly root-bound — Strelitzia produces offsets most prolifically when mildly pot-bound.
Wait for offsets to mature. Note the date when you first spot an offset. Plan to divide no sooner than 12–18 months after that first sighting. Take no more than one-third of the total clump at any one time to protect the parent’s vigor.
Label and quarantine. Keep new divisions away from your main collection for 4–6 weeks — latent pests sometimes emerge under propagation stress. Label every propagated plant with the date, method, and parent ID. It sounds fussy, but it’s invaluable when you’re troubleshooting slow growth six months later.
Common Myths, Debunked
“You can propagate from leaf or stem cuttings.” False. Strelitzia leaves and stems contain no meristematic tissue capable of producing roots. Cuttings will simply rot.
“Fertilize heavily right after division to speed recovery.” Harmful. The plant needs water, warmth, and humidity — not nutrients — while its root system is compromised.
“Seeds germinate quickly like other tropicals.” False. Physical dormancy makes germination slow (1–3 months) even under perfect conditions.
Frequently Asked Questions
How long does bird of paradise propagation from seed take?
Under ideal conditions — scarified seeds, 68–77°F soil temperature, high humidity — germination takes 4–8 weeks, though 3 months is not unusual. First bloom from seed typically takes 5–10 years. It’s a long commitment, but the payoff is a plant you grew entirely from scratch.
Can you propagate bird of paradise from a leaf or stem cutting?
No. Strelitzia has no meristematic tissue in its leaves or stems, so cuttings cannot produce roots. They will rot without generating any new growth. Division and seed are the only home-viable bird of paradise propagation methods.
How many offsets can I safely remove from one plant?
Take no more than one-third of the total clump at any one time. Removing too many offsets at once stresses the parent significantly, reducing vigor and potentially delaying blooming for several years. When in doubt, take fewer — you can always divide again next spring.
Do you need to hand-pollinate bird of paradise to collect seeds?
Yes, in most cases. The flower structure of Strelitzia requires cross-pollination to set viable seed. Outdoors, bees and sunbirds handle this naturally. Indoors, use a soft brush to transfer pollen from one flower to the stigma of another — ideally from a different plant. Self-pollination within a single plant rarely produces viable seed.
When should I repot a newly propagated bird of paradise?
Wait until roots are visibly emerging from the drainage holes, which typically takes 12–18 months after propagation. Strelitzia performs best when slightly root-bound, so resist the urge to size up too soon. Moving to an oversized pot increases the risk of waterlogged soil and root rot before the root system is strong enough to handle it.