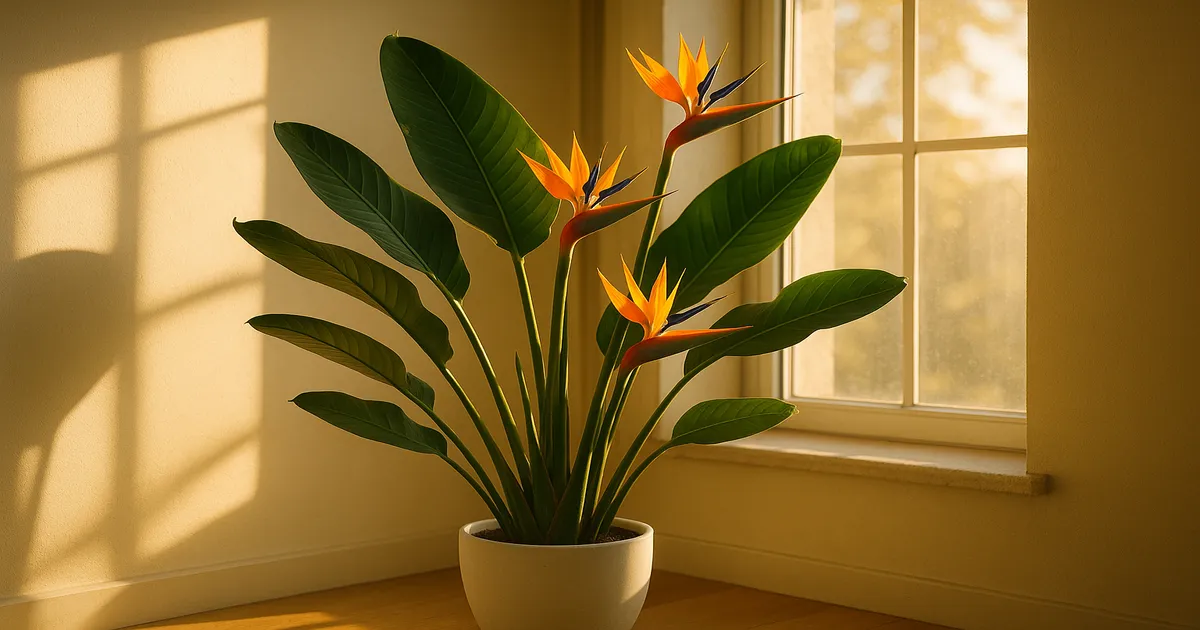
Quick Answer: Most bird of paradise plants need repotting every 1–2 years while young and every 3–5 years once mature — but the real signal is always the plant, not the calendar. Watch for roots escaping drainage holes, soil that dries out within a day or two of watering, and declining health despite good care. One important caveat: mild root-binding is perfectly normal and actually encourages Strelitzia reginae to flower, so don’t rush to repot at the first sign of a cozy root system.
So you’re staring at your bird of paradise wondering, does my bird of paradise need repotting? You’re not alone. It’s one of the trickiest judgment calls with this plant, because getting it wrong in either direction causes real problems. Repot too soon and you risk root rot from excess soil volume; wait too long and the plant starves in a compacted, exhausted mix. This guide walks you through exactly how to read the signs, choose the right pot and soil, and execute the repot without stressing your plant.
How Often Does a Bird of Paradise Need Repotting?
Young Plants (Under 5 Years Old)
Young, actively growing bird of paradise plants push their roots outward fast. Plan on repotting every 1–2 years during this phase. Fresh soil matters here too — the organic matter in potting mix breaks down significantly after 18–24 months, so even if roots aren’t bursting out, the medium itself may need replacing.
Mature and Established Plants
Once your bird of paradise has settled into a larger container and slowed its growth, you can back off to every 3–5 years. Mature plants are less bothered by tight quarters, and disturbing a well-established root system unnecessarily can set the plant back by a full growing season.
Strelitzia nicolai vs. Strelitzia reginae: Does Species Matter?
Yes — and more than most people realize. S. nicolai (the giant white bird of paradise) grows significantly faster than S. reginae (the classic orange-flowering species) and may need annual repotting throughout its entire juvenile phase. The catch: S. nicolai is frequently mislabeled as S. reginae at garden centers. If your plant is shooting up faster than expected, that’s likely why.
Dwarf forms of S. reginae sit at the opposite end of the spectrum. They tolerate tight pots longer than any other Strelitzia and can go several years between repots without complaint.
8 Signs Your Bird of Paradise Needs Repotting
Roots Growing Out of Drainage Holes
A few exploratory roots poking out the bottom isn’t an emergency. But dense masses escaping the drainage holes — or roots cracking a plastic nursery pot — mean the plant has genuinely run out of room. At that point, water and nutrients can’t move through the substrate efficiently.
Soil Drying Out Unusually Fast
If you’re watering every day or two and the soil still feels bone dry, roots have likely displaced most of the potting mix. There’s simply not enough substrate left to hold moisture. This is one of the clearest functional signs it’s time to size up.
Compacted or Degraded Potting Mix
Over 18–24 months, the organic components in potting mix — peat, coco coir, bark — decompose and collapse. The air pockets that roots depend on disappear, creating dense, anaerobic zones where rot pathogens thrive. Watch for these signs of degraded soil:
- Water pooling on the surface and draining very slowly
- Soil visibly shrinking away from the pot walls
- A musty or sour smell even without visible root problems
- A crusted or cracked soil surface
Yellowing Leaves, Stunted Growth, or Salt Crust on Soil
Persistent yellowing that doesn’t respond to fertilizer is often a soil chemistry problem, not a nutrient deficiency. Over time, fertilizer salts accumulate and raise the electrical conductivity to levels that pull water out of root cells — a process called osmotic stress. A white crusty deposit on the soil surface or around drainage holes is the physical evidence. Try flushing thoroughly with distilled water first; if symptoms persist after 2–3 weeks, a full soil refresh is the fix.
Soft, Mushy Roots and Foul Odor (Root Rot)
Root rot is an emergency — repot immediately, regardless of season. When the root zone smells sulfurous and roots feel soft or hollow, fungal pathogens (Pythium, Phytophthora) have taken hold. The plant may wilt even with wet soil, because rotted roots can’t transport water. See the dedicated root rot section below for the full treatment process.
Tiny Flies or White Cottony Masses on Roots
Fungus gnat larvae feed on fine feeder roots, quietly undermining the plant’s ability to take up water and nutrients. Root mealybugs are sneakier still — white, cottony clusters that only reveal themselves when you slide the root ball out. Both pests warrant a full repot into fresh, sterile mix along with targeted treatment.
Multiple Pups Crowding the Pot
Bird of paradise spreads by producing rhizomatous offsets from its base. A pot packed with multiple distinct growth points may be too crowded for all of them to thrive. This is a good opportunity to divide — more on that below.
Cracked Pot or No Drainage Holes
Bird of paradise roots exert serious mechanical force as they expand. A cracked pot isn’t just cosmetic; roots growing into those cracks can be torn during removal. And if your plant is sitting in a decorative pot without drainage holes, that’s a root rot scenario waiting to happen.
Choosing the Right Pot
What Size Pot Should You Use?
Stick to the one-pot-size-up rule: move to a pot that’s 2 inches (5 cm) larger in diameter than the current one. Oversized pots hold far more moisture than the roots can absorb, and that’s the fastest route to root rot. If you’re repotting purely to refresh the soil — not because the plant is root-bound — you can reuse the same pot after cleaning it.
For S. reginae, the practical indoor maximum is around 14–16 inches (35–40 cm) in diameter. S. nicolai can ultimately need pots up to 24–30 inches (60–75 cm) across.
Best Pot Materials
Terracotta is the best overall choice. Its porous walls allow gas exchange, help regulate moisture, and provide the stability a tall plant needs. Unglazed ceramic offers similar benefits with more decorative options.
Fabric grow bags are an underrated alternative — their air-pruning effect prevents roots from circling the container walls, which is a genuine long-term advantage. A well-made fabric pot like the VIVOSUN Fabric Grow Bags handles large Strelitzia well and makes root inspection easy. Plastic pots work fine but retain moisture longer, so you’ll need to water less frequently and stay more vigilant about overwatering.
Skip any pot without drainage holes. Metal containers are also a poor choice: they conduct temperature extremes and can leach compounds from corrosion. A metal cachepot as a decorative sleeve around a proper nursery pot is fine; as the primary container, it isn’t.
The Best Soil Mix for Bird of Paradise
What the Roots Actually Need
The target is a mix that drains freely (water should move through within 30–60 seconds), stays loose rather than compacting when squeezed, and holds just enough moisture to stay slightly moist for 5–7 days between waterings. Aim for a pH of 5.5–7.0 — bird of paradise is reasonably tolerant within that range but struggles outside it.
DIY Potting Mix Recipe
- 60% high-quality potting mix (loam-based or coco coir-based; avoid pure peat)
- 20% coarse perlite — Espoma Organic Perlite works well and is widely available
- 10% coarse horticultural sand (not beach sand — it’s too fine and compacts)
- 10% orchid bark or coarse composted bark
Optional Amendments Worth Adding
- Worm castings (5–10% of mix): Adds slow-release nutrients and beneficial microbial life without the salt risk of synthetic fertilizers
- Horticultural charcoal: A small handful helps absorb toxins and suppresses anaerobic bacteria
- Mycorrhizal inoculant: Applied directly to roots at repotting time, these beneficial fungi improve phosphorus and water uptake — especially valuable when repotting a stressed plant or fresh divisions
How to Repot a Bird of Paradise: Step-by-Step
Best Time of Year
Spring is ideal — the plant is entering active growth and recovers fastest. Early summer works too. Avoid fall or winter unless you’re dealing with root rot or another emergency, since the plant’s reduced metabolic rate slows recovery.
What You’ll Need
- New pot (2 inches larger in diameter)
- Fresh potting mix (see recipe above)
- Sharp pruning shears, such as Fiskars Micro-Tip Pruning Snips
- 70% isopropyl alcohol for sterilizing tools
- Tarp or newspaper for your workspace
- Watering can
Removing the Plant
Water the plant 24–48 hours before repotting — moist soil holds together better and reduces root tearing. Never pull by the stems. Instead:
- Tilt the pot sideways and gently squeeze plastic pots to loosen the root ball.
- For terracotta, run a thin trowel or long knife around the interior edge.
- If the plant is severely root-bound and won’t budge, cut the pot — a cheap plastic nursery pot is worth sacrificing to avoid tearing a large root mass.
Inspecting and Pruning the Roots
Healthy roots are firm and white to pale tan, slightly fleshy. Brown, mushy, hollow, or foul-smelling roots are dead or diseased and need to come off.
- Remove all dead, rotted, or tightly circling roots with sterile shears.
- Gently tease apart matted roots and straighten where possible.
- Don’t remove more than 25–30% of the root mass at one time.
- Treat cut surfaces with a dusting of cinnamon (a natural antifungal) or a brief rinse with diluted 3% hydrogen peroxide (1 part H₂O₂ to 4 parts water).
Potting Up and Aftercare
- Add a couple of inches of fresh mix to the bottom of the new pot.
- Position the plant so its crown sits at or just slightly above the final soil level — burying the crown invites rot.
- Fill in around the roots with fresh mix, tapping the pot gently to settle it. Don’t pack it down hard.
- Water thoroughly until it drains freely from the bottom.
Keep the plant in bright indirect light (1,500–3,000 foot-candles) and away from direct sun for 2–4 weeks. Hold off on fertilizing for 4–6 weeks — damaged roots can’t process nutrients, and fertilizer salts will add stress rather than help. Expect some leaf drooping or minor yellowing for 1–3 weeks; this is normal transplant shock, not a sign something went wrong.
How to Treat Root Rot When Repotting
Identifying Rotted vs. Healthy Roots
Healthy roots are firm, white to pale tan, and slightly fleshy. Rotted roots are brown to black, soft, mushy, or hollow, and the root zone will smell distinctly foul — often sulfurous. If you find rot, don’t wait for a better season. Act now.
Removing Rot and Treating the Root System
- Cut back all rotted tissue to healthy, firm material using sterilized shears. Sterilize between every cut with 70% isopropyl alcohol.
- Rinse the remaining roots with diluted hydrogen peroxide (3% H₂O₂ mixed 1:4 with water) to kill lingering pathogens.
- Let the roots air-dry for 30–60 minutes before placing the plant in fresh, slightly dry mix — this discourages immediate reinfection.
- Consider a soil drench with a copper-based or biological fungicide after repotting for added protection.
Post-Repotting Care
Hold back on watering more than usual for the first week — the goal is moist, not wet, while roots begin to recover. Correct whatever caused the rot in the first place (typically overwatering or poor drainage), or it will return. A soil moisture meter takes the guesswork out of when to water during recovery; the XLUX Soil Moisture Meter is inexpensive and reliable for this purpose.
Dividing Bird of Paradise at Repotting
When Is a Pup Ready to Separate?
Wait until offsets are at least 30–45 cm (12–18 inches) tall and have developed their own visible root mass. Separating tiny pups dramatically reduces their survival odds — the larger and more established the offset, the better.
How to Divide Without Damaging the Mother Plant
- Expose the rhizome connection between the mother plant and the offset by carefully removing soil from around the base.
- Use a sharp, sterile knife to cut cleanly between them — don’t saw or tear.
- Make sure each division has a meaningful root system attached. A pup with no roots of its own won’t survive.
- Dust all cut surfaces with cinnamon or powdered sulfur to discourage infection.
- Pot both the mother plant and the divisions into appropriately sized containers with fresh mix. Give both the same aftercare: bright indirect light, no fertilizer for 4–6 weeks, and patience through any initial drooping.
Frequently Asked Questions
Does bird of paradise like to be root bound?
Strelitzia reginae genuinely benefits from being slightly root-bound — it’s one of the few houseplants where a snug pot actively encourages flowering. The key distinction is mild root-binding versus severe pot-binding. Once the plant can no longer take up water properly or the soil has fully degraded, it’s time to move up a size.
How do I know if my bird of paradise is root bound?
The clearest signs are roots emerging densely from drainage holes, soil that dries out within a day or two of watering, and a root ball that slides out as one solid, cohesive mass with little visible soil. You may also notice the plant can be lifted straight out of the pot just by gripping the base.
What happens if you don’t repot a bird of paradise?
In the short term, not much — bird of paradise is tolerant. Over time, though, the potting mix degrades and loses its ability to hold nutrients, salt accumulates to damaging levels, and severely circling roots can begin to girdle themselves and restrict vascular flow. Growth slows, leaves yellow, and the plant becomes increasingly difficult to revive without a full soil refresh.
Should I repot my bird of paradise after buying it from a nursery?
Not immediately. Give the plant 2–4 weeks to acclimate to its new light and humidity conditions before adding the stress of repotting. Commercial nursery mixes are often peat-heavy and not ideal for long-term home growing, so a repot is usually worthwhile — just not on day one.
Why are my bird of paradise roots orange or brown — is that root rot?
Not necessarily. Bird of paradise roots naturally develop a tan to light orange-brown color as they mature, which is completely normal. The warning signs of root rot are softness, mushiness, a hollow feel, or a foul odor. Healthy mature roots will be firm even if they’ve darkened slightly. When in doubt, do a gentle squeeze test: if the root holds its shape, it’s healthy.