Quick Answer: To grow ginger from a root, soak a firm, organic rhizome with visible eyes in room-temperature water for 12–24 hours, then pre-sprout it in a warm spot (75–80°F) for 1–3 weeks. Plant it 2–4 inches deep with the eyes facing up in well-draining, slightly acidic soil, keep it warm and in bright indirect light, and expect sprouts in 2–8 weeks.
Learning how to grow ginger from a root is surprisingly straightforward once you understand what the plant actually needs. The biggest hurdle isn’t the growing itself — it’s starting with the right rhizome and giving it the warm, humid conditions it evolved in. Get those two things right, and ginger practically grows itself.
What You Need to Grow Ginger from a Root
- A firm, organic ginger rhizome with visible eyes
- Well-draining, slightly acidic potting mix (pH 5.5–6.5)
- A wide, shallow container with drainage holes (at least 12 inches deep and wide)
- Consistent warmth (75–85°F) and bright indirect light
- High humidity (60–80% RH)
Key Facts: Ginger Is a Rhizome, Not a True Root
What most people call “ginger root” is technically a rhizome — a modified underground stem that stores energy and produces roots below and leafy shoots above. This distinction matters practically: rhizomes have nodes called “eyes” (axillary buds) that must face upward when you plant, and they spread horizontally rather than growing straight down.
| Parameter | Optimal Range |
|---|---|
| USDA Zones (perennial) | 8–12 |
| Soil pH | 5.5–6.5 |
| Daytime temperature | 75–85°F (24–29°C) |
| Nighttime temperature | 60–68°F (15–20°C) |
| Humidity | 60–80% RH |
| Time to first sprout | 2–8 weeks |
| Baby ginger harvest | 4–6 months |
| Mature ginger harvest | 8–10 months |
Choosing and Preparing Your Ginger Rhizome
Where to Source a Viable Rhizome
Here’s the dirty secret about supermarket ginger: it’s often treated with growth inhibitors like maleic hydrazide or chlorpropham to extend shelf life by suppressing bud break. That’s why so many people soak a grocery-store knob for weeks and get nothing. For the best results, source your rhizome from:
- Organic grocery stores (less likely to be treated)
- Asian markets (high turnover means fresher stock)
- Farmers’ markets (often untreated and locally grown)
- Dedicated seed suppliers or nurseries (most reliable for confirmed viability)
What to Look for When Selecting a Rhizome
Choose a rhizome that is firm and plump — not shriveled, dried out, or soft in spots. Look for clearly visible eyes that appear slightly swollen or show a tiny green nub. Avoid anything moldy, mushy, or that smells fermented.
How to Pre-Sprout Ginger Before Planting
Pre-sprouting is the single most important step most guides skip. It confirms your rhizome is alive before you commit it to a pot.
- Soak the rhizome in room-temperature water (70–75°F) for 12–24 hours to rehydrate the tissue and leach any residual inhibitors.
- Wrap it loosely in a damp paper towel, seal it in a zip-lock bag, and place it somewhere warm — the top of a refrigerator or a seedling heat mat set to 75–80°F works well. A heat mat with a built-in thermostat gives you the most consistent results.
- Wait 1–3 weeks. When the eyes swell and small shoots begin to emerge, the rhizome is ready to plant.
If there’s no movement after three weeks in warm, moist conditions, the rhizome isn’t viable. Discard it and start fresh.
How to Cut and Callous Rhizome Sections
Large rhizomes can be divided into smaller pieces — each section should be 1–2 inches long with at least one eye. After cutting, dust the exposed surfaces with powdered sulfur or activated charcoal to prevent rot, then set the pieces aside in a dry, warm spot for 24–48 hours to callous over before planting.
Soil, Pot, and Planting Setup
The Best Soil Mix for Growing Ginger
Ginger needs soil that stays consistently moist but never waterlogged. Off-the-shelf potting mix alone doesn’t always strike that balance. Mix your own:
- 60% high-quality potting mix (Fox Farm Ocean Forest)
- 20% perlite or coarse horticultural sand
- 20% compost or worm castings
This combination drains freely while retaining enough moisture and fertility to support a heavy-growing season. If your pH is above 6.5, incorporate elemental sulfur, peat moss, or coco coir to bring it down. If it’s below 5.5, add a small amount of agricultural lime.
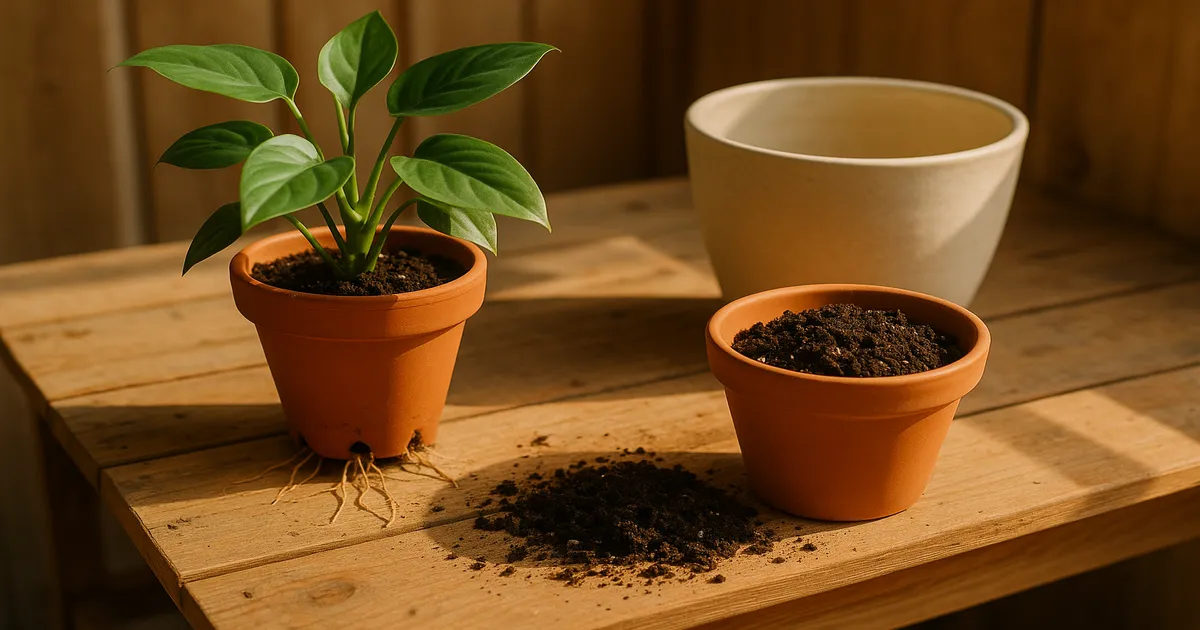
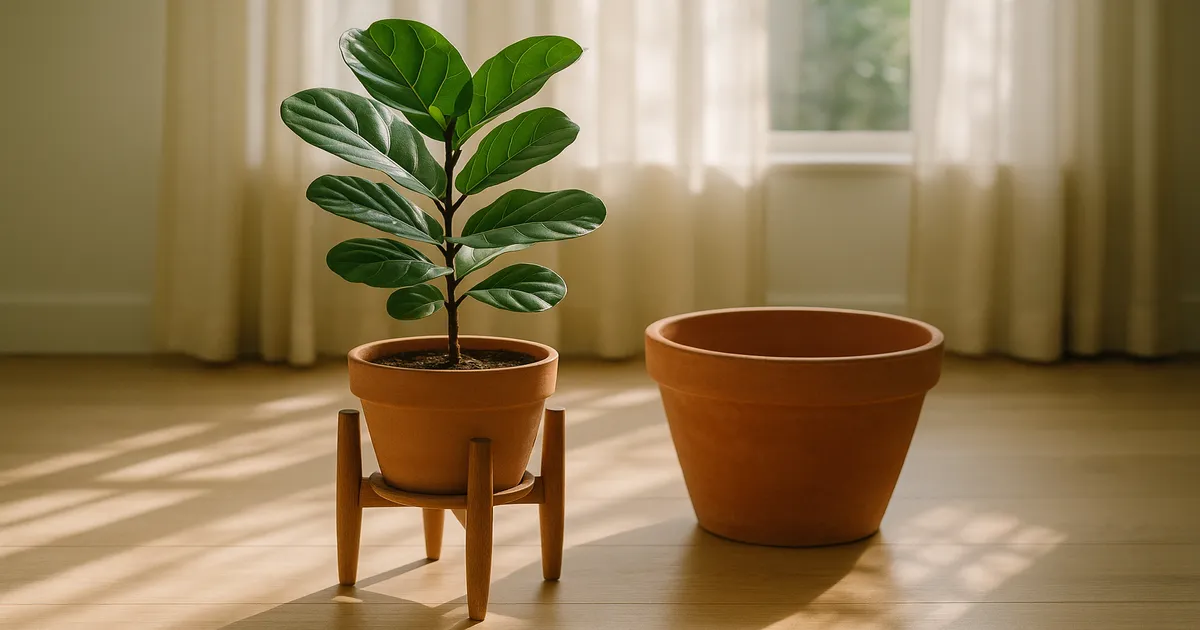
Choosing the Right Container
Go wide and shallow rather than tall and narrow. Ginger rhizomes spread horizontally, so a container that’s at least 12 inches deep and 12 inches wide — ideally wider — gives them room to expand. Terra cotta pots are a solid choice because the porous walls wick away excess moisture, reducing rot risk. Whatever you use, multiple drainage holes are non-negotiable.
How to Plant a Ginger Rhizome: Depth and Orientation
Place the rhizome 2–4 inches below the soil surface with the eyes pointing up. Getting the orientation wrong is a surprisingly common mistake. If planted upside-down, the emerging shoot has to make a 180° turn to reach the surface — it burns through stored energy doing so and may abort entirely. Cover with soil, water gently, and move the pot to a warm spot.
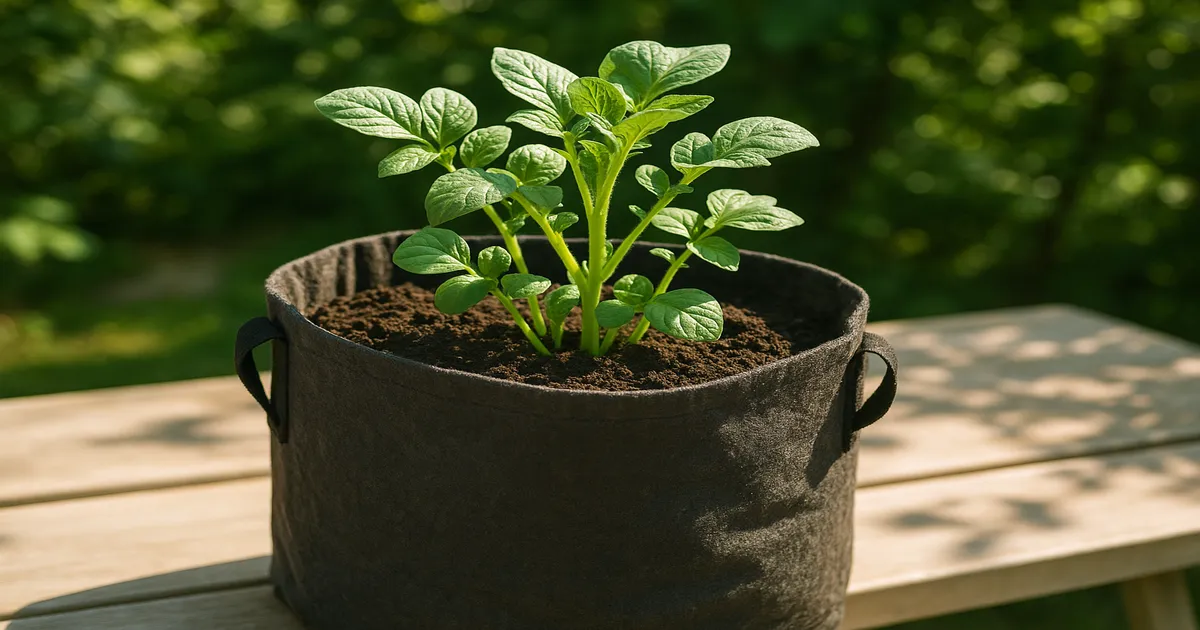
Outdoor Bed Preparation
Raised beds are ideal for outdoor growing because they drain better and warm up faster in spring. Aim for a minimum bed depth of 12 inches. If your native soil is heavy clay, amend it thoroughly with coarse sand, perlite, and compost before planting — ginger rhizomes cannot expand through compacted, dense soil.
Light, Temperature, and Humidity
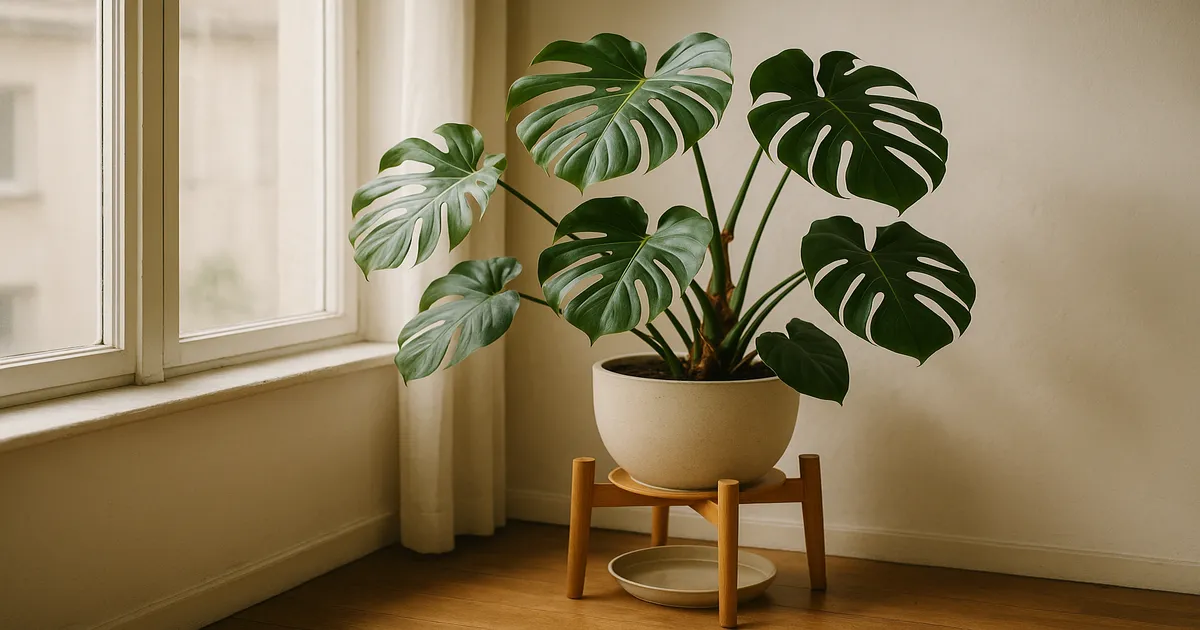
How Much Light Does Ginger Need Indoors?
Ginger evolved as an understory plant in tropical forests, so it’s adapted to filtered, dappled light — not direct sun. Indoors, aim for bright indirect light (1,500–3,000 foot-candles). An east- or north-facing window is ideal. A south- or west-facing window works too, as long as you filter the light with a sheer curtain.
Too much direct sun causes photoinhibition, bleaching the leaves. Too little leads to etiolation — long, pale, weak shoots that can’t sustain healthy growth.
If your windows don’t provide enough light, a full-spectrum LED grow light can fully substitute. Position it 12–18 inches above the foliage and run it for 12–14 hours per day.
Best Outdoor Placement
Outdoors, ginger thrives with 2–4 hours of direct morning sun followed by afternoon shade. The north or east side of a building works well, as does the dappled canopy of a deciduous tree. Avoid spots that receive intense afternoon sun, especially in summer. When moving plants from indoors to outdoors, harden them off over 7–10 days by gradually increasing outdoor exposure to prevent sunscald.
Managing Temperature and Humidity
Ginger has no cold-hardening mechanism — it’s a tropical plant. Keep indoor growing areas between 75–85°F during the day and no cooler than 60–68°F at night. Exposure below 50°F causes chilling injury at the cellular level; a frost will kill the plant outright.
Humidity matters just as much. Ginger wants 60–80% relative humidity — well above the 30–50% typical in most homes. Practical ways to get there:
- Group plants together — their collective transpiration raises local humidity
- Pebble tray with water — set the pot on top, keeping the base above the waterline
- Cool-mist humidifier — the most reliable method
- Morning misting — helpful, but avoid evening misting to reduce fungal risk
Watering and Feeding
How Often to Water Ginger
During the growing season, water when the top 1–2 inches of soil feel dry — in warm conditions, that might mean every 2–3 days for a container. Water deeply each time until it drains freely from the bottom. This encourages full rhizome development and flushes accumulated salts from the soil.
Use room-temperature water. If you’re on tap water, let it sit overnight to off-gas chlorine, or use filtered water — ginger is mildly sensitive to fluoride buildup. A soil moisture meter takes the guesswork out of timing.
When the foliage dies back in fall, reduce watering to every 3–4 weeks — just enough to prevent the rhizome from drying out completely. Continuing a regular watering schedule through dormancy is one of the most common causes of rhizome rot.
Fertilizing Ginger
Don’t start fertilizing until shoots are 4–6 inches tall — before that, the rhizome is feeding itself from stored reserves. Once growth is established, feed every 2–4 weeks from spring through late summer, then stop in fall.
- Early growth: Balanced liquid fertilizer (10-10-10 or 5-5-5 NPK)
- Midsummer onward: Switch to a high-potassium formula (5-10-15 or similar) to support rhizome development — potassium is critical for carbohydrate storage
- Organic alternatives: Fish emulsion, seaweed extract, or compost tea all work well and support soil microbial health
Fixing Nutrient Deficiencies
| Symptom | Likely Cause | Fix |
|---|---|---|
| Uniform yellowing, older leaves first | Nitrogen deficiency | Fish emulsion or high-N liquid feed |
| Yellowing between veins, veins stay green | Magnesium deficiency | Epsom salt drench (1 tbsp per gallon), monthly |
| Interveinal chlorosis on new growth | Iron deficiency | Chelated iron drench + correct pH |
| Brown, scorched leaf margins | Potassium deficiency | High-K fertilizer (5-10-15) |
Common Problems When Growing Ginger from a Root
Ginger Not Sprouting
The most common culprit is a treated, non-viable rhizome. Growth inhibitors, chilling injury, and depleted carbohydrate reserves can all prevent bud break. The pre-sprouting method described above is both a treatment and a test — if the rhizome shows no movement after three weeks in warm, moist conditions, it’s not viable.
Yellowing Leaves
Uniform yellowing starting on older leaves points to nitrogen deficiency. Yellowing between the veins while the veins stay green suggests magnesium deficiency. Overwatering produces a more general, soggy-looking decline — check the roots and rhizome for rot if the soil has been consistently wet.
Rhizome Rot
Rot is caused by water-mold and fungal pathogens — Pythium, Fusarium, and Rhizoctonia — that thrive in waterlogged, oxygen-depleted soil. Prevention is straightforward: use well-draining soil, don’t overwater, and ensure adequate drainage. If you catch rot early, remove the affected rhizome, cut away mushy sections back to firm tissue, dust with sulfur or charcoal, and repot into fresh mix.
Pests
- Spider mites: Thrive in hot, dry air. Boost humidity immediately, spray foliage with a strong stream of water, then apply insecticidal soap or neem oil every 5–7 days for three rounds.
- Aphids: Blast off with water, follow up with neem oil or insecticidal soap.
- Root-knot nematodes: Microscopic but devastating — they form galls on roots and severely impair uptake. Use sterilized potting mix and avoid replanting in affected garden soil.
- Bacterial wilt (Ralstonia solanacearum): Causes rapid, total collapse. There is no cure — remove and destroy affected plants immediately and do not compost them.
When and How to Harvest Ginger
Baby Ginger (4–6 Months)
Baby ginger is harvested while the plant is still actively growing, around 4–6 months after planting. The skin is thin and blush-pink, the flavor is mild and less fibrous, and there’s no need to peel it. Tip the container or dig around the edges, pull up the rhizome mass, then replant a section with eyes to keep the plant going.
Mature Ginger (8–10 Months)
Mature ginger is ready when the foliage naturally yellows and dies back — usually in fall, about 8–10 months after planting. This is the fully developed rhizome with papery skin, stronger flavor, and higher fiber content. You can do a full harvest or a partial one, leaving some rhizome in the ground or pot to overwinter.
Storing and Saving Rhizomes
Don’t wash ginger until you’re ready to use it — moisture accelerates mold. Store fresh rhizomes in a paper bag in the refrigerator for up to three weeks, or freeze them whole (frozen ginger grates more easily than fresh). For long-term storage, keep rhizomes in a cool, dry, well-ventilated spot.
To save stock for next season, select firm sections with healthy, well-defined eyes and store them somewhere cool (55–60°F) and dry over winter — a basement or garage shelf works well. In late winter or early spring, pull them out and restart the pre-sprouting process.
Growing Ginger Indoors vs. Outdoors
Indoors in Containers
Indoor growing gives you full climate control and eliminates frost risk — a major advantage outside USDA Zones 8–12. The main challenges are maintaining adequate humidity and providing enough light. A humidifier and a grow light solve both problems reliably.
Outdoors in USDA Zones 8–12
In Zones 8–12, ginger can be grown as a perennial — the rhizomes survive winter in the ground and re-sprout each spring. Start rhizomes indoors 8–10 weeks before your last frost date, then transplant outdoors once soil temperatures consistently reach 70°F. Mulch beds with 3–4 inches of organic material to moderate soil temperature and retain moisture.
Colder Climates (Zones 3–7)
In colder zones, grow ginger in containers and bring them indoors before the first frost. Treat it as an annual if you prefer — plant in spring, harvest in fall. Gardeners in Zone 7 might also consider Zingiber mioga (Japanese ginger), which is cold-hardier and grown for its edible shoots and flower buds rather than the rhizome.
Frequently Asked Questions
How long does it take for ginger to sprout from a root?
Expect sprouts anywhere from 2–8 weeks after planting, depending on rhizome viability and soil temperature. Warmer soil (70–77°F) speeds things up considerably. Pre-sprouting before planting gives you a much more accurate timeline because you can see the buds swell before the rhizome goes in the ground.
Can you grow ginger from a store-bought root?
Yes, but with caveats. Conventional supermarket ginger is often treated with growth inhibitors, so success rates are lower. Your best bet is organic ginger from a grocery store or an Asian market with high turnover. A 12–24 hour soak followed by warm pre-sprouting will help leach inhibitors and confirm viability before you plant.
How deep should you plant a ginger root?
Plant the rhizome 2–4 inches below the soil surface with the eyes facing upward. Too deep and the shoot wastes stored energy reaching the surface. Too shallow and the rhizome is exposed to temperature swings and drying out.
Why is my ginger not sprouting?
The most likely causes are growth inhibitors from a treated rhizome, chilling injury from storage below 50°F, or depleted reserves in an old, dried-out piece. Soil temperature below 70°F will also stall sprouting. Try the pre-sprouting method — wrap the rhizome in a damp paper towel inside a warm bag — and if there’s no movement after three weeks, the rhizome isn’t viable.
Can ginger be grown indoors all year round?
Absolutely. With a grow light for adequate light and a humidifier to maintain 60–80% relative humidity, ginger grows happily indoors year-round. It will still go semi-dormant in winter if light levels drop, but it won’t die back completely the way it does outdoors.