Quick Answer: Repotting means moving your plant into a larger container or refreshing its growing medium — and it’s simpler than it looks. Check whether roots are escaping the drainage holes or water is running straight through, then choose a new pot 1–2 inches wider, fill it with the right substrate, settle the root ball at the correct depth, and water thoroughly. Hold off on fertilising for 4–6 weeks, give the plant a few weeks to recover, and you’re done.
If you’ve ever stared at a root-bound plant and thought how do I even go about repotting this?, you’re not alone. It’s one of the most common questions new plant parents ask — and for good reason. The process has a few moving parts, but once you understand why each step matters, it becomes second nature. This guide walks you through every stage, from spotting the signs to settling your plant into its new home.
Signs Your Plant Needs Repotting
Not every plant needs repotting on a fixed schedule. Learn to read what your plant is telling you first.
Roots Escaping the Drainage Holes or Soil Surface
When roots start circling the container wall or poking out through drainage holes, the plant is root-bound. Roots that keep circling can eventually constrict themselves — a problem called girdling — cutting off water and nutrient flow through the plant’s vascular tissue. A dense mat of roots visible at the pot’s base is a clear signal it’s time to move up.
Water Running Straight Through Without Being Absorbed
This happens when the root mass has become so dense — and the old substrate so degraded — that water can’t penetrate. As organic components like peat and bark break down, the large air pockets that allow drainage and oxygen flow collapse. The result is a hydrophobic root ball that sheds water rather than absorbing it.
Stunted Growth Despite Regular Feeding
Fertilising consistently but still seeing small, pale, or slow-emerging leaves? The substrate itself may be the problem. Degraded potting mix loses its ability to hold onto nutrients between waterings, so fertiliser washes straight through without benefiting the roots.
White or Orange Crusty Deposits on Soil or Pot
Those crusts are mineral and fertiliser salt deposits. Over time, high salt concentrations in the root zone cause osmotic stress — water actually moves out of root cells, producing wilting that looks exactly like drought stress even when the soil is moist. Salt-sensitive plants like Calathea and Dracaena are especially vulnerable.
Soggy Soil That Never Dries Out
Chronically wet substrate signals that the growing medium has broken down, or that root-rotting pathogens — usually oomycetes like Phytophthora or Pythium — have compromised root function. Healthy roots absorb moisture; rotting roots don’t. Repotting in this case is both diagnostic and therapeutic.
How Often Should You Repot? A Plant-by-Plant Guide
Growth rate, root type, and how quickly the substrate breaks down all determine repotting frequency.
| Plant Type | Typical Interval |
|---|---|
| Fast-growing tropicals (Pothos, Tradescantia) | Every 12–18 months |
| Mid-growth aroids (Monstera, Philodendron) | Every 18–24 months |
| Succulents and cacti | Every 2–4 years |
| Orchids (Phalaenopsis, Cattleya) | Every 18–24 months, or when media breaks down |
| ZZ plants and snake plants | Every 2–3 years |
| Large specimen trees (Ficus, Schefflera) | Every 3–5 years (or annual top-dressing) |
Fast-growing tropicals like Pothos and Tradescantia have dense fibrous root systems that fill pots quickly. They tolerate root disturbance well, so annual or 18-month repotting is rarely stressful.
Mid-growth aroids like Monstera and Philodendron grow steadily but not aggressively. The bark components in their preferred substrate also break down on an 18–24 month timeline, making that window a reliable guide for both pot size and substrate freshness.
Succulents and cacti grow slowly, and their inorganic-heavy substrate degrades far more slowly than peat or coir mixes. Repotting every 2–4 years is usually plenty — disturb them only when genuinely necessary.
Orchids are triggered by substrate condition, not pot size. Fir bark acidifies and breaks down within 18–24 months, creating anaerobic conditions that suffocate roots. Repot when the bark turns mushy or dark, regardless of the calendar.
ZZ plants and snake plants store energy in rhizomes and tubers that need horizontal space more than depth. When these storage organs start pushing against pot walls or cracking plastic containers, it’s time. Large specimen trees like Ficus can be top-dressed annually — removing the top 2–3 inches of old substrate and replacing it with fresh mix — instead of a full repot.
Choosing the Right Pot and Soil Mix
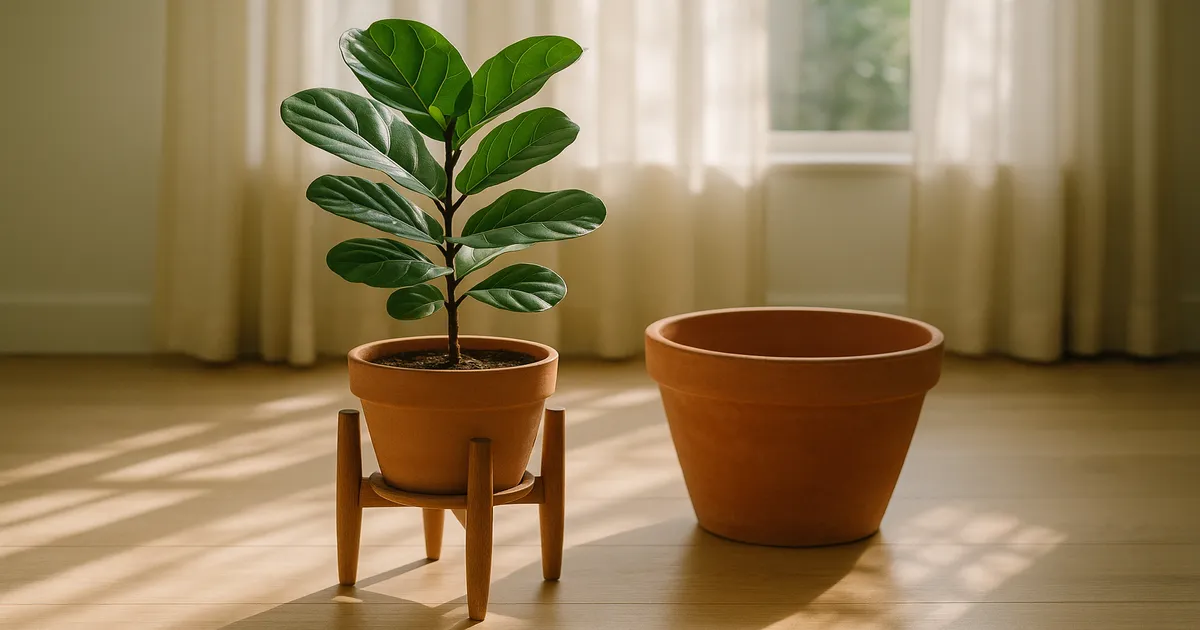
What Size Pot Do You Need?
Go up only 1–2 inches (2.5–5 cm) in diameter from the current pot. For fast-growing tropicals, 2–4 inches is acceptable. Bigger is not better. Overpotting leaves large volumes of substrate without roots to absorb moisture, creating stagnant, anaerobic zones that breed pathogens — even if you’re watering correctly.
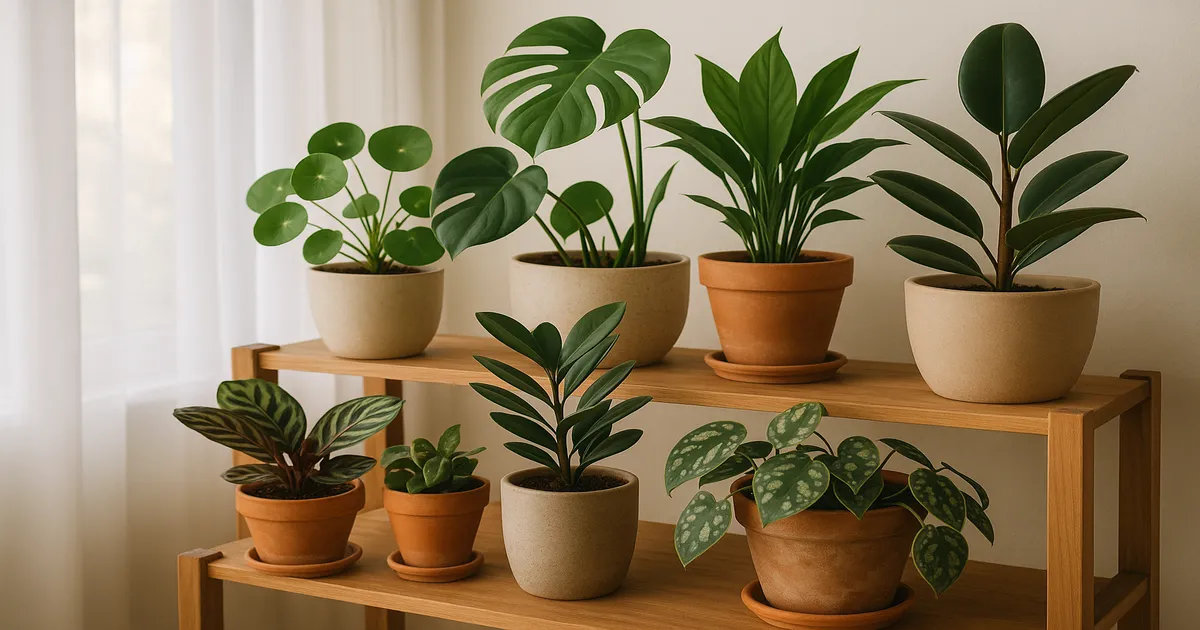
Pot Material: Terracotta, Ceramic, Plastic, or Fabric?
- Unglazed terracotta — Porous walls increase evaporation by 20–30%, making it ideal for succulents, cacti, and anything prone to overwatering. Less suitable for moisture-loving tropicals.
- Glazed ceramic — Retains moisture well; suits humidity-loving plants like Calathea and ferns. Always check for drainage holes — glazed pots without them are decorative covers only.
- Plastic nursery pots — Lightweight, affordable, moisture-retentive, and easy to squeeze when removing a plant. Excellent for aroids and tropical foliage plants.
- Fabric grow bags — Outstanding aeration and air pruning: roots self-terminate when exposed to air, preventing girdling entirely. Great for fast-growing aroids.
Drainage holes are non-negotiable. No exceptions.
Soil Mixes by Plant Type
Tropical foliage plants: A peat-free or peat-based potting mix amended with 20–30% perlite and optionally 10–20% medium-grade orchid bark gives excellent drainage and aeration. Target pH: 5.8–6.5. (Fox Farm Ocean Forest)
Succulents and cacti: Use a cactus-specific mix or cut standard potting mix 50/50 with coarse perlite, pumice, or horticultural grit. Aim for 40–60% inorganic material. Target pH: 6.0–7.0.
Orchids: Never use standard potting soil — it suffocates their roots. Options include medium-grade fir bark, sphagnum moss (for high-humidity setups), or LECA for semi-hydroponic growing. Target pH: 5.5–6.5. (Better-Gro Special Orchid Mix)
ZZ plants, snake plants, and African violets: ZZ and snake plants do well in standard potting mix with 30–40% perlite or pumice added. African violets need a lighter mix: 50% standard potting mix, 25% perlite, 25% coarse vermiculite. Target pH for all three: 6.0–7.0.
How Do I Even Go About Repotting This? Step-by-Step
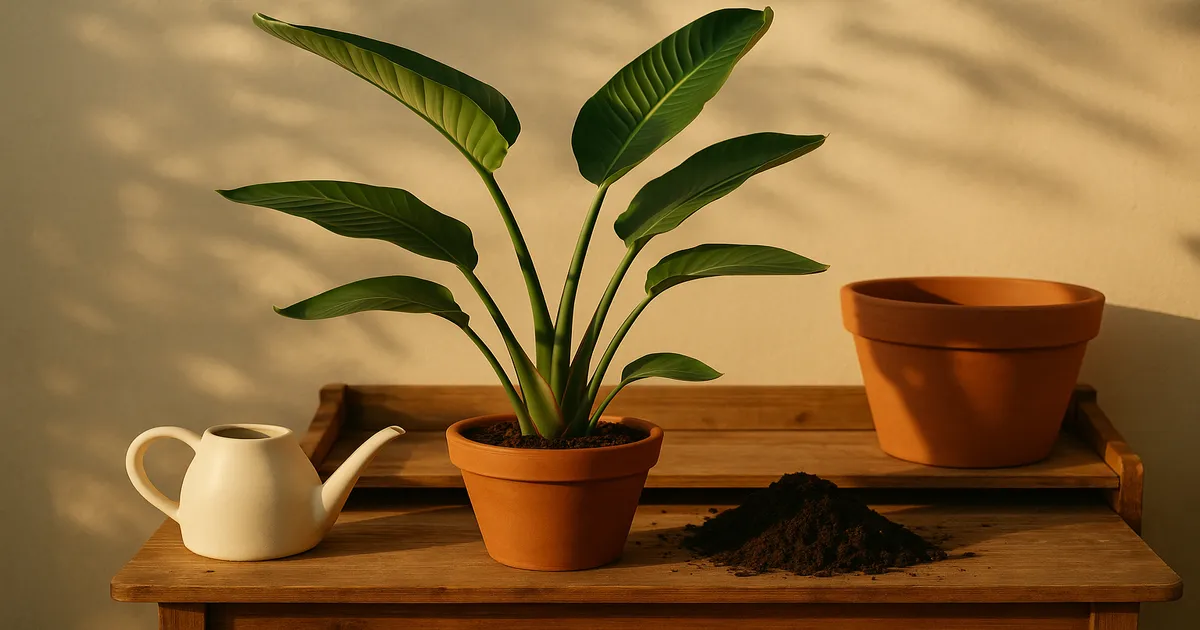
Step 1 — Water 24–48 Hours Before You Start
Water your plant thoroughly the day before repotting. A moist root ball holds together far better than a dry one, causes less transplant shock, and is easier to remove cleanly. Gather everything before you begin: new pot, fresh substrate, sterile scissors or pruning shears, and 70% isopropyl alcohol for sterilising tools.
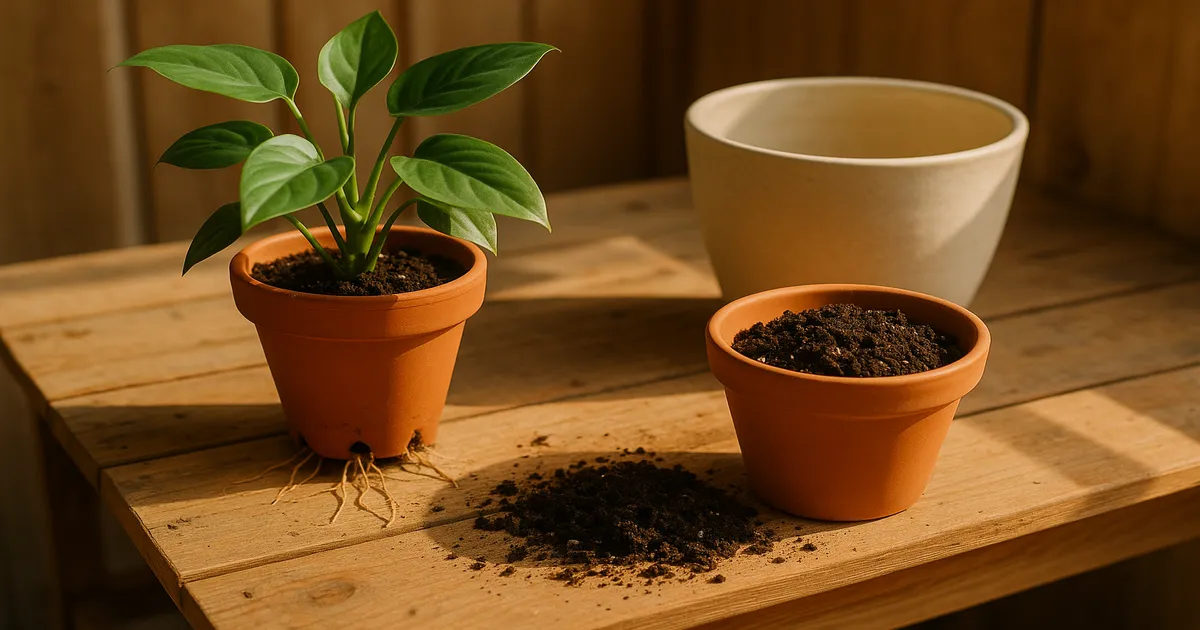
Step 2 — Remove the Plant Without Damaging Roots
- Plastic pots: Squeeze the sides gently to break the root seal, then tip upside down while supporting the stem base.
- Terracotta or ceramic: Run a thin knife or chopstick around the interior perimeter, tap the outside firmly, and ease the root ball free. Never yank by the stem.
- Severely root-bound plants: Soak the pot in water for 10–15 minutes to loosen roots, or carefully cut away a plastic pot with scissors.
- Large specimens: Lay the pot on its side and work the root ball free — a second pair of hands helps.
Step 3 — Inspect and Prepare the Root Ball
Healthy roots are firm, white to tan, and smell pleasantly earthy. Unhealthy roots are brown, black, mushy, or foul-smelling — remove these with sterilised scissors, cutting back to firm tissue. Sterilise your tools between cuts to avoid spreading pathogens.
For girdling roots, gently untangle what you can. If roots are woody and established, make 3–4 vertical cuts through the outer root mass (called root scoring) to stimulate fresh outward growth. Dust any cut surfaces with powdered horticultural sulfur or activated charcoal to reduce infection risk. If you’ve removed significant root mass, trim a proportional amount of foliage to balance the plant’s root-to-shoot ratio.
Step 4 — Treat Root Rot Before Repotting
If you’ve found rot, remove all mushy tissue until only firm, healthy roots remain. Rinse the root ball under clean tepid water, then soak for 20–30 minutes in a diluted hydrogen peroxide solution (3% hydrogen peroxide mixed 1:4 with water). This kills anaerobic pathogens and re-oxygenates root tissue. Let roots air-dry for 1–2 hours before planting into fresh, sterile substrate. Never reuse contaminated soil — it reintroduces the same Phytophthora, Pythium, or Fusarium that caused the problem in the first place.
Step 5 — Plant at the Correct Depth
Add a layer of fresh substrate to the bottom of the new pot. Do not add a gravel layer at the bottom — this is a persistent myth. A gravel layer actually raises the perched water table (the zone where water sits due to capillary tension), making drainage worse, not better.
Centre the plant so the root crown sits 1–2 cm below the pot rim. Fill in around the root ball with fresh substrate, gently tamping to eliminate large air pockets without compacting heavily. Leave 1–2 inches of headspace at the top for watering.
Step 6 — Water In and Settle the Substrate
Water thoroughly until it drains freely from the bottom. This settles the substrate around the roots, eliminates remaining air pockets, and ensures good root-to-soil contact. Don’t fertilise for 4–6 weeks — fresh substrate already contains nutrients, and stressed roots are far more sensitive to fertiliser salts than healthy ones.
Post-Repotting Care
Light and Humidity
Move your plant to bright indirect light (1,500–3,000 foot-candles) and keep it out of direct sun for 2–4 weeks. Direct sun on a stressed plant accelerates water loss faster than compromised roots can compensate. Tropical species benefit from 60–70% relative humidity during recovery — a pebble tray or a small humidifier placed nearby helps considerably.
Watering After Repotting
Water when the top 1–2 inches of substrate are dry — use your finger or a moisture meter to check rather than guessing. Don’t overwater in an attempt to help the plant settle in. Roots recovering from disturbance are more vulnerable to rot, not less.
Transplant Shock: What’s Normal?
Temporary wilting, a few dropped leaves, and paused growth are all normal in the first 1–3 weeks. The plant is redirecting energy toward root establishment rather than above-ground growth. Don’t repot again until the plant has fully resumed normal growth — stacking stressors is one of the fastest ways to lose a plant.
Common Repotting Mistakes to Avoid
Going too big. A pot dramatically larger than the root ball leaves wet, rootless substrate sitting stagnant — ideal conditions for Pythium and other pathogens. Stick to the 1–2 inch upsizing rule.
Burying the stem too deep. Covering the stem above the original soil line causes crown rot in most plants. The exception is leggy Pothos — burying a node or two encourages fresh rooting along the stem. For everything else, keep the root crown at the same depth it was growing before.
Reusing contaminated soil. Old substrate from a sick plant carries oomycete spores, fungal pathogens, and bacterial loads that fresh roots can’t fight off. Always start with sterile, fresh mix — especially after root rot.
Repotting in winter. Spring and early summer are ideal — plants are entering their active growth phase and recover quickly. Repotting in winter, when growth is slowest, stresses plants unnecessarily. It won’t kill most plants, but there’s no reason to make recovery harder.
Skipping drainage holes. A pot without drainage creates a permanently saturated lower substrate zone. No amount of careful watering fully compensates for this. If you love a decorative pot without holes, use it as a cachepot — drop a plastic nursery pot inside and remove it to water.
Special Considerations by Plant Type
Monstera and aroids with aerial roots: Don’t bury aerial roots during repotting — they’re not meant to be underground and burying them can cause rot. Tuck them gently toward the soil surface if they’re in the way.
Succulents and cacti: If any roots were trimmed, allow cut ends to callous (air-dry) for 24–48 hours before planting. Withhold water for one full week after repotting to let damaged root tissue seal before moisture is introduced.
Orchids: Gently remove old bark from the roots — healthy orchid roots are silver-grey when dry and bright green when wet. Trim any black or hollow roots cleanly. Replace bark media every 18–24 months regardless of appearance, because pH drops steadily as it decomposes.
ZZ plants and snake plants: A wide, shallow pot often works better than a tall, narrow one. Handle rhizomes and tubers gently — bruising them invites rot. If rhizomes are cracking the pot, that’s your cue. Separate natural divisions carefully during repotting if you’d like to propagate.
Frequently Asked Questions About Repotting Houseplants
How do I know if my houseplant needs repotting?
Check the drainage holes first. Visible roots escaping the pot or water running straight through without being absorbed are the clearest signs. Other indicators include stunted growth despite regular feeding, white crusty deposits on the soil surface, and soil that stays soggy for days. If none of these apply, the plant is probably fine where it is.
Should I water before or after repotting?
Water 24–48 hours before repotting, not after. A moist root ball holds together better during removal, minimises root tearing, and reduces transplant shock. Then water again thoroughly once the plant is settled in its new pot to collapse any air pockets around the roots.
How much bigger should the new pot be?
Go up only 1–2 inches (2.5–5 cm) in diameter from the current pot. For fast-growing tropicals, 2–4 inches is acceptable. A much larger pot leaves excess wet substrate without roots to absorb it, which creates ideal conditions for root rot.
Can I repot a plant that’s already stressed or sick?
It depends on the cause. If the stress is caused by a degraded or waterlogged substrate — root rot, compacted soil, salt build-up — then repotting is the right move and will help. If the plant is stressed due to pests, disease above the soil line, or environmental factors like low light, repotting adds unnecessary shock. Stabilise the plant first, then repot once it has recovered.
What’s the best time of year to repot houseplants?
Spring is ideal — plants are entering their active growth phase and recover quickly. Early summer works well too. Avoid repotting in winter if you can, when slower growth and reduced evapotranspiration make recovery sluggish. That said, if a plant is in genuine distress (severe root rot, for example), repot immediately regardless of the season.