Quick Answer: Basil needs 6–8 hours of direct sun, consistently moist but never waterlogged soil, and nights above 15°C (60°F). Start seeds indoors 6–8 weeks before your last frost, and expect germination in 5–10 days and your first harvest in 60–90 days. Regular pinching is the single most important habit for keeping plants productive all season.
Learning how to grow basil is one of the most rewarding things a home gardener can do — a single healthy plant can supply more fresh leaves than most kitchens will ever use. Basil is fast-growing, highly responsive, and almost addictively satisfying once you understand its few non-negotiables: warmth, sun, and consistent attention with your fingertips.
Choosing the Right Basil Variety
Picking the right cultivar for your goals makes a real difference, so it’s worth spending a moment here before you buy seeds.
Genovese and Sweet Basil
Genovese is the gold standard for Italian cooking — large, cupped, intensely aromatic leaves that are perfect for pesto. It matures in around 70 days. Sweet Basil is the most widely grown commercial type, with slightly smaller leaves and a broadly similar flavour. Both are excellent for beginners.
Thai Basil
Thai Basil (O. basilicum var. thyrsiflora) has a distinctive anise-clove flavour and holds up far better in heat than Italian types. It’s the right choice if you live somewhere with long, hot summers or want a variety that stays productive into late summer without constant attention.
Compact and Specialty Types
- Spicy Globe — a compact, mounding dwarf form; ideal for containers and window boxes
- Lemon Basil (O. × citriodorum) — bright citrus aroma; lovely in salads and with seafood
- Purple/Dark Opal — striking anthocyanin-rich foliage; ornamental and culinary, though slightly more cold-sensitive than green types
Tulsi (Holy Basil)
Tulsi (O. tenuiflorum) is technically a different species from sweet basil, with deep roots in Ayurvedic tradition. It’s more drought-tolerant than most culinary types and a good option if you want a low-maintenance plant or are interested in herbal teas.
For longer seasons, look for bolt-resistant cultivars like ‘Eleonora’, ‘Nufar’, or ‘Devotion’ — the last two were also bred specifically for downy mildew resistance.
How to Grow Basil from Seed
When to Start Seeds Indoors
Start seeds indoors 6–8 weeks before your last expected frost date. Basil has zero tolerance for cold snaps, so there’s no advantage in rushing this.
Soil Temperature and Germination
Germination requires a soil temperature of 21–29°C (70–85°F). At that range, seeds sprout in 5–10 days. Below 18°C (65°F), germination slows dramatically or fails entirely. Placing a seedling heat mat under your trays is the easiest way to hit this target reliably.
Sow seeds about 6 mm (¼ in) deep in a well-draining seed-starting mix, water gently, and keep the surface consistently moist but not soggy until germination.
Transplanting Seedlings Outdoors
Seedlings are ready to transplant when they have at least 3 sets of true leaves and are 10–15 cm (4–6 in) tall. Don’t move them outside until nighttime temperatures are reliably above 15°C (60°F) — typically about two weeks after your last frost date. Even a single chilly night can cause lasting damage.
For direct sowing outdoors, wait until soil temperature reaches at least 18°C (65°F).
How to Harden Off Transplants
Hardening off takes 7–10 days and should not be skipped.
- Day 1–2: Place seedlings outside in dappled shade for 1–2 hours, then bring back in.
- Day 3–4: Increase to 3–4 hours; introduce brief periods of gentle morning sun.
- Day 5–7: Extend to half a day with direct morning sun.
- Day 8–10: Leave outside all day in their final position; bring in only if temperatures drop below 15°C overnight.
Basil Growing Conditions: Light, Soil, and Temperature
How Much Sun Does Basil Need?
Outdoors, basil needs a minimum of 6–8 hours of direct sun daily. Less than that and you’ll get leggy, pale plants with noticeably reduced flavour — the essential oils responsible for basil’s aroma are produced in direct response to light intensity. In climates where summer temperatures regularly exceed 35°C (95°F), morning sun with afternoon shade is a sensible compromise.
Best Soil Mix and pH
Basil does best in a well-draining loam or sandy loam amended with 5–8 cm (2–3 in) of compost before planting. Target a soil pH of 6.0–7.0, with 6.5 being the sweet spot for maximum nutrient availability. Heavy clay soils that stay wet are a fast track to root rot — if that’s what you’re working with, raised beds or containers filled with a quality potting mix are a better option. (Fox Farm Ocean Forest)
Temperature and Cold Sensitivity
Basil thrives at 21–29°C (70–85°F) during the day and needs nights above 15°C (60°F). Below 10°C (50°F), cellular membrane damage begins, and you’ll see blackened or bronze-streaked leaves within 24–48 hours. This is exactly why supermarket basil so often collapses on a kitchen countertop — those plants were grown in warm greenhouses and go into shock the moment they hit a cold surface or an air conditioning draught.
Growing Basil Indoors
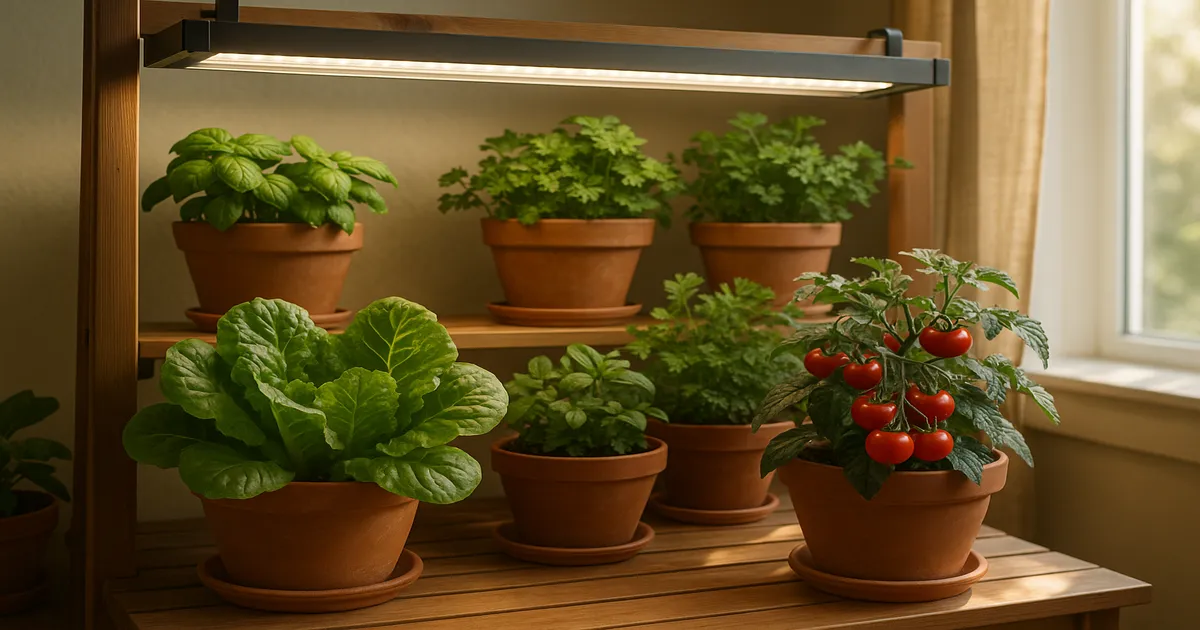
Indoors, basil needs bright, direct to bright indirect light — a south- or west-facing windowsill is your best bet. Most indoor locations without supplemental lighting simply don’t provide enough intensity for basil to thrive long-term.
If your windows are limited, a full-spectrum LED grow light positioned 15–30 cm (6–12 in) above the canopy and running for 14–16 hours per day will produce plants just as vigorous as outdoor-grown ones.
Watering and Feeding Basil
How Often to Water
Use the finger test: push your finger into the soil to about the second knuckle (2–3 cm / 1 in). If it feels dry at that depth, water thoroughly. If it still feels moist, wait another day. Container basil in summer heat above 30°C (86°F) may need watering every single day. A soil moisture meter takes the guesswork out of this entirely and is especially useful for beginners.
Avoiding Overwatering and Root Rot
Overwatering kills more basil than anything else. Warning signs include wilting despite wet soil, yellowing lower leaves, and a sour or musty smell from the pot. If you catch root rot early, remove the plant, trim all brown or black roots with sterile scissors, drench the remaining roots with a diluted hydrogen peroxide solution (1 part 3% H₂O₂ to 3 parts water), and repot into fresh, sterile medium. Never let pots sit in standing water for more than 30 minutes.
Fertilising Basil
Work a balanced slow-release granular fertiliser (10-10-10 or 14-14-14) into the top 15 cm of soil at planting time. For container plants, follow up with a balanced liquid fertiliser at half-strength every 2–3 weeks through the growing season. Avoid heavy nitrogen feeds late in summer — they push soft, lush growth that pests find irresistible.
Fixing Common Nutrient Deficiencies
| Symptom | Likely Cause | Fix |
|---|---|---|
| Uniform yellowing of older leaves | Nitrogen deficiency | Balanced liquid feed |
| Interveinal yellowing on older leaves | Magnesium deficiency | Epsom salt foliar spray (15 g/litre) every 2 weeks |
| Interveinal yellowing on new leaves | Iron deficiency (pH too high) | Lower pH; chelated iron |
| Distorted, cupped new growth | Calcium deficiency | Consistent watering; calcium foliar spray |
How to Prune and Harvest Basil for Maximum Yield
When to Start Pinching
Start pinching when plants reach 15 cm (6 in) tall with at least 3 sets of true leaves. Most beginners wait too long and end up with tall, single-stemmed plants that bolt quickly — start earlier than you think you need to.
How to Pinch for Bushy Growth
Pinch off the top 5–8 cm (2–3 in) of each stem, cutting or snapping just above a pair of healthy leaves. The plant will branch at that node, creating two new growing tips where there was one. Do this regularly across all stems and you’ll turn a spindly seedling into a dense, productive bush within a few weeks.
How to Harvest Without Harming the Plant
Always harvest by cutting stems back to just above a leaf node — never strip individual leaves from the middle of a stem. Take no more than one-third of the plant at a time, and it will bounce back quickly. Frequent, modest harvests are far better for the plant than occasional heavy ones.
How to Stop Basil from Bolting
Bolting is triggered by long days (over roughly 14 hours of light), temperatures above 32°C (90°F), drought, or being root-bound. Once a plant flowers, leaves become smaller and more bitter as energy shifts to seed production. Your main tools:
- Remove flower buds the moment they appear — don’t wait even a day
- Increase pinching to every 1–2 weeks in midsummer
- Choose bolt-resistant cultivars like ‘Eleonora’ or ‘Nufar’ for naturally longer productive seasons
Common Basil Problems and How to Fix Them
Why Is My Basil Turning Yellow?
Yellow leaves usually point to one of four things: nitrogen deficiency (uniform pale yellowing across older leaves), overwatering (yellowing combined with wet soil and possible wilting), magnesium deficiency (yellowing between the veins while veins stay green), or soil pH out of range. Test your soil pH first — many nutrient problems resolve once pH is corrected to 6.0–7.0.
Why Is My Basil Turning Black?
Black leaves almost always mean chilling injury. Exposure to temperatures below 10°C (50°F) — even briefly — ruptures cell membranes, and the damage shows up as blackening or bronze streaking within 24–48 hours. There’s no reversing it; remove the affected leaves and move the plant somewhere warmer.
Why Is My Basil Wilting?
Wilting has two very different causes. Drought wilt — dry soil, drooping leaves — resolves within 1–2 hours of thorough watering. Root rot wilt — wet soil, drooping leaves, mushy roots — won’t recover with more water; it needs the root-trimming and repotting treatment described in the watering section above. Always check the soil before you reach for the watering can.
Pests: Aphids, Spider Mites, Thrips, and Whiteflies
- Aphids and whiteflies: Knock off with a strong water spray, then treat with insecticidal soap or neem oil, covering all leaf surfaces including undersides. Repeat every 5–7 days for three cycles.
- Spider mites: Thrive in hot, dry air. Increase humidity, apply neem oil, and consider predatory mites (Phytoseiulus persimilis) for indoor infestations.
- Thrips: Use yellow or blue sticky traps to monitor; treat with a spinosad-based insecticide.
- Flea beetles: Apply kaolin clay as a physical barrier; use row covers over young transplants outdoors.
Diseases: Downy Mildew, Fusarium Wilt, and Botrytis
Downy mildew (Peronospora belbahrii) is the most destructive basil disease in many regions. Look for yellowing on the upper leaf surface with grayish-purple fuzz underneath. Remove infected plants immediately, improve airflow, and switch to resistant cultivars like ‘Devotion’ or ‘Passion’. Copper-based fungicide can help preventively in humid conditions.
Fusarium wilt has no cure. Remove and bin (don’t compost) affected plants, rotate your planting location, and solarise the soil if the problem recurs. Use certified disease-free seed going forward.
Botrytis gray mold shows as fuzzy gray growth on damaged tissue. Remove affected parts, improve ventilation, and apply a copper or sulfur fungicide.
Basil Care Through the Seasons
Spring: Starting Seeds and Transplanting
Start seeds indoors on a heat mat 6–8 weeks before your last frost. Be patient with transplanting — one cold night can undo weeks of careful seed-starting. Harden off diligently and don’t move plants outside until both soil temperature (18°C+) and nighttime air temperatures (15°C+) are consistently there.
Summer: Peak Harvest and Managing Heat
This is your prime window. Harvest frequently, pinch every 1–2 weeks, and water daily if needed. Watch for spider mites in hot dry spells and downy mildew during warm humid periods — good airflow and watering at the base (rather than overhead) go a long way toward prevention. Space plants 30–45 cm (12–18 in) apart to keep air circulating between them.
Autumn: Extending the Season and Saving Seeds
Before the first frost forecast, bring plants indoors or take stem cuttings to propagate new plants in water. To save seeds, allow one or two plants to bolt fully and let the seed heads dry on the plant before harvesting. Store seeds in a cool, dry place — viability typically lasts 4–5 years.
Winter: Growing Basil Indoors
Move plants to your brightest window or under grow lights. Growth slows significantly in winter, so reduce watering frequency — but don’t let plants dry out completely. Keep them well away from cold glass, air conditioning vents, and exterior doors. In USDA Hardiness Zones 10–11, basil can behave as a short-lived perennial outdoors year-round.
Frequently Asked Questions About How to Grow Basil
How often should I water basil?
Water when the top 2–3 cm (1 in) of soil feels dry — the finger test is the most reliable method. In summer heat, container basil may need watering every day. In cooler weather or indoors in winter, every 2–3 days is more typical. Consistent moisture without standing water is the goal.
Why does my basil taste bitter?
Bitterness is almost always a sign that the plant has bolted or is close to it. Once basil begins flowering, it redirects energy to seed production and concentrates bitter phenolic compounds in the leaves. Remove any flower buds immediately, pinch the plant back hard, and harvest from the freshest growth at the stem tips for the best flavour.
Can I grow basil from a grocery store cutting?
Yes, often successfully. Choose a stem at least 10 cm (4 in) long with healthy leaves, remove the lower leaves, and place it in a glass of water on a bright windowsill. Roots typically appear within 1–2 weeks. Pot up once roots are 2–3 cm long. Results vary depending on how the supermarket plant was grown and handled, but it’s absolutely worth trying.
Is basil a perennial or an annual?
In most climates, basil is a tender annual — it completes its life cycle in one season and is killed by frost. In USDA Hardiness Zones 10–11, it can behave as a short-lived perennial. For everyone else, treat it as an annual and start fresh each spring.
How do I know when basil is ready to harvest?
Basil is ready to harvest once the plant has at least 3 sets of true leaves and is around 15 cm (6 in) tall — typically 60–90 days from seed. Don’t wait for the plant to get large before you start; early, regular harvesting actively encourages bushier, more productive growth. Always cut just above a leaf node rather than stripping individual leaves.