Quick Answer: Yes, you can grow vegetables indoors year-round — leafy greens, herbs, microgreens, and even fruiting crops like tomatoes and peppers are all achievable with the right setup. The biggest factors are adequate light (natural or supplemental), containers with drainage, consistent watering, and regular feeding once the potting mix runs out of nutrients.
Learning how to grow vegetables indoors opens up year-round harvests regardless of your climate, outdoor space, or season. The learning curve varies a lot by crop — microgreens and lettuce are genuinely beginner-friendly, while tomatoes and cucumbers demand more attention and equipment. Get the fundamentals right from the start, and you’ll sidestep the most common frustrations.
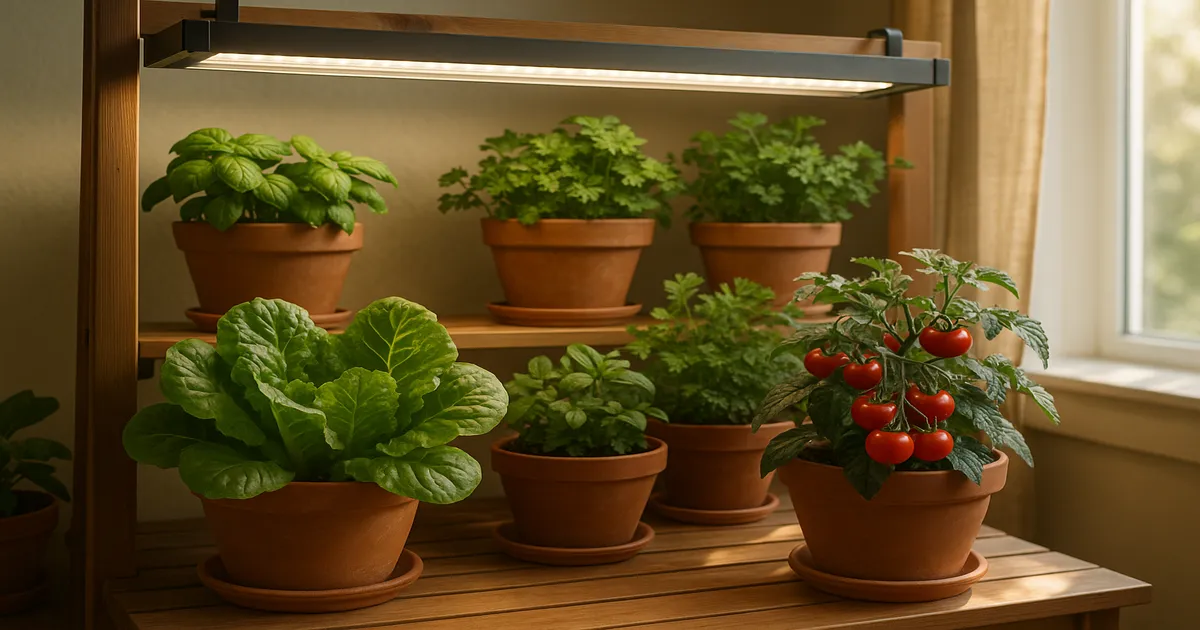
How to Grow Vegetables Indoors: Where to Start
Which Vegetables Are Easiest to Grow Indoors?
The difficulty spectrum runs from very easy to genuinely challenging:
- Very easy: Microgreens (radish, pea shoots, sunflower) — harvest in 7–14 days
- Easy: Leafy greens (lettuce, spinach, Swiss chard) and most herbs
- Moderate: Radishes, compact carrots, chives
- Challenging: Tomatoes, peppers, cucumbers — these need strong light, hand-pollination, and careful feeding
Start with leafy greens or microgreens if you’re new to this. They’re forgiving, fast-rewarding, and don’t demand grow lights if you have a decent south-facing window.
What You Need to Get Started
The core equipment list is short:
- Containers with drainage holes (size depends on the crop)
- Quality potting mix — not garden soil
- A light source: bright window or LED grow light
- Water-soluble fertilizer
- A timer for grow lights (a small investment that pays off immediately)
Best Vegetables to Grow Indoors
Leafy Greens and Herbs
Lettuce, spinach, and Swiss chard are ideal indoor crops. They’re compact, fast-maturing, and thrive in lower light than fruiting vegetables. For lettuce, ‘Tom Thumb’ and ‘Little Gem’ are standout compact cultivars. ‘Black Seeded Simpson’ is a reliable loose-leaf type that bounces back well after cutting.
Herbs like basil, mint, and chives also perform well on a sunny windowsill. Basil is the most light-hungry of the three — it really does better under a grow light than on a dim sill.
Microgreens: Fastest Results for Beginners
Microgreens are harvested at the seedling stage, require nothing more than a shallow tray, potting mix, and a light source, and deliver real flavour and nutrition in 7–14 days. Radish, sunflower, and brassica mixes are among the easiest. No special equipment, no waiting months for a harvest — this is the fastest path to eating something you grew yourself.
Root Vegetables: Compact Varieties That Work
Standard carrots won’t work in most indoor containers — they need depth and space. Compact varieties like ‘Chantenay’ or short Nantes types are more practical. Radishes are the real star here: ‘Cherry Belle’ matures in just 22–25 days and fits in a container as shallow as 8–10 inches deep.
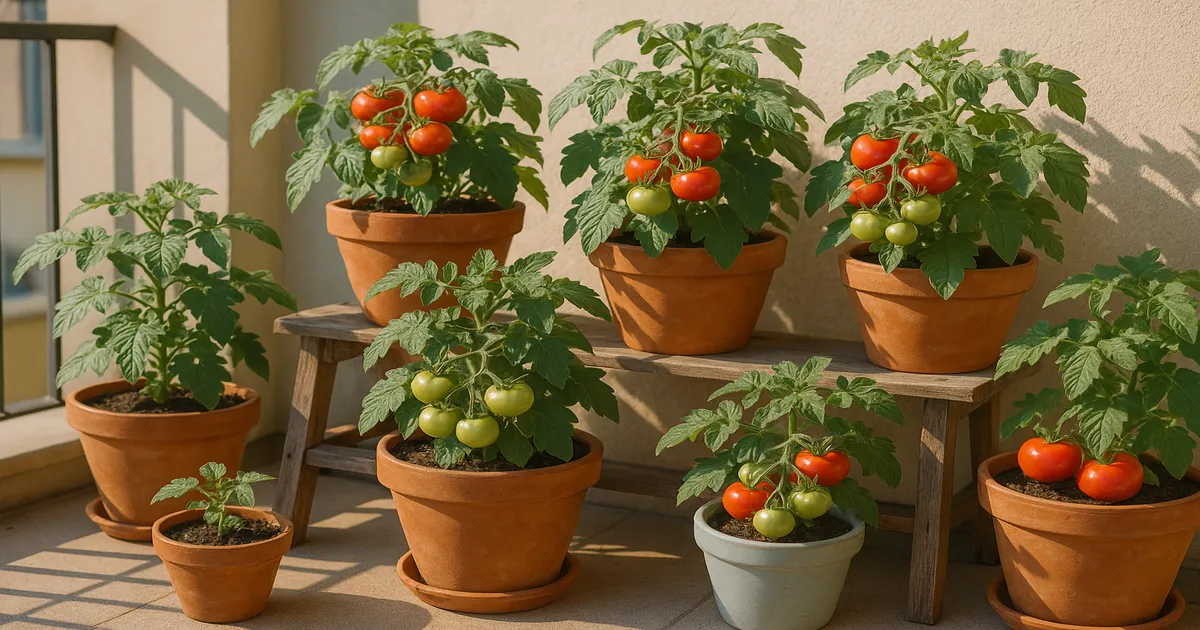
Fruiting Crops: Tomatoes, Peppers, and Cucumbers
These are the most rewarding and the most demanding. Dwarf and determinate tomato varieties are essential indoors — ‘Micro-Tom’ stays under 20 cm tall, while ‘Tiny Tim’ and ‘Tumbling Tom’ are reliable producers in 3–5 gallon containers. For peppers, compact varieties like ‘Lunchbox’ or ‘Cayennetta’ suit indoor conditions well. For cucumbers, parthenocarpic varieties (which set fruit without pollination) make life considerably easier — ‘Diva’ and ‘Bush Pickle’ are both solid choices.
Light Requirements for Indoor Vegetables
How Much Light Do Vegetables Actually Need?
Light is the single biggest limiting factor, and most people underestimate the gap between what their window provides and what vegetables actually need. Outdoor full sun delivers 5,000–10,000+ foot-candles. A typical windowsill offers just 50–500 foot-candles. Even the best south-facing window in summer tops out at around 500–2,000 foot-candles — enough for leafy greens, but marginal for fruiting crops.
For those who want to get technical: vegetables use light in the 400–700 nm range (photosynthetically active radiation, or PAR). Target PPFD at canopy level is 150–250 µmol/m²/s for leafy greens and 400–600 µmol/m²/s for fruiting crops.
South-Facing Windows vs. Grow Lights
A south-facing window (in the Northern Hemisphere) is your best natural option, but it’s often not enough on its own for tomatoes or peppers — especially in winter, when day length drops and sun angle is low. Leafy greens and herbs can often manage with a good south-facing window in summer. Fruiting crops almost always need supplemental light to perform reliably.
Choosing and Running a Grow Light
Full-spectrum LED grow lights are the practical choice for most home growers — they’re energy-efficient, run cool, and cover the full PAR range. Look for a light with published PPFD data so you know what you’re actually getting at canopy level, not just wattage claims. A unit like the Mars Hydro TS 600 is a popular entry-level option that covers a small growing area effectively.
Run lights 14–16 hours per day on a timer to replicate long summer days — this is especially important for fruiting crops. Position the light 6–18 inches above the canopy (closer for lower-intensity lights, further for high-output units). Reflective surfaces like white walls or mylar sheeting can also boost how much light your plants capture.
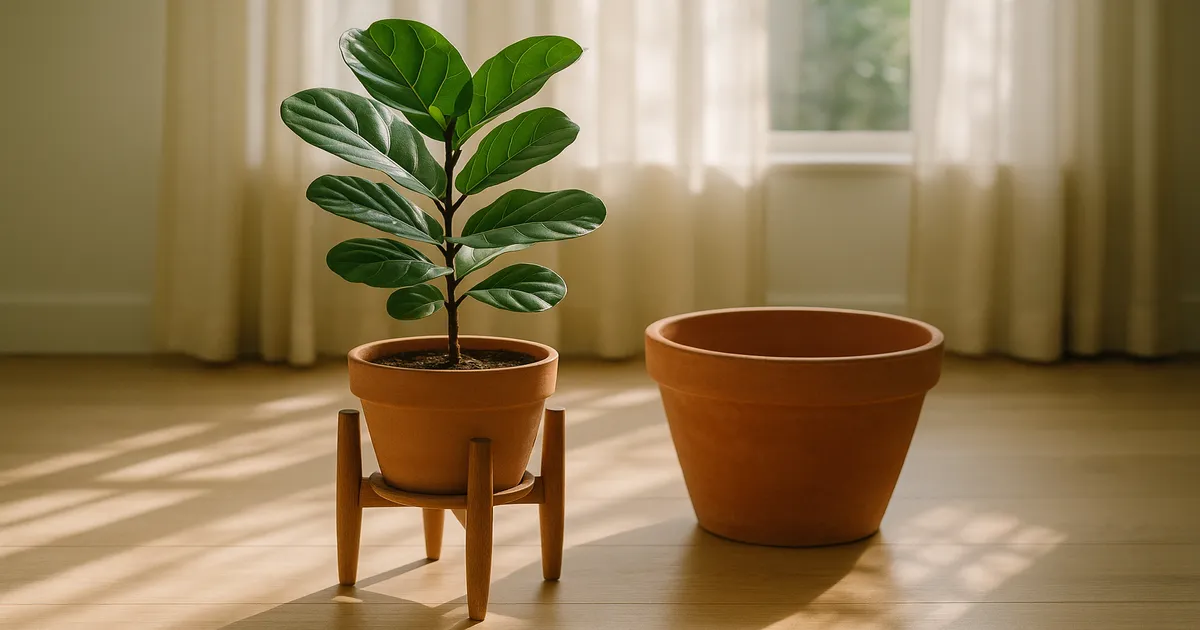
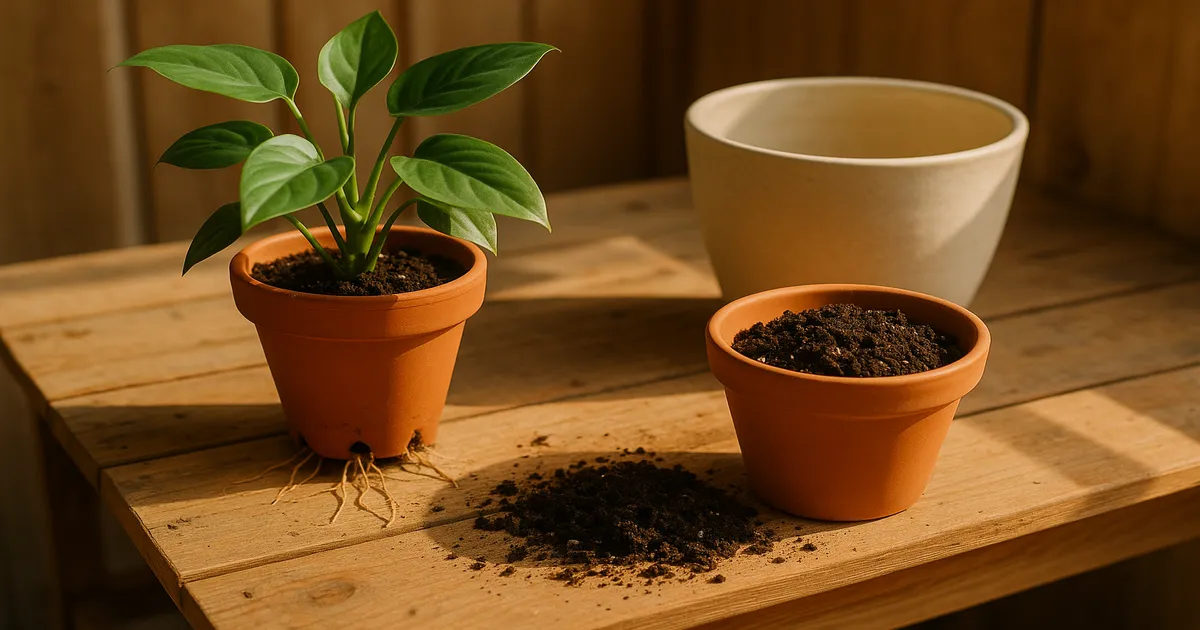
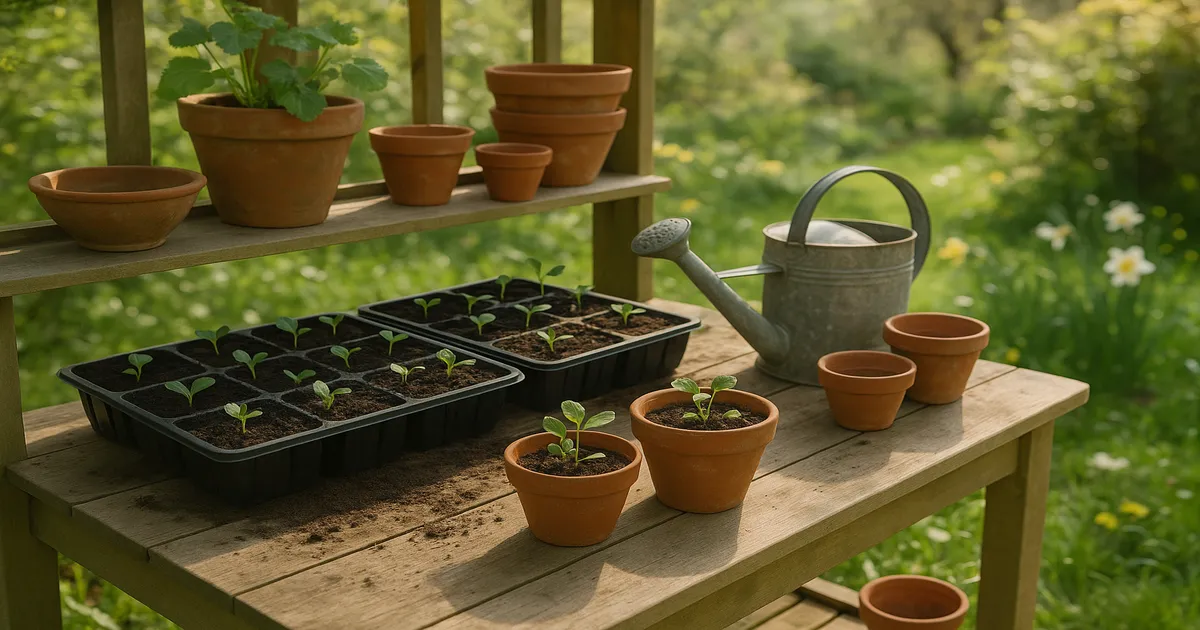
Containers, Soil, and Setup
Choosing the Right Container Size
Container size directly affects how much water and nutrient reserve your plant has access to. Use these minimums:
- Herbs and lettuce: 6–8 inches (15–20 cm) diameter
- Root vegetables: 8–10 inches (20–25 cm) deep
- Dwarf tomatoes and peppers: 3–5 gallons (11–19 liters)
- Full-size tomato varieties: 5–10 gallons (19–38 liters)
Drainage holes are non-negotiable. Pots without them will waterlog your vegetables no matter how carefully you water.
Best Potting Mix for Indoor Vegetables
Use a quality vegetable or all-purpose potting mix with 20–30% perlite mixed in for drainage. A peat or coco coir base with added compost and perlite hits the right balance of moisture retention and aeration. Fox Farm Ocean Forest is a widely available option that works well straight out of the bag for most vegetable crops. Never use garden soil indoors — it compacts, drains poorly, and often carries pests and pathogens.
Soil pH: Why It Matters
Most vegetables prefer a slightly acidic to neutral pH of 6.0–7.0. Outside this range, nutrients become chemically unavailable even if they’re present in the soil — iron deficiency, for example, is almost always a pH problem rather than a genuine shortage of iron. Test with a reliable pH meter and adjust using dilute citric acid to lower pH or agricultural lime to raise it. (Apera Instruments AI209)
Watering and Feeding Indoor Vegetables
How to Water Correctly
The finger test is your most reliable tool: push a finger 1–2 inches into the soil and water only when the top layer feels dry. Most vegetables want soil that’s consistently moist but never waterlogged — roughly 40–60% of field capacity.
Overwatering is the leading cause of indoor vegetable failure. Saturated soil drives out oxygen, creating the anaerobic conditions that Pythium and Phytophthora root rot fungi thrive in. On the other side, even brief water stress in leafy greens can trigger premature bolting, and blossom drop in tomatoes often traces back to inconsistent watering rather than any disease.
Bottom watering — setting pots in a tray of water for 20–30 minutes — encourages deep root growth and keeps foliage dry, which reduces fungal disease risk.
When and How to Fertilise
Potting mix nutrients are exhausted within 4–6 weeks of planting. Start a regular feeding routine at week four — or earlier if you’re growing in a nutrient-free medium like coco coir. Apply a water-soluble fertilizer at half-strength weekly rather than full-strength monthly; this gives plants a steady supply and reduces the risk of salt build-up.
- Leafy greens: A nitrogen-forward formula around 3-1-2 N-P-K keeps growth lush and fast.
- Fruiting crops: Start with a balanced fertilizer during vegetative growth, then switch to a low-nitrogen, high-phosphorus/potassium formula like 5-10-10 once flowering begins. Too much nitrogen at this stage pushes foliage at the expense of fruit.
Fixing Common Nutrient Deficiencies
Four deficiencies show up most often in indoor containers:
- Nitrogen: Older leaves yellow first; growth slows. Increase nitrogen feeding.
- Calcium: Blossom-end rot on tomatoes and peppers; tip burn on lettuce. Apply a calcium foliar spray and water consistently — irregular watering blocks calcium uptake regardless of soil levels.
- Magnesium: Interveinal chlorosis — veins stay green while tissue between them yellows. Often a pH issue; check and correct before adding magnesium.
- Iron: Young leaves yellow first (the reverse of nitrogen deficiency). Almost always caused by pH above 7.0; lower the pH before applying iron supplements.
Temperature, Humidity, and Air Circulation
Ideal Temperature Ranges
Most vegetables are comfortable in the 60–75°F (15–24°C) range, but there’s an important split between crop types. Cool-season crops — lettuce, spinach, radish — prefer 55–65°F (13–18°C) and will bolt when temperatures consistently exceed 75–80°F. Warm-season crops — tomatoes, peppers, cucumbers — stall below 60°F and may drop blossoms entirely if nighttime temperatures fall below 55°F.
Cold windowsills are a hidden problem in winter. Even when room air temperature is fine, the root zone can sit below 60°F, blocking nutrient uptake. A seedling heat mat under warm-season crop containers solves this neatly.
Managing Humidity and Air Circulation
Target 50–70% relative humidity for most vegetables. Below 40% RH — common in centrally heated homes in winter — spider mites thrive and lettuce develops tip burn. Above 80% RH, powdery mildew and grey mold (Botrytis cinerea) become serious risks. A hygrometer gives you visibility; grouping plants together raises local humidity naturally through transpiration.
A small oscillating fan running on low does three useful things: it strengthens stems (plants respond to physical movement by building stronger cell walls), it delivers fresh CO₂ to leaf surfaces, and it reduces the stagnant air pockets where fungal diseases start. Keep it on low — gentle movement, not a wind tunnel.
Pollination, Pests, and Common Problems
How to Hand-Pollinate Fruiting Crops
Outdoors, wind and bumblebees handle pollination. Indoors, that job falls to you. Tomatoes and peppers are self-fertile but need vibration to release pollen. Hold a battery-powered electric toothbrush against the back of each flower cluster for a few seconds — this mimics buzz pollination effectively. Do this daily while flowers are open.
Cucumbers have separate male and female flowers. Use a small dry paintbrush to transfer pollen from a male flower (no small fruit at the base) to a female flower (small immature fruit visible at the base). Or simply choose parthenocarpic varieties that set fruit without pollination — a significant advantage indoors.
Identifying and Treating Common Pests
Catch infestations early — a small problem in week one becomes a major infestation by week three.
- Fungus gnats: Let the top 1–2 inches of soil dry between waterings; use yellow sticky traps; apply a Bacillus thuringiensis var. israelensis (Bti) soil drench to kill larvae.
- Spider mites: Raise humidity above 60% RH; spray foliage with water to dislodge them; apply insecticidal soap or neem oil every 5–7 days for three cycles.
- Aphids: Knock off with a strong water spray; follow up with insecticidal soap solution.
- Whiteflies: Yellow sticky traps plus neem oil sprays; ensure good air circulation.
Preventing Root Rot and Fungal Disease
Root rot prevention comes down to two habits: always use containers with drainage holes, and don’t water until the top inch of soil has dried out. If root rot has already set in, unpot the plant, trim blackened mushy roots, let them air-dry briefly, and repot into fresh, dry mix. Caught early, plants often recover fully.
Long-Term Success: Cultivar Choice, Monitoring, and Records
Start With Resistant Cultivars and Clean Equipment
Seed packets for tomatoes often carry resistance codes — “V, F, N, T” indicates resistance to Verticillium wilt, Fusarium wilt, nematodes, and Tobacco Mosaic Virus respectively. Choosing resistant cultivars is the cheapest insurance available. Between growing cycles, sterilize containers with a 1:9 bleach-to-water solution and always start with fresh, sterile potting mix — reusing old mix without pasteurizing it is a fast path to soil-borne disease.
Quarantine any new plants for 1–2 weeks before placing them near existing crops. Pests hitchhike on new arrivals more often than most growers expect.
Keep a Grow Journal
A simple grow journal — even just a notes app on your phone — tracking planting dates, fertilizer applications, and any issues you observe will reveal patterns across growing cycles that are impossible to spot any other way. After two or three cycles, it becomes your most valuable troubleshooting tool. Pair it with a pH meter, hygrometer, and a basic light meter to verify your plants are actually getting the intensity they need, and most of the guesswork disappears.
Frequently Asked Questions
How much light do vegetables need to grow indoors?
Leafy greens need roughly 1,000–2,000 foot-candles (150–250 µmol/m²/s PPFD) for 12–16 hours per day. Fruiting crops like tomatoes and peppers need considerably more — 400–600 µmol/m²/s PPFD — which almost always requires supplemental LED grow lights indoors. Running lights on a 14–16 hour daily timer gives most vegetables the light they need to grow and fruit reliably.
Can you grow vegetables indoors without grow lights?
Yes, but only for certain crops and only with the right window. A south-facing window can provide enough light for leafy greens, herbs, and microgreens, particularly in spring and summer. Fruiting crops — tomatoes, peppers, cucumbers — almost always underperform or fail to fruit without supplemental grow lights, because even the best window rarely delivers consistent light intensity.
What vegetables are easiest to grow indoors for beginners?
Microgreens are the single easiest starting point — ready to harvest in 7–14 days with no special equipment beyond a shallow tray and a light source. After microgreens, loose-leaf lettuce varieties like ‘Tom Thumb’ and ‘Little Gem’, along with herbs like chives and mint, are the most forgiving and reliably productive choices for beginners.
Why are my indoor vegetable plants not producing fruit?
The two most common causes are insufficient light and lack of pollination. Fruiting crops need significantly more light than leafy greens — if your plant is flowering but dropping blossoms, check light intensity first, then pollination technique. Inconsistent watering and temperatures below 55°F at night are also common triggers for blossom drop in tomatoes and peppers.
How often should I fertilise indoor vegetable plants?
Start feeding at week four after planting, or earlier if you’re growing in coco coir or another nutrient-free medium. Apply a water-soluble fertilizer at half-strength once a week rather than full-strength once a month. This gives plants a steady nutrient supply and avoids the salt build-up that can damage roots over time.