Quick Answer: To grow sweet potatoes, plant certified slips 2–4 weeks after your last frost date in loose, well-draining sandy loam with a pH of 5.8–6.2 and full sun. Feed with a low-nitrogen, high-potassium fertiliser, water consistently through the season, then taper off 3–4 weeks before harvest. Always cure freshly dug roots at 85–90 °F with 85–90% relative humidity for 4–7 days — it converts starches to sugars and seals the skin against rot. Depending on the variety, expect 90–170 days from planting to harvest.
Sweet potatoes (Ipomoea batatas) are one of the most rewarding crops you can grow, but knowing how to grow sweet potatoes correctly makes the difference between a bumper harvest and a patch full of vines with almost nothing underground. They’re unrelated to regular potatoes (Solanum tuberosum, a nightshade), and they have their own specific needs around soil, temperature, and nutrition. Get those right and they’re surprisingly low-maintenance.
Choosing the Right Sweet Potato Variety
Moist-Flesh (Orange) Varieties
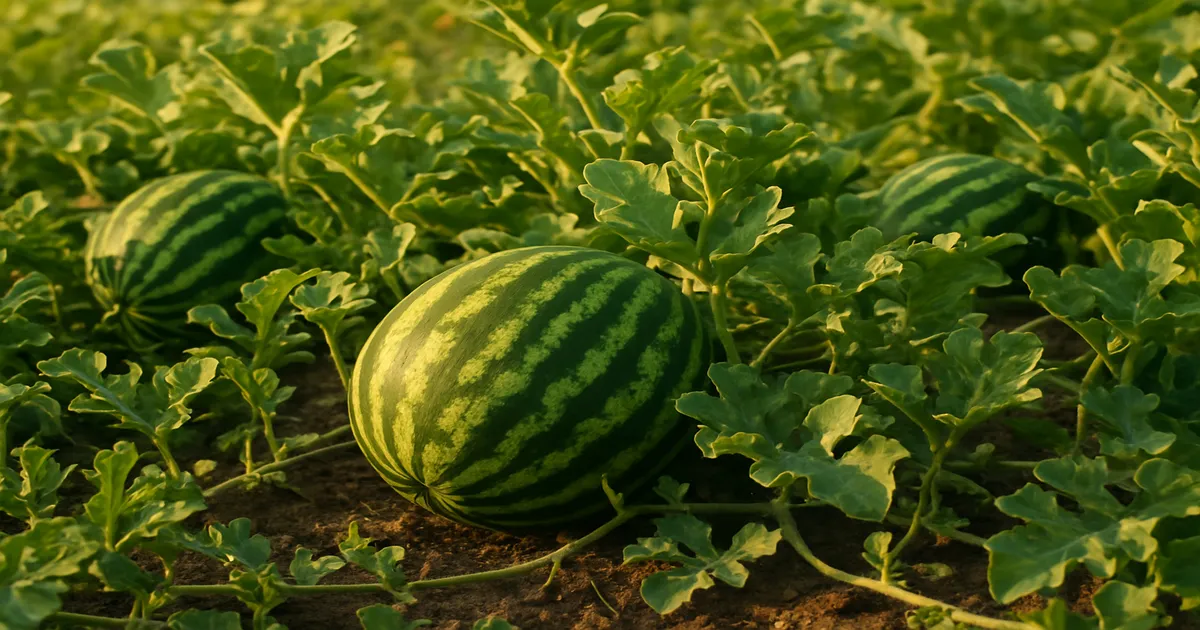
These are the sweet potatoes piled high at every supermarket. Their tender, sweet flesh comes from high moisture and sugar content that develops after curing. Beauregard is the gold standard for home growers — high yield, 90–100 days to maturity, and reliable across most climates. Covington is another excellent choice, with added resistance to Fusarium wilt and soil pests.
Dry-Flesh and White-Flesh Varieties
Dry-flesh types like O’Henry and Hannah have a starchier, denser texture — closer to a baked potato in consistency. They’re popular in Asian cooking and with gardeners who want something beyond the standard orange. The flavour is more subtle and nutty.
Purple-Flesh and Specialty Varieties
Stokes Purple and Okinawan sweet potatoes are loaded with anthocyanins, the same antioxidant pigments found in blueberries. They’re striking on the plate and increasingly popular at farmers’ markets. Expect longer days to maturity and slightly lower yields than orange types.
Best Cultivars at a Glance
| Goal | Best Choices |
|---|---|
| High yield | Beauregard, Covington |
| Short northern seasons | Georgia Jet (90 days), Vardaman |
| Container growing | Vardaman (bush habit), Porto Rico |
| Fusarium resistance | Covington |
| Ornamental + edible | Stokes Purple, Okinawan |
Georgia Jet is the go-to for USDA Zones 5–6 — it matures in 90 days and handles cooler conditions better than most. Vardaman has a compact, semi-bush habit that suits raised beds and large containers well.
Soil Preparation for Growing Sweet Potatoes
Ideal Soil Type and pH
Sweet potatoes need loose, well-draining sandy loam at a pH of 5.8–6.2. Compacted or clay-heavy soil physically prevents roots from expanding, producing forked, misshapen, or stunted roots. Below pH 5.5, aluminium and manganese can reach toxic levels; above 6.5, phosphorus availability drops and yields suffer.
Test your soil before planting — every season. A digital pH meter gives you a quick, reliable reading at home.
- To lower pH: Incorporate elemental sulfur several months before planting
- To raise pH: Apply agricultural lime in autumn or early spring
Amending Clay or Compacted Soil
Work coarse sand (at least 30% by volume) and aged compost into the top 12–18 inches. Deep tilling or broadforking in autumn breaks up compaction before it becomes a problem. Avoid excessive peat or wood chips — both retain too much moisture and can promote root rot.
Building a Raised Bed Mix
If your native soil is heavy clay, a raised bed is the smartest move. Fill it with:
- 60% sandy loam or coarse sand
- 30% aged compost
- 10% organic perlite
This blend drains freely, warms quickly in spring, and gives roots nothing but open space to expand into.
Planting Sweet Potato Slips: Timing, Spacing, and Technique
Why Slips — Not Seeds
Sweet potatoes are hexaploid (six sets of chromosomes), making seed propagation hopelessly unpredictable. Instead, you grow from slips — rooted stem cuttings sprouted from a mother root. Every slip is genetically identical to the parent, so you know exactly what you’re getting.
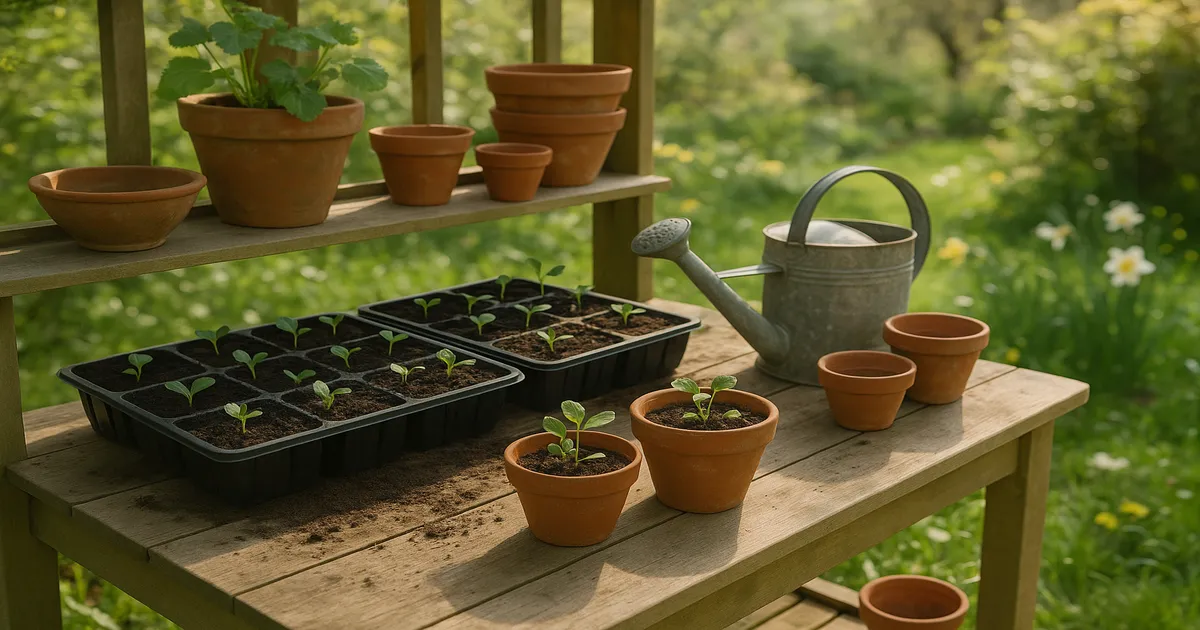
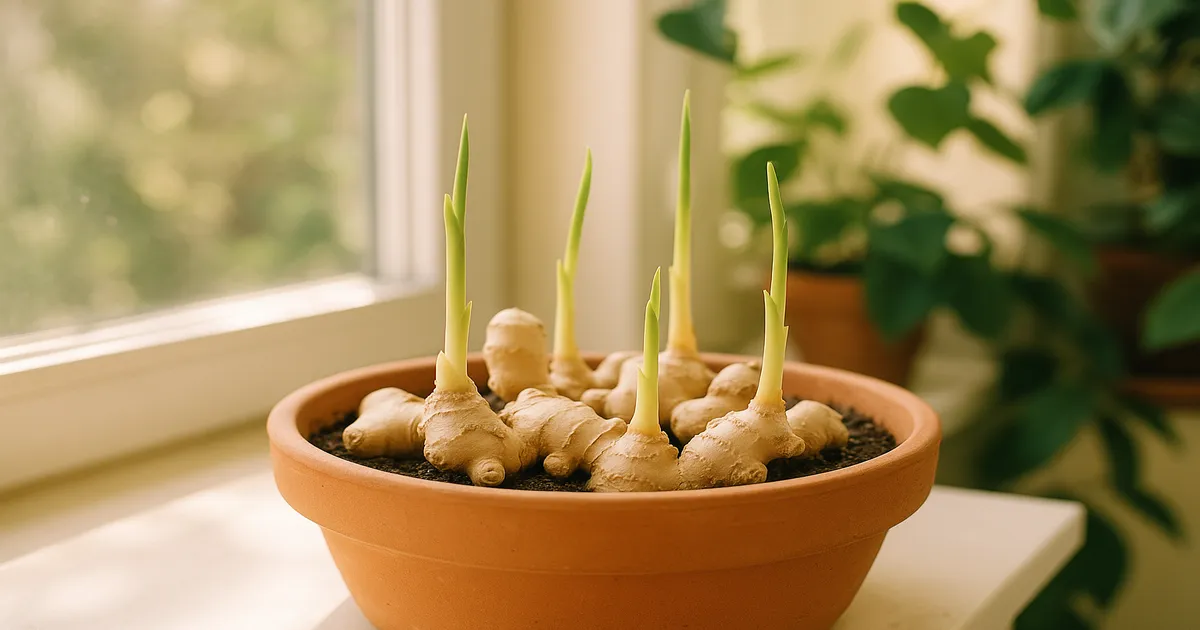
How to Grow Your Own Slips
Start 6–8 weeks before your intended planting date. Two reliable methods:
Toothpick/water method:
- Push 3–4 toothpicks into the middle of a sweet potato to act as supports
- Suspend it halfway in a jar of water, pointy end down
- Place in bright indirect light at 75–85 °F
- Slips emerge in 3–6 weeks; snap them off when 6–9 inches long with visible roots
Moist sand/vermiculite method:
- Lay sweet potatoes horizontally in a tray of moist sand or vermiculite
- Keep at 75–85 °F with consistent moisture
- Harvest slips at 6–9 inches once roots are visible
Sourcing Certified Slips
Always buy certified, disease-free stock from a reputable nursery or cooperative extension programme. Inspect every slip before planting — discard any showing black lesions, soft spots, or unusual discolouration (signs of black rot or Fusarium). A 10-minute soak in a 3% hydrogen peroxide solution reduces surface pathogens without harming the slip.
Soil Temperature, Depth, and Spacing
Wait until 2–4 weeks after your last frost date and confirm soil temperature is a consistent 65 °F or above at 4-inch depth. Cold soil stunts establishment and delays root formation by weeks. A soil thermometer takes the guesswork out of this decision.
- Planting depth: Bury 2–3 nodes below the surface, leaving 2–3 nodes above ground
- In-row spacing: 12–18 inches apart
- Row spacing: 3–4 feet between rows
In northern climates, lay black plastic mulch over the bed 2–3 weeks before planting. It pre-warms the soil by 5–10 °F, suppresses weeds, and conserves moisture — three benefits from one simple step.
Watering, Fertilising, and Ongoing Care
How Much Water Sweet Potatoes Need
Aim for 1–1.5 inches of water per week during active growth. Drip irrigation is ideal — it delivers moisture to the root zone without wetting foliage, which reduces foliar disease pressure. Water deeply but infrequently, letting the top inch or two dry out between sessions.
Taper off irrigation 3–4 weeks before harvest. Continued heavy watering at this stage causes roots to crack as cells absorb excess moisture before the skin has set.
Getting Fertiliser Right: Low Nitrogen, High Potassium
Too much nitrogen and your plants will pour energy into lush, sprawling vines at the expense of roots — a phenomenon aptly called “going to vine.” Sweet potatoes want low nitrogen, moderate phosphorus, and high potassium.
- At planting: Apply a 5-10-10 or 6-24-24 fertiliser at 2–3 lbs per 100 sq ft (Espoma Garden-tone 3-4-4)
- Mid-season (4–6 weeks after transplanting): Sidedress with potassium sulfate or a 0-0-50 formulation to support root bulking
- Avoid any product with a high first number (nitrogen) once vines are established
For micronutrients: internal cracking (hollow heart) often signals boron deficiency — dissolve 1 tablespoon of borax in water and apply as a soil drench per 100 sq ft. Interveinal yellowing on older leaves points to magnesium deficiency; a foliar spray of 1 tablespoon Epsom salt per gallon of water corrects it quickly.
Mulching, Weed Control, and Sunlight
Apply 3–4 inches of straw mulch once slips are established. Sweet potatoes are poor early-season competitors against weeds, and mulch also moderates soil temperature and retains moisture. Once vines spread and close the canopy, they’ll shade out most weeds on their own.
One firm rule: don’t reposition or flip the vines. Vines root at their nodes, and disrupting them stresses the plant and reduces yield.
Sweet potatoes need full sun — at least 6–8 hours of direct sunlight daily. Insufficient light means the plant can’t produce enough carbohydrates to build substantial storage roots. Site selection is everything; there’s no workaround once the season is underway.
Common Problems: Pests and Diseases
Sweet Potato Weevil and Wireworms
The sweet potato weevil (Cylas formicarius) is the most destructive pest globally. Larvae tunnel through roots, making them inedible and opening entry points for pathogens. Use certified weevil-free slips, practise strict crop rotation, and apply beneficial nematodes (Steinernema or Heterorhabditis spp.) as a soil drench for larval control. Pheromone traps help monitor adult populations before numbers spike.
Wireworms cause similar tunnelling damage and are worst in beds recently converted from lawn. Beneficial nematodes help here too, and crop rotation is the long-term solution.
Whiteflies and Root-Knot Nematodes
Whiteflies (Bemisia tabaci) vector Sweet Potato Virus Disease, which can devastate a crop. Reflective silver mulch repels adults, yellow sticky traps aid monitoring, and a 2% insecticidal soap spray on leaf undersides knocks back established populations.
Root-knot nematodes cause galling that reduces both yield and marketability. Soil solarisation — clear plastic mulch left in place for 4–6 weeks during the hottest part of summer — reduces nematode populations by 60–90%. Incorporating neem cake into the soil before planting adds another layer of protection.
Fusarium Wilt, Black Rot, and Soft Rot
Fusarium wilt is soil-borne and causes wilting and internal root discolouration. Black rot (Ceratocystis fimbriata) arrives via infected slips and produces circular black lesions on roots. Soft rot (Rhizopus stolonifer) is a post-harvest problem that accelerates in wounded, poorly cured roots.
The single most effective prevention for all of these: source certified disease-free slips every season and never replant from diseased stock. Rotate sweet potatoes to a new bed every 3–4 years and solarise problem soils the summer before planting.
How to Harvest Sweet Potatoes
Signs Your Crop Is Ready
The clearest signal is natural foliage yellowing as the season winds down. You can also check root size by carefully excavating around one plant — if roots look plump and well-formed, you’re close. Most importantly, harvest before the first frost. Foliage dies at 32 °F, and storage roots suffer chilling damage below 50 °F, leading to rapid rotting in storage.
Digging Without Damaging Roots
Use a digging fork, not a spade. Work the fork into the soil 12–18 inches from the crown and lever upward gently — stabbing a root ruins it. Roots extend surprisingly far from the plant, so work methodically around each crown. Bring roots indoors immediately if overnight temperatures are forecast to drop below 50 °F.
Curing and Storing Sweet Potatoes
Why Curing Matters
Fresh-dug sweet potatoes taste nothing like the ones at the store. Curing at warm, humid conditions triggers a starch-to-sugar conversion that dramatically improves flavour, and it heals skin wounds that would otherwise let soft rot destroy your harvest in storage.
Step-by-Step Curing
- Brush off loose soil — do not wash the roots
- Arrange in a single layer in a warm, humid space: 85–90 °F with 85–90% relative humidity for 4–7 days
- A practical DIY setup: a small spare room with a space heater and a shallow pan of water, or a greenhouse in late summer
- Don’t stack roots — air circulation is essential
Long-Term Storage
After curing, move roots to a cool, humid spot: 55–60 °F with 80–85% relative humidity. A basement corner, root cellar, or insulated garage often works well. Properly cured sweet potatoes keep for 6–12 months.
Never refrigerate sweet potatoes. Temperatures below 55 °F cause chilling injury — internal discolouration, off-flavours, and a hard texture that won’t improve with cooking.
Frequently Asked Questions
How long do sweet potatoes take to grow?
Most varieties mature in 90–170 days from transplanting slips. Fast-maturing types like Georgia Jet and Beauregard come in around 90–100 days, making them the best choice for northern gardeners. Purple-flesh and specialty varieties often need 110–150+ days.
Can you grow sweet potatoes in containers?
Yes. Choose a compact variety like Vardaman or Porto Rico and use a container of at least 15 gallons — sweet potatoes need room for roots to develop, so bigger is always better. Fill with a well-draining mix, place in full sun, and water consistently. Expect slightly smaller yields than in-ground plants, but it’s entirely workable on a patio or deck.
What is the difference between a sweet potato and a yam?
True yams are Dioscorea species — a completely different plant native to Africa and Asia, with rough, bark-like skin and dry, starchy white flesh. What US grocery stores label “yams” are almost always moist-flesh orange sweet potatoes; the labelling convention dates back to southern US growers marketing their product as distinct from drier northern types.
Why are my sweet potato plants producing lots of vines but no roots?
Almost always a nitrogen problem. Excess nitrogen pushes the plant into vegetative overdrive — lush vines at the direct expense of root development. Switch to a low-nitrogen, high-potassium fertiliser and avoid any product with a high first number in the NPK ratio. Insufficient sunlight can cause a similar issue, so confirm your plants are getting at least 6–8 hours of direct sun daily.
Do sweet potatoes need to be cured before eating?
Technically you can eat them straight from the ground, but they’ll be noticeably starchy and bland. Curing at 85–90 °F with high humidity for 4–7 days converts starches to sugars and seals the skin against rot. It’s a short process with a large payoff in both flavour and storage life.