Quick Answer: To grow tomatoes in pots successfully, choose a compact or determinate variety, use a container of at least 5–15 gallons with excellent drainage, and fill it with a well-draining potting mix — never garden soil. Place your pot where it gets 8–10 hours of full sun daily, water consistently, and feed with a stage-appropriate fertilizer. The sections below walk you through every detail, from variety selection to pest control.
Growing tomatoes in pots is one of the most rewarding things you can do with a balcony, patio, or small garden. The catch is that container growing isn’t just “in-ground growing but smaller” — it demands different decisions about soil, watering, and feeding. Get those right, and you’ll harvest more than you expect.
How to Choose the Right Tomato Variety for Pots
Determinate vs. Indeterminate: What It Means for Container Growing
Tomato varieties fall into three growth habits, and this single factor shapes every other decision you’ll make.
Determinate (“bush”) varieties grow to a genetically fixed height — usually 2–4 feet — set their fruit in a concentrated window, then stop. They’re the easiest starting point for pots because they’re predictable, compact, and need minimal pruning.
Indeterminate (“vining”) varieties keep growing and fruiting until frost kills them, sometimes reaching 6–10 feet. You can grow them in pots, but you’ll need a 20–25 gallon container and a sturdy support system. The payoff is a longer harvest season.
Semi-determinate varieties split the difference — moderate height with an extended fruiting window — and are increasingly popular with container growers who want the best of both worlds.
For most beginners, determinate and semi-determinate varieties are the smart choice. Good options include:
- Tumbling Tom — trailing habit, perfect for hanging baskets
- Patio — classic dwarf at 18–24 inches, reliable producer
- Bush Early Girl — compact plant, full-size fruit
- Tiny Tim — ultra-dwarf at 12–18 inches, great for small pots
- Celebrity — disease-resistant and easy to manage
Cherry varieties like Sweet 100, Sun Gold, and Black Cherry are also excellent. Many are technically indeterminate but stay manageable in a 5–10 gallon pot with a simple stake or cage. If you want maximum fruit for minimum fuss, a cherry tomato is hard to beat.
Containers, Potting Mix, and Drainage
Minimum Container Sizes for Growing Tomatoes in Pots
Pot size is non-negotiable. Cramped roots trigger stress responses that reduce fruit set and accelerate decline. Here’s what each plant type needs:
| Plant Type | Minimum Volume | Minimum Diameter |
|---|---|---|
| Dwarf/Patio | 5 gallons | 12 inches |
| Determinate standard | 10–15 gallons | 16–18 inches |
| Indeterminate | 20–25 gallons | 20–24 inches |
| Cherry tomato | 5–10 gallons | 12–16 inches |
When in doubt, go bigger. A larger pot buffers temperature swings, holds more moisture, and gives roots room to support heavy fruit loads.
Container Materials: Fabric, Plastic, and Terracotta
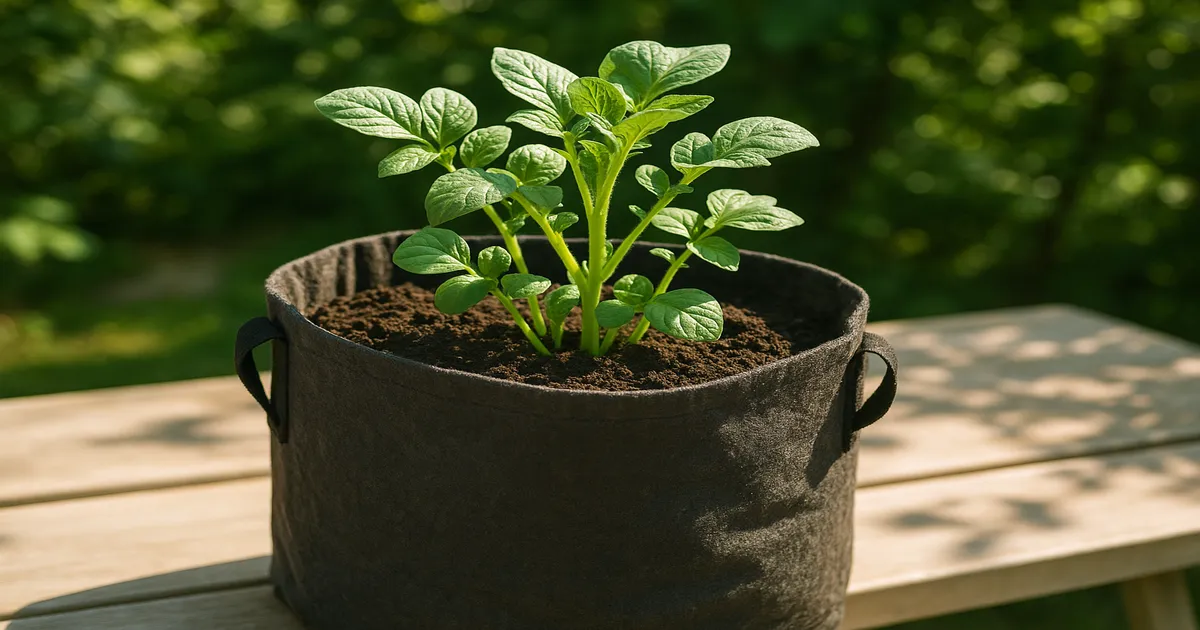
Fabric grow bags are the top choice for serious container growers. They air-prune roots at the container wall, preventing the circling root problems that choke plants in rigid pots, and their drainage is excellent.
Food-grade plastic containers are lightweight, moisture-retentive, and cost-effective. Look for UV-stabilized versions so they don’t degrade after a season or two in direct sun.
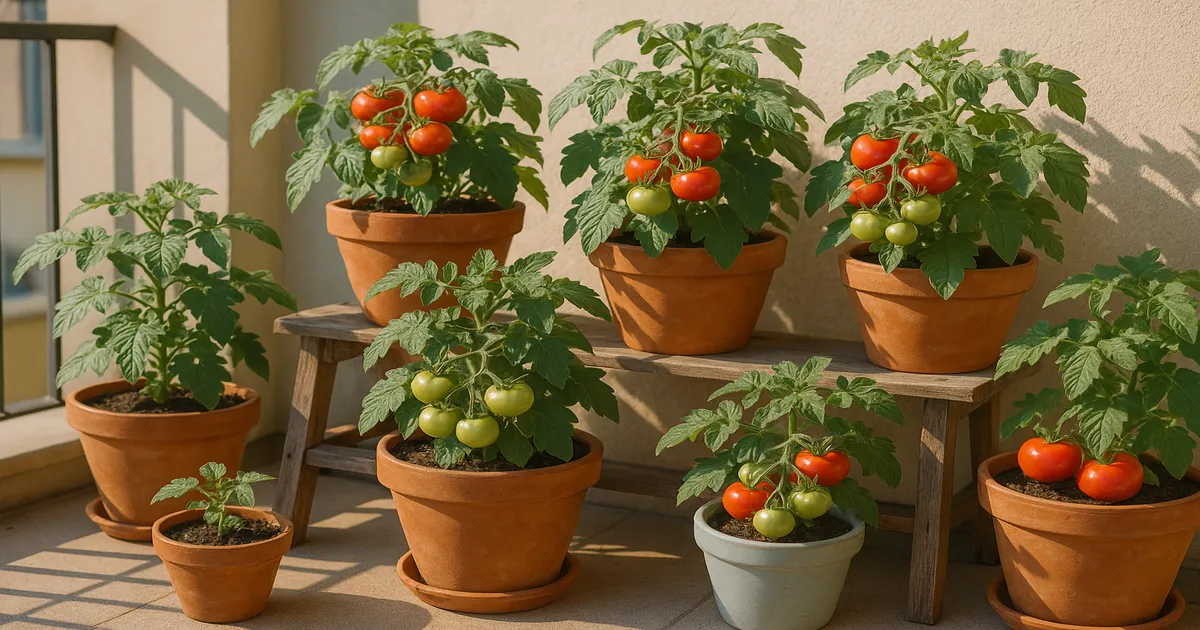
Terracotta looks beautiful but wicks moisture rapidly and can overheat in direct sun, cooking roots on hot days. If you love the aesthetic, line the interior with burlap, leaving drainage holes unobstructed.
Regardless of material, aim for at least 4–6 drainage holes in a 15-gallon container. Waterlogged soil goes anaerobic quickly — tomato roots need oxygen, and soil oxygen levels below 10% significantly impair root function. Below 5%, roots begin to die.
Potting Mix: What to Use and How to Mix It
Never use garden soil in pots. It compacts in containers, squeezing out the air pockets roots depend on, and it harbors pathogens like Pythium and Phytophthora that cause root rot in the confined, moist environment of a pot.
A reliable DIY blend:
- 60% high-quality peat-based or coir-based potting mix (Fox Farm Ocean Forest)
- 20% perlite (drainage and aeration)
- 10% coarse vermiculite (moisture retention)
- 10% compost (slow-release nutrients and biological activity)
If you’d rather not mix from scratch, take a premium all-purpose potting mix and amend it with 20–25% extra perlite. That single change makes a significant difference.
Tomatoes want a soil pH of 6.0–6.8. Outside this range, nutrients lock out even when they’re physically present. Test with a digital pH meter using a 1:1 soil-to-distilled-water slurry. (Apera Instruments AI209) To lower pH, incorporate elemental sulfur or acidic peat moss. To raise it, add dolomitic lime, which also supplies magnesium.
Watering Container Tomatoes
How Often to Water
Containers dry out 2–3 times faster than in-ground beds. In summer heat, small pots may need water every 12 hours; large containers typically need watering once or twice daily. The goal is to keep the root zone consistently moist while allowing the top inch to dry slightly between waterings.
The finger test is your most reliable tool: push your finger 2 inches into the soil. If it feels barely moist, water now. If it’s still damp, check again in a few hours.
Water deeply every time — until water flows freely from the drainage holes. Shallow watering trains roots upward, making the plant more vulnerable to heat and drought. A drip irrigation timer takes the guesswork out of the process entirely.
Blossom End Rot and Fruit Cracking
Blossom end rot — that dark, sunken lesion at the base of developing fruit — is not a disease. It’s a calcium deficiency disorder caused by disrupted water flow. Calcium moves through the plant only with water via the xylem, so inconsistent watering starves developing fruit of calcium even when the nutrient is present in the soil.
Fruit cracking happens for the opposite reason: a sudden influx of water after a dry spell causes rapid cell expansion that splits the skin. Both problems share the same root cause and the same fix — consistent, deep watering. For existing blossom end rot, a short-term foliar spray of calcium chloride or calcium nitrate at 0.5–1% concentration can help while you correct your watering habits.
Mulching the soil surface with 1–2 inches of straw or shredded bark reduces evaporation by up to 70% and helps even out moisture fluctuations between waterings.
Fertilizing Container Tomatoes
Container growing is inherently nutrient-depleting. Every deep watering leaches some nutrients out of the pot, and tomatoes are heavy feeders whose needs shift as the plant develops.
Vegetative stage (transplant to first flower buds): Tomatoes need nitrogen to build leaves, stems, and roots. Incorporate a balanced slow-release granular fertilizer (10-10-10 or 14-14-14) into your potting mix at planting. (Osmocote Smart-Release Plant Food) This provides a steady baseline without the risk of burning young roots.
Flowering and fruiting stage: Once flowers appear, ease off nitrogen — too much now pushes leafy growth at the expense of fruit. Switch to a low-nitrogen, high-phosphorus/potassium liquid fertilizer (5-10-10 or 3-4-6 NPK) applied every 7–14 days. Potassium improves fruit quality and disease resistance; phosphorus supports the energy transfer needed for cell division in developing fruit.
Calcium and magnesium: Add dolomitic lime at planting to supply both. If you spot interveinal chlorosis on older leaves, that’s a magnesium deficiency — apply Epsom salt (magnesium sulfate) as a foliar spray at 1 tablespoon per gallon every 2–4 weeks.
A quick deficiency reference:
- Uniform yellowing on older leaves → Nitrogen
- Purple/reddish leaf undersides → Phosphorus
- Scorched leaf margins → Potassium
- Dark lesion at fruit base → Calcium (blossom end rot)
- Interveinal chlorosis on older leaves → Magnesium
- Interveinal chlorosis on young leaves → Iron (this is how you distinguish it from Mg deficiency)
For iron and other micronutrients, use a chelated micronutrient blend as a foliar spray — chelated forms stay available across a wider pH range.
Sun, Heat, and Positioning
Tomatoes need a minimum of 6–8 hours of direct sunlight daily, and 8–10 hours for maximum yield. Below the light compensation point (around 30 µmol/m²/s PPFD), the plant consumes more energy than it produces — you’ll get leggy growth and almost no fruit.
The great advantage of pots is mobility. You can follow the sun across your space as seasons change, something in-ground gardeners simply can’t do.
Pollen viability drops sharply above 85°F (29°C) and stops entirely above 95°F (35°C), which is why plants drop their blossoms during heat waves. Dark containers in direct sun can push soil temperatures well above this threshold. To manage heat:
- Use light-colored or reflective containers to reduce soil temperature by 10–15°F
- Elevate pots on pot feet or a wooden pallet for airflow beneath
- Deploy 30–40% shade cloth during peak afternoon heat (roughly 2–5 PM)
- Mist foliage in the early morning during heat waves — avoid evening misting, which promotes fungal disease
Move containers indoors or to a sheltered spot when temperatures drop below 50°F (10°C). For brief cold snaps, frost cloth draped over the plant provides enough insulation to protect from a light freeze.
Supporting, Pruning, and Training
Install your support structure at planting time to avoid damaging roots later. Tomato cages work well for determinate varieties in 10–15 gallon pots. A single sturdy stake (at least 5–6 feet tall) paired with soft plant ties suits indeterminate varieties. Trellis panels leaned against a wall are excellent for large containers on patios.
Suckers are the axillary shoots that emerge at the junction between a stem and a leaf petiole. Left alone, they become full branches that compete for sugars moving through the phloem. Pinch them off when they’re small (under 2 inches) with your fingers; use clean pruners for larger ones to avoid tearing the stem.
Indeterminate varieties benefit from regular sucker removal — most growers train them to a single or double stem. Determinate varieties have a fixed fruit set, so heavy pruning removes the very buds that would become tomatoes. With determinates, limit yourself to removing clearly diseased or damaged growth.
Common Pests and Diseases
Stressed container plants — from inconsistent watering, poor soil, or heat — are significantly more susceptible to pests and diseases. Strong cultural practices are your first and most effective line of defense.
Aphids cluster on new growth and excrete sticky honeydew. Spray with insecticidal soap (2% concentration) or neem oil every 5–7 days. Outdoors, ladybugs and parasitic wasps provide natural control.
Spider mites thrive in hot, dry conditions and cause stippled, bronzed foliage. Hit the undersides of leaves with a strong spray of water to dislodge colonies, then follow up with neem oil.
Fungus gnats are primarily a container problem — their larvae feed on roots in moist potting mix. Let the soil surface dry out more between waterings, apply Bacillus thuringiensis israelensis (Bti) as a soil drench to kill larvae, and use yellow sticky traps to catch adults.
Tomato hornworm (Manduca quinquemaculata) is impressively camouflaged and can strip a plant fast. Check plants daily and hand-pick any you find — they glow under UV light at night. For heavy infestations, Bacillus thuringiensis kurstaki (Btk) spray is a highly effective biological control that won’t harm beneficial insects.
Early blight (Alternaria solani) shows as concentric ring lesions on older leaves and spreads upward. Remove affected leaves immediately, improve air circulation, and apply a copper-based fungicide preventatively. Late blight (Phytophthora infestans) is more aggressive and requires the same approach but faster action. Choosing disease-resistant varieties like Celebrity (rated VFF — Verticillium, Fusarium, Fusarium race 2) is the most effective prevention of all.
Frequently Asked Questions
What size pot do I need to grow tomatoes in containers?
It depends on the variety. Dwarf and patio types need at least 5 gallons (12 inches diameter), standard determinate varieties need 10–15 gallons (16–18 inches), and indeterminate varieties need 20–25 gallons (20–24 inches). Cherry tomatoes can manage with 5–10 gallons. When in doubt, always go bigger — a larger pot buffers heat, holds more moisture, and gives roots room to support heavy fruit loads.
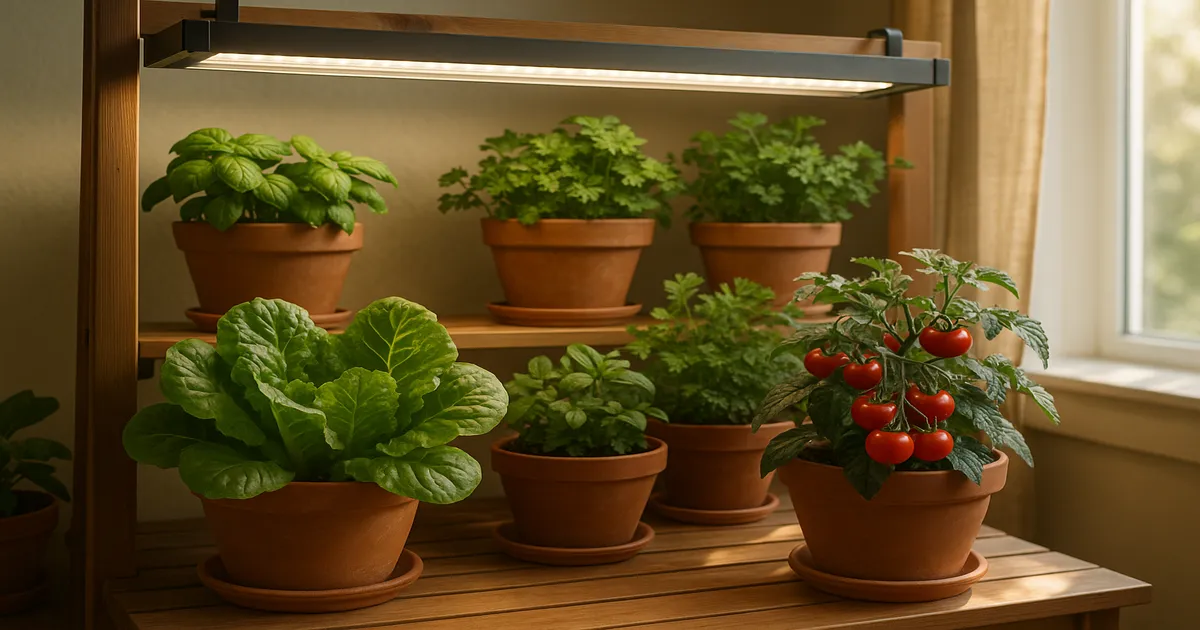
Can tomatoes grow in pots without direct sunlight?
Tomatoes need a minimum of 6–8 hours of direct sun daily — 8–10 hours for a meaningful harvest. Below the light compensation point, the plant produces less energy than it consumes, resulting in leggy growth and almost no fruit. If your only option is a spot with fewer than 6 hours of direct sun, supplement with full-spectrum LED grow lights running 14–16 hours daily.
Why are my container tomatoes getting blossom end rot?
Blossom end rot is a calcium deficiency disorder, not a disease, and inconsistent watering is almost always the trigger. Calcium travels through the plant only with water via the xylem, so irregular moisture disrupts calcium delivery to developing fruit even when calcium is present in the soil. Water deeply and consistently, mulch the soil surface to reduce evaporation, and apply a calcium foliar spray (calcium chloride or calcium nitrate at 0.5–1%) as a short-term fix while you correct your watering routine.
How often should I fertilize potted tomatoes?
During the vegetative stage, a slow-release granular fertilizer mixed into the potting medium at planting provides a steady baseline. Once flowers appear, switch to a liquid low-nitrogen, high-phosphorus/potassium fertilizer (such as 5-10-10) applied every 7–14 days. Container plants leach nutrients with every deep watering, so consistent feeding throughout the season is essential.
Can I reuse potting mix from last year’s tomato containers?
It’s generally not recommended. Used potting mix is depleted of nutrients, may harbor pathogens like Fusarium or Pythium, and loses its structure over time — perlite and peat break down, reducing drainage and aeration. If you want to reuse it, mix it no more than 50/50 with fresh potting mix, add extra perlite, and sterilize it by solarizing (sealing in black plastic bags in full sun for 4–6 weeks) before use. Starting fresh each season is the safer and more reliable option.