Quick Answer: A plant is ready to plant when its roots, leaves, and environment all align. Seedlings need 2–4 true leaves and 7–14 days of hardening off; bulbs should be firm and disease-free; cuttings need ½–1 inch of branched roots; and the soil must hit the right temperature with frost risk behind you. Rush any of these steps and you risk transplant shock, root failure, or losing the plant entirely.
“Is it ready to plant?” sounds simple, but it’s really several questions rolled into one. The answer depends entirely on what you’re planting — a tomato seedling, a dahlia tuber, a stem cutting, and a bare-root rose all have completely different readiness signals. This guide walks through every major scenario so you can make the call with confidence.
Is It Ready to Plant? The Core Readiness Checklist
Before anything goes in the ground or into a pot, run through this list:
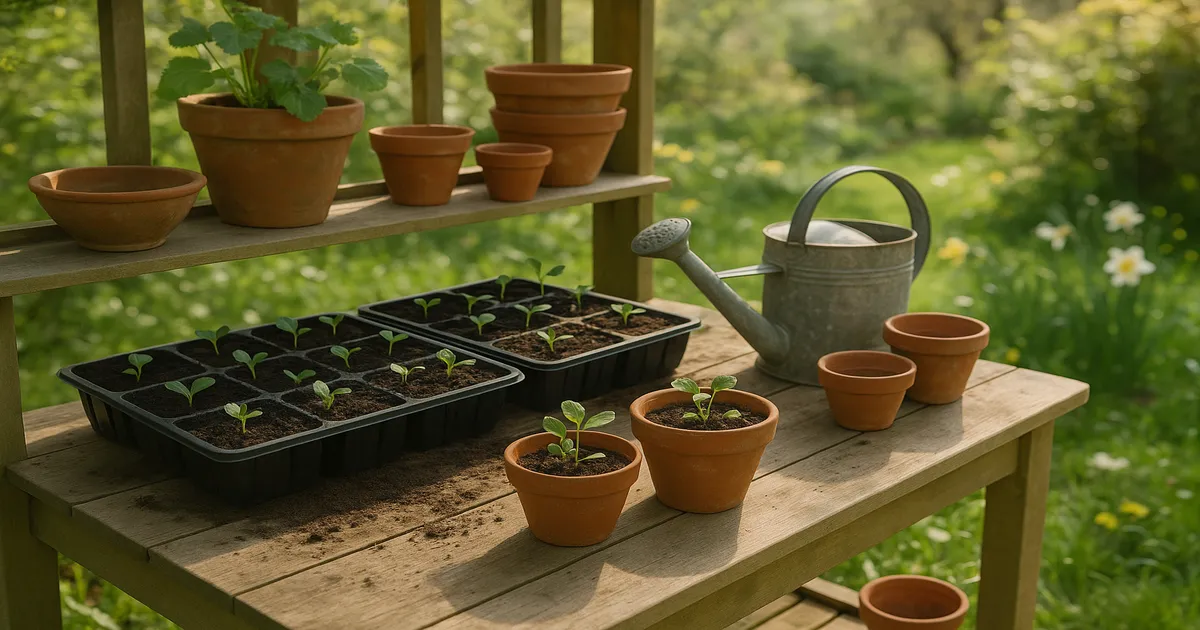
- Seedlings: 2–4 true leaves minimum (4–6 for tomatoes, peppers, and squash); roots visible at drainage holes but not yet spiraling
- Hardening off: 7–14 days of gradual outdoor exposure completed
- Soil temperature: 40–50°F (4–10°C) for cool-season crops; 60–65°F (15–18°C) minimum for warm-season crops
- Frost risk: Last frost date passed and 10-day forecast shows no overnight lows below 32°F (0°C)
- Bulbs: Firm, plump, no soft spots or visible mold
- Cuttings: White, branched roots ½–1 inch (1.3–2.5 cm) long — not just a callus
Why Planting Too Early Causes Lasting Damage
Transplant shock happens when a plant’s root system can’t keep up with the water demands of its leaves. The result is wilting, leaf drop, and weeks of stunted growth even after the plant technically survives. The key concept is the root-to-shoot ratio — if the root system isn’t developed enough to support the above-ground growth, the plant will struggle no matter how well you water it. Getting the timing right isn’t about patience for its own sake; it’s about giving the plant a real foundation.
Is Your Seedling Ready to Transplant?
True Leaves vs. Cotyledons: What to Look For
Those first two small leaves that appear right after germination are cotyledons — embryonic seed leaves packed with stored energy, not true photosynthetic tissue. Your seedling isn’t ready to transplant until it has grown its first set of true leaves, which look like miniature versions of the plant’s mature foliage.
For most crops, wait for 2–4 true leaves. For larger, more demanding plants like tomatoes, peppers, and squash, 4–6 true leaves is a safer target. At that point, the vascular system is functional enough to handle the stress of transplanting.
Root Development: Checking Without Damaging
Peek at the drainage holes of your seed tray or cell pack. Roots just beginning to peek through? Good — that’s the sweet spot. Roots spiraling around the bottom of the container mean you’ve waited too long and may need to gently untangle them before planting.
Never yank a seedling out to check roots. Instead, gently squeeze the cell or invert the pot — the root ball should hold its shape but not be a dense, pot-shaped mass.
Readiness by Crop Type
| Crop | Minimum True Leaves | Notes |
|---|---|---|
| Lettuce, spinach | 2–3 | Tolerates cool soil; can transplant early |
| Broccoli, cabbage | 3–4 | Harden off well; frost tolerant |
| Tomato | 4–6 | Wait for warm soil (65°F+) |
| Pepper | 4–6 | Slowest to establish; don’t rush |
| Squash, cucumber | 2–3 | Dislikes root disturbance; transplant carefully |
| Basil | 2–4 | Very frost-sensitive; no cold soil |
Has Your Seedling Been Hardened Off?
Why Hardening Off Matters
Indoor seedlings are essentially greenhouse plants — they’ve never dealt with wind, direct sun, or temperature swings. Their leaf cuticles are thin, their stomata respond sluggishly, and their cell walls have low lignin content. Put one outside on a sunny day without preparation and you’ll see sunscald within hours.
Hardening off fixes this by triggering the plant’s stress-response systems. It stimulates abscisic acid (ABA) production — a hormone that helps stomata regulate more efficiently — and prompts the deposition of additional cuticle wax. Think of it as building calluses before a long hike.
The 10–14 Day Hardening-Off Schedule
- Days 1–3: Set seedlings outside in a sheltered, fully shaded spot for 1–2 hours, then bring them back in
- Days 4–6: Increase to 3–4 hours; introduce brief morning sun (low-intensity, under 1,500 foot-candles)
- Days 7–10: Extend to 6–8 hours with moderate direct sun (3,000–5,000 foot-candles) and some wind exposure
- Days 11–14: Leave outdoors all day; bring in only if frost threatens
Don’t skip steps because the weather looks mild. Wind desiccation alone can set a seedling back significantly, even on a cool, overcast day.
Using Cold Frames to Speed Up the Process
If your spring weather is unpredictable — warm one day, freezing the next — a cold frame buffers temperature swings and lets you leave seedlings outside overnight sooner than you otherwise could. The Palram Hybrid Hobby Greenhouse Cold Frame is a popular option that holds heat well and is easy to vent on warmer days. Cold frames won’t replace hardening off, but they compress the timeline and protect against surprise frosts.
Is the Soil Temperature Right?
How to Measure Soil Temperature Correctly
Air temperature is misleading — soil warms and cools more slowly, and what’s happening at root depth is what matters. Use a dedicated soil thermometer and measure at 2–4 inches (5–10 cm) deep for vegetable gardens, or 4–6 inches (10–15 cm) deep for trees and shrubs. Take readings in the morning for the most conservative and reliable estimate. The Reotemp Garden and Compost Thermometer reads quickly and holds up to repeated use.
Soil Temperature Ranges by Plant Type
Below 50°F (10°C), phosphorus uptake nearly stops — even in fertile soil, plants can’t access what they need. Mycorrhizal fungal activity also drops sharply in cold soil, reducing the root network plants depend on for water and nutrients.
- Cool-season crops (lettuce, peas, spinach, broccoli): Plant when soil reaches 40–50°F (4–10°C)
- Warm-season crops (tomatoes, peppers, squash, basil): Wait for 60–65°F (15–18°C) minimum; 70°F (21°C) is ideal for tomatoes
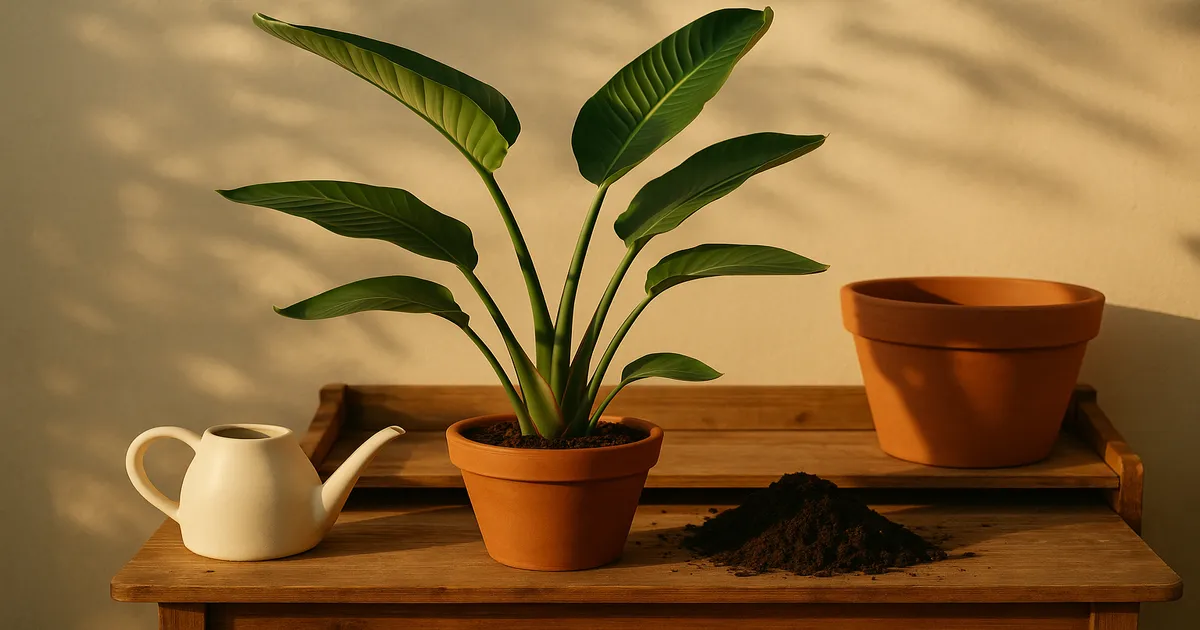
- Tropical houseplants: Repot only when the growing environment stays above 60°F (15°C)
How to Warm Cold Soil Before Planting
Lay black plastic mulch over the bed 2–4 weeks before your planting date to absorb heat. Raised beds are another strong option — they warm up 2–4 weeks earlier than in-ground beds, a real advantage in short-season climates. Going the other direction? A 2–3 inch layer of straw or shredded leaves insulates the soil surface and can drop temperatures by several degrees, which helps when planting cool-season crops in late summer.
Is the Frost Risk Really Over?
Last Frost Dates: What They Mean and Their Limits
Your last frost date is a statistical average, not a guarantee. It represents the date by which there’s a 50% chance the last frost has occurred — meaning there’s still a real chance of frost after that date. For frost-sensitive plants, those aren’t good enough odds.
Check the USDA Plant Hardiness Zone Map for your baseline, then monitor a reliable 10-day forecast as your planting date approaches. Pay attention to overnight lows, not just daytime highs. Microclimates matter too — a low-lying frost pocket in your yard can freeze a full week after your neighbor’s raised bed.
Frost Protection Tools That Actually Work
When you want to push the season, these tools are worth having on hand:
- Floating row covers (frost cloth): Provide 4–6°F of frost protection while allowing light and water through. Agribon AG-19 is a reliable, widely available option.
- Wall-O-Water plant protectors: Water-filled cylinders that can extend the tomato and pepper season by 4–6 weeks
- Cold frames and cloches: Best for low-growing crops and seedlings during the transition period
If a surprise frost is forecast after you’ve already planted, cover plants with inverted buckets, old bedsheets, or frost cloth. One firm rule: never lay plastic sheeting directly on foliage. Plastic conducts cold and traps moisture, which can cause more damage than leaving plants uncovered.
Is Your Bulb, Corm, or Rhizome Ready to Plant?
Signs of a Healthy, Plantable Bulb
A bulb stores energy as fructans and starches, so it needs to be firm and plump to have enough fuel to sprout and establish. Gently squeeze each bulb before planting — it should feel solid, not spongy. A small emerging shoot tip is fine; that just means it’s eager.
Reject any bulb with a soft spot larger than a pencil eraser, visible white or gray mold, or a foul smell. These are signs of Botrytis, Fusarium, or Penicillium rot, all of which spread rapidly in soil.
Treating Shriveled or Mold-Affected Bulbs
Minor surface mold can sometimes be saved. Dust the affected area with sulfur-based fungicide powder or soak the bulb in a diluted hydrogen peroxide solution (1 part 3% H₂O₂ to 3 parts water) for 30 minutes, then dry completely before planting. Don’t skip the drying step — replanting a wet bulb invites the same rot back.
Shriveled-but-still-firm bulbs have lost moisture but may not be dead. Wrap them in barely damp sphagnum moss for 24–48 hours — many will plump back up enough to plant successfully.
Timing by Bulb Type
- Spring bulbs (tulips, daffodils, hyacinths): Plant in fall when soil drops below 50°F (10°C). They need 12–16 weeks of cold to bloom properly.
- Summer bulbs (dahlias, cannas, gladiolus): Plant after last frost when soil has reached at least 60°F (15°C). These are frost-sensitive and will rot in cold, wet soil.
Is Your Cutting Ready to Pot Up?
Callus vs. Roots: A Critical Distinction
This is one of the most common propagation mistakes. A callus is a mass of undifferentiated cells that forms at the wound site — it’s a necessary first step, but it is not roots. A cutting with only a callus will desiccate within days of being potted into soil because there’s no mechanism to absorb water. Don’t pot up until you see actual white root tips emerging from that callus.
What Healthy Roots on a Cutting Look Like
Ready roots are white or cream-colored, firm, and turgid — not translucent, brown, or mushy. They should be at least ½–1 inch (1.3–2.5 cm) long and show secondary branching off the main root. A single thread-like tap root isn’t enough; you want a small network.
How to Encourage Root Development in Slow Cuttings
If your cutting has callused but roots aren’t developing, return it to a propagation medium — perlite, sphagnum moss, or a 50/50 perlite-peat mix — and address these factors:
- Humidity: Maintain 80–90% using a humidity dome. The Bootstrap Farmer Extra Strength Humidity Dome seals tightly and is sized for standard trays.
- Rooting hormone: Apply IBA (indole-3-butyric acid) powder or gel to the cut end before placing in the medium. Bonide Bontone II is a reliable powder formulation.
- Bottom heat: Set a seedling heat mat to 70–75°F (21–24°C) at the base of the tray. This is often the missing ingredient for cuttings that stall.
Is the Soil Itself Ready to Receive a Plant?
Testing Soil pH Before Planting
Wrong pH locks out nutrients chemically. Below pH 5.5, aluminum and manganese become toxic; above 7.5, iron and zinc become unavailable no matter how much you fertilize. Test with a digital pH meter before planting, not after problems appear.
- Vegetables: Target pH 6.0–7.0
- Acid-lovers (blueberries, rhododendrons, camellias): 4.5–6.0
- Tropical houseplants: 5.5–6.5
To raise pH, incorporate agricultural lime. To lower it, use elemental sulfur (slow, 2–3 months) or an acidifying fertilizer for faster results. Either way, wait 1–2 weeks after amending before planting to let the chemistry stabilize.
Improving Soil Structure and Drainage
Work 2–4 inches of aged compost into the top 8–10 inches of soil before planting. This single step improves drainage in clay soil and water retention in sandy soil — it works both ways because it improves structure, not just organic matter content. Compacted soil creates anaerobic conditions that favor root rot pathogens, so don’t skip this step in neglected beds.
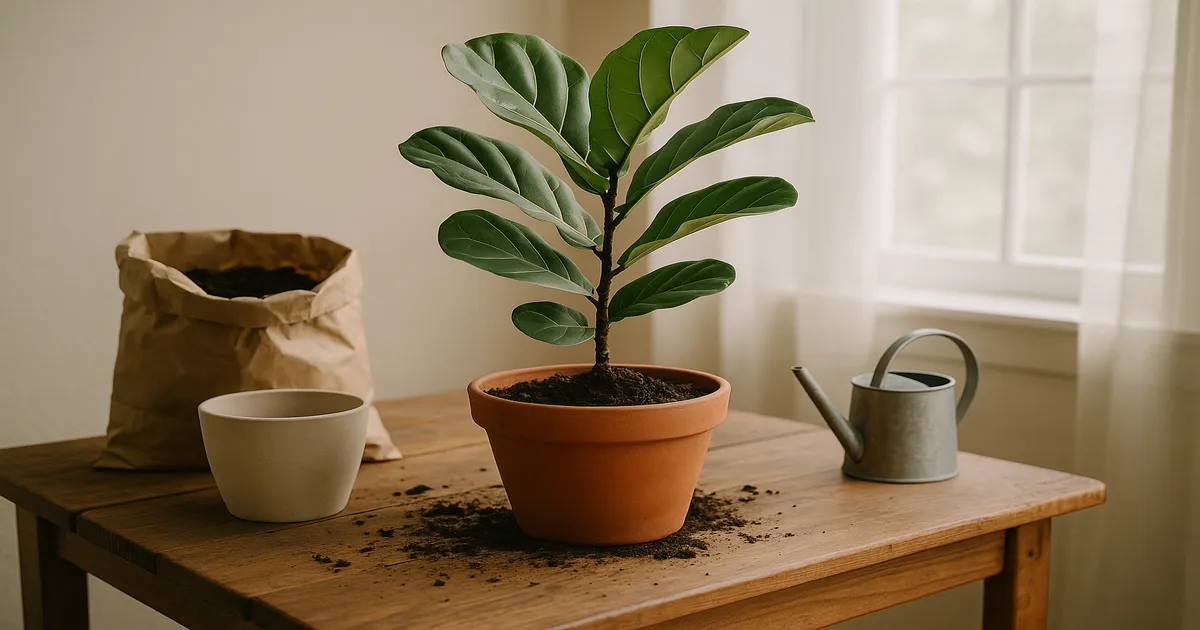
Choosing the Right Potting Mix for Containers
Never use garden soil in containers — it compacts, drains poorly, and introduces pathogens. Use a species-appropriate mix:
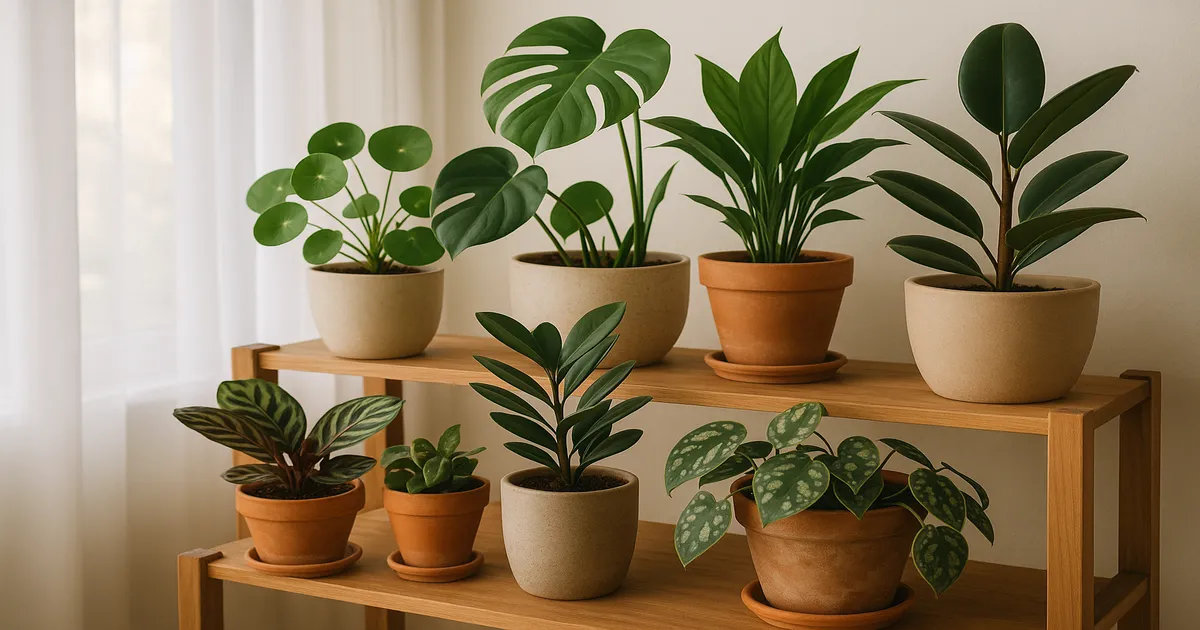
- Aroids (Monstera, Philodendron, Pothos): A chunky mix with bark, perlite, and coco coir (Sill Premium Potting Mix)
- Succulents and cacti: Coarse cactus mix with added perlite
- Tropicals generally: Well-draining, peat- or coir-based mix with perlite
Is a Bare-Root Plant Ready to Go in the Ground?
Reading the Signs of Dormancy Break
Bare-root plants — roses, fruit trees, asparagus crowns, perennials — ship and plant best when bud swell is visible but leaves haven’t yet emerged. That’s the window when roots can establish before the canopy starts demanding maximum water. Plant too late (fully leafed out) and the plant faces hydraulic failure: more leaf surface transpiring than the unestablished root system can supply.
To check viability, scratch the bark of a main stem lightly with your fingernail. Green cambium tissue underneath means the plant is alive. Brown or dry tissue throughout is a bad sign.
Reviving Desiccated Bare-Root Plants
If roots feel dry or shriveled when your bare-root plant arrives, don’t plant it immediately. Soak the entire root system in a bucket of plain water for 12–24 hours before planting. This rehydrates root cells and dramatically improves establishment rates. Roots should feel pliable and moist afterward — if they remain brittle after soaking, viability is questionable.
The Planting Window for Bare-Root Plants
The ideal window is late winter to early spring — after the ground has thawed but before bud break. Miss it early and the ground is unworkable; miss it late and the plant is already leafing out. Most bare-root suppliers ship at the appropriate time for your region, so plant as soon as your order arrives.
Frequently Asked Questions
How many true leaves does a seedling need before transplanting?
Most seedlings are ready once they have 2–4 true leaves — the leaves that look like miniature versions of the mature plant, not the initial seed leaves (cotyledons). Larger, slower-maturing crops like tomatoes, peppers, and squash benefit from waiting until they have 4–6 true leaves for a stronger start.
What soil temperature is needed before planting tomatoes outside?
Tomatoes need a soil temperature of at least 60–65°F (15–18°C), measured at 2–4 inches deep. Planting in cold soil stunts root development, locks out phosphorus, and sets the plant back even if air temperatures seem warm enough. Aim for 70°F (21°C) for the fastest establishment.
How do I know if a bulb is still good to plant?
Squeeze it gently — a healthy bulb feels firm and solid, not soft or spongy. Check for soft spots, visible mold, or a foul odor, all of which indicate fungal rot. A slightly shriveled but still-firm bulb can often be revived by wrapping it in barely damp sphagnum moss for 24–48 hours before planting.
How long does hardening off take?
Done properly, hardening off takes 10–14 days. Start with 1–2 hours of shade and gradually increase sun exposure and outdoor time over the two-week period. Rushing it — even if the weather looks mild — risks sunscald, wind damage, and a significant setback to growth.
Can I plant a cutting that only has a callus?
No. A callus is a necessary first step in root development, but it cannot absorb water. Pot up a cutting only when you can see white, branched roots at least ½–1 inch long emerging from the callus. If roots are stalling, add bottom heat (70–75°F), increase humidity to 80–90%, and apply IBA rooting hormone to the cut end.