Quick Answer: Most houseplants need repotting every 1–3 years. Roots escaping drainage holes, water running straight through, or noticeably smaller new leaves are your clearest signals. Spring is the best window — but root rot or a severe pest infestation means you act now, not in March.
“Should I repot her?” is one of the most searched questions in the plant parent world. The fact that so many of us refer to our plants as her is actually a good sign. Research in consumer horticulture suggests that anthropomorphizing plants leads to closer observation and faster responses to stress. Calling your Monstera “she” may literally be keeping her alive.
This guide covers every sign that repotting is overdue, the best timing, how to pick the right pot and soil, and a clear step-by-step process — including what to do when something has already gone wrong.
8 Signs It’s Time to Ask “Should I Repot Her?”
Tip: Several of these signs look identical to overwatering symptoms. Repotting is often the diagnostic step that reveals whether the real problem is compacted soil, root rot, or pests — not just a heavy hand with the watering can.
Roots Escaping the Pot
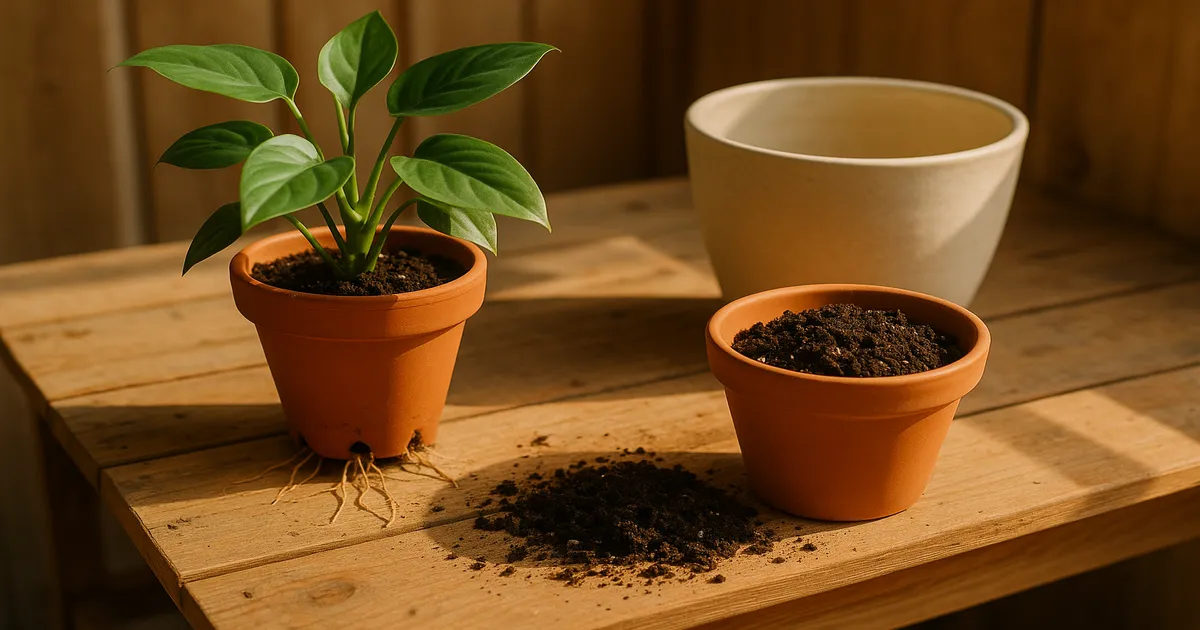
This is the most obvious signal. When roots exhaust the available soil volume, they start circling the container walls — a process called girdling — and eventually push out through drainage holes or up through the soil surface. Circling roots can strangle themselves over time, restricting water and nutrient movement. You may also notice the pot walls bulging, the root ball physically lifting the plant upward, or soil drying out within a day or two of watering.
Water Running Straight Through or Pooling on Top
Potting mix breaks down over 12–24 months as its organic components decompose. This collapses the macropore space — the large air gaps that allow drainage and oxygen to reach roots. The result is either dense, compacted soil that pools water on the surface, or soil that has shrunk away from the pot walls and gone hydrophobic, sending water straight down the edges without being absorbed. Neither situation is fixable with better watering habits. The soil needs replacing.
White Crusty Deposits and Brown Leaf Tips
Those white patches on the soil surface or pot exterior are salt efflorescence — mineral residue from tap water and fertilizer. Over time, salt accumulation raises the soil’s electrical conductivity to levels that cause osmotic stress, making it harder for roots to absorb water even when the soil is moist. The classic symptom is crispy brown leaf tips and margins.
Wilting Despite Wet Soil
A plant wilting in wet soil is signaling trouble underground. Root rot — caused by water mold pathogens like Phytophthora and Pythium that thrive in waterlogged, oxygen-depleted conditions — destroys root tissue, leaving the plant unable to absorb water despite its presence. Root zone pests like fungus gnat larvae (Bradysia spp.) or root mealybugs (Rhizoecus spp.) cause similar paradoxical wilting by damaging fine roots and root hairs. A foul, sulfurous smell from the pot strongly suggests rot is already underway.
Yellowing Leaves with Green Veins
Interveinal chlorosis — where leaf tissue yellows but veins stay green — is a classic sign of iron or manganese deficiency. The likely culprit isn’t a lack of fertilizer; it’s nutrient lockout caused by a pH imbalance. When soil pH drifts above 7.5 (common with regular tap water use), iron and manganese become chemically insoluble and unavailable to roots, regardless of what you’re feeding.
Smaller-Than-Normal New Leaves
If your plant is pushing out new growth but each leaf is noticeably smaller than the last, she’s running out of resources. The root system has likely maxed out its space, the soil nutrients are depleted, or both. Fast-growing species like Monstera and Pothos can hit this wall within a single growing season.
A Foul Smell from the Pot
Healthy potting mix smells earthy and neutral. A sulfurous or rotting odor means anaerobic decomposition is happening — almost always a sign of waterlogged soil and active root rot. Don’t wait on this one.
It Has Been More Than Two Years Since the Last Repot
Even without visible symptoms, potting mix degrades over time. Organic particles break down, pore space collapses, and beneficial structure disappears. A soil refresh every 12–24 months — even into the same pot size — is good preventive care.
When Should You Repot?
Spring: The Ideal Window
Spring is optimal for a straightforward reason: plants are entering active growth. Increasing day length triggers higher production of auxins and cytokinins, driving rapid root regeneration. A plant repotted in March or April can establish new roots in fresh soil within weeks. Look for the first signs of new growth — unfurling leaves, fresh root tips at drainage holes — as your cue.
Summer, Autumn, and Winter
Summer works fine for fast-growing tropicals; they’re in full growth mode and recover quickly. Avoid repotting in autumn and winter if you can. Shorter days and lower light slow root recovery, and a stressed plant in dormancy has limited ability to heal. That said, autumn repotting is far better than leaving a severely root-bound plant to sit all winter.
Emergency Repotting: When You Can’t Wait
Root rot and severe pest infestations don’t respect the calendar. If you’re seeing mushy roots, a foul smell, or a plant collapsing despite moist soil, repot immediately. The risk of doing nothing far outweighs any timing concern.
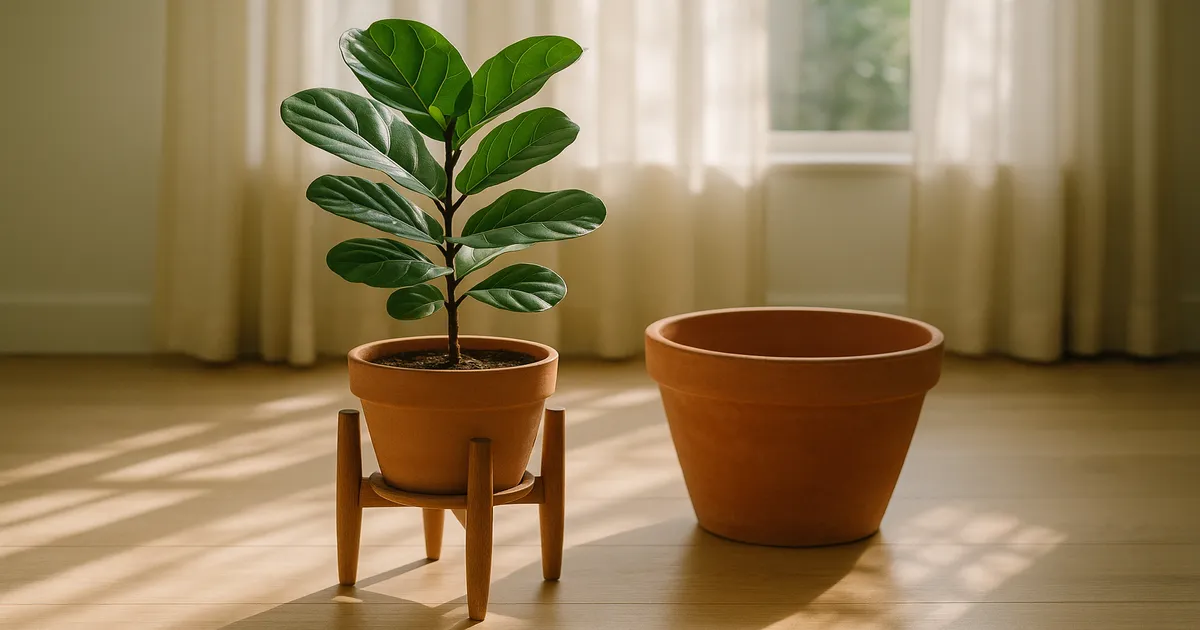
Choosing the Right Pot
What Size Do You Actually Need?
Go 1–2 inches larger in diameter than the current pot for most houseplants, or 2–4 inches larger for fast-growing tropicals. Resist the urge to give her “room to grow” by jumping several sizes — an oversized pot holds excess moisture in the outer soil zone where roots haven’t yet reached, creating the anaerobic conditions that cause root rot.
Pot Material Comparison
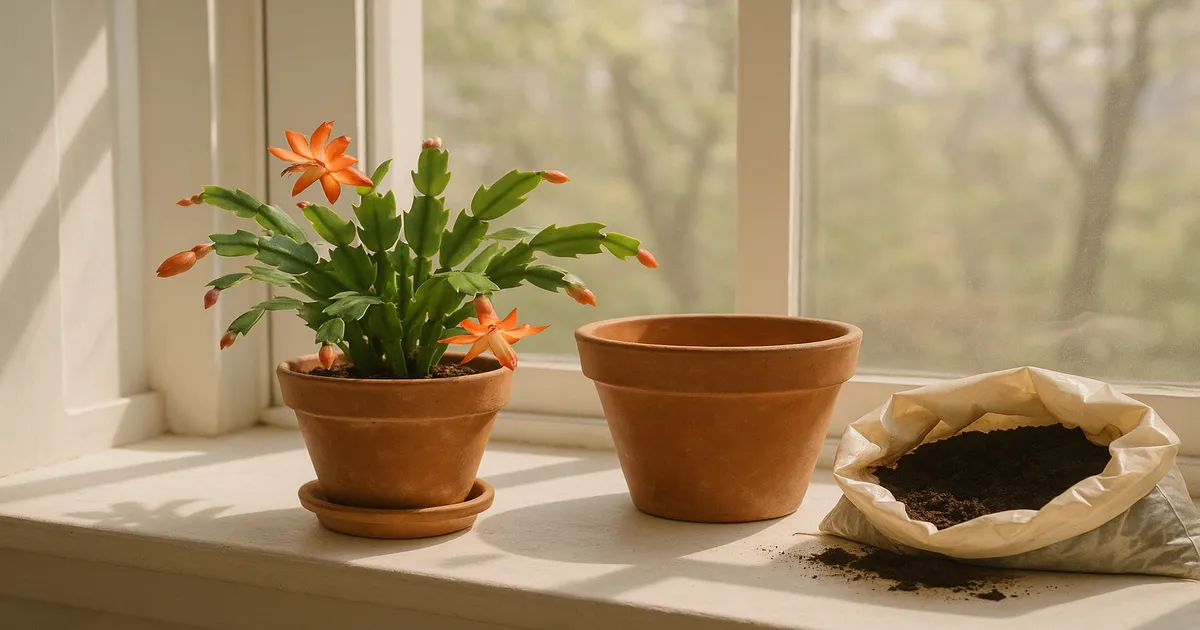
- Terracotta: Porous and breathable — ideal for succulents, cacti, and plants you tend to overwater. Dries out faster, which is usually a feature, not a bug.
- Plastic nursery pots: Lightweight and moisture-retentive — excellent for ferns, aroids, and moisture-loving tropicals. Place inside a decorative cachepot for aesthetics.
- Glazed ceramic: Semi-porous, retains moisture longer than terracotta but drains better than solid plastic. A good middle ground for most tropical houseplants.
- Fabric grow bags: Maximum aeration; roots are naturally air-pruned at the container walls, preventing girdling. Great for aggressive growers like Monstera or citrus.
Always Use a Pot With Drainage Holes
No exceptions. Decorative pots without drainage holes must be used as cachepots only — place your plant in a plastic nursery pot inside the decorative one, and empty the outer pot after watering. Planting directly into a pot with no drainage is the single most reliable way to cause root rot.
Choosing the Right Potting Mix
Soil Mix Recipes by Plant Type
- Tropical aroids (Monstera, Philodendron, Pothos): 60% standard potting mix + 20% perlite + 20% orchid bark (target pH 5.5–6.5)
- Succulents and cacti: 50% coarse perlite or coarse sand + 50% standard potting mix, or a dedicated cactus mix (target pH 6.0–7.0)
- Ferns and moisture-lovers: 60% potting mix + 20% peat moss or coco coir + 20% perlite (target pH 5.5–6.5)
- Orchids: 80% medium orchid bark + 10% perlite + 10% sphagnum moss (target pH 5.5–6.5)
- Carnivorous plants: 50% peat moss + 50% perlite — no fertilizer (target pH 4.0–5.0)
A quality all-purpose potting mix like Fox Farm Ocean Forest works well as the base for most tropical recipes. Adding horticultural pumice or coarse perlite (Bonsai Jack Inorganic Succulent and Cactus Mix) helps maintain pore space long-term as organics continue to break down between repots.
Soil pH: Why It Matters
Soil pH controls which nutrients are chemically available to roots. Below pH 5.5, manganese and aluminum can reach toxic levels. Above pH 7.5, iron, zinc, manganese, and boron become insoluble — locked in the soil where roots can’t reach them. Regular tap water (often pH 7.0–8.5) and some fertilizers gradually push soil pH upward, which is why plants in old soil can develop deficiency symptoms even with regular feeding.
Test with a reliable soil pH meter before repotting if you suspect nutrient lockout. Incorporate elemental sulfur to lower pH or dolomitic limestone to raise it.
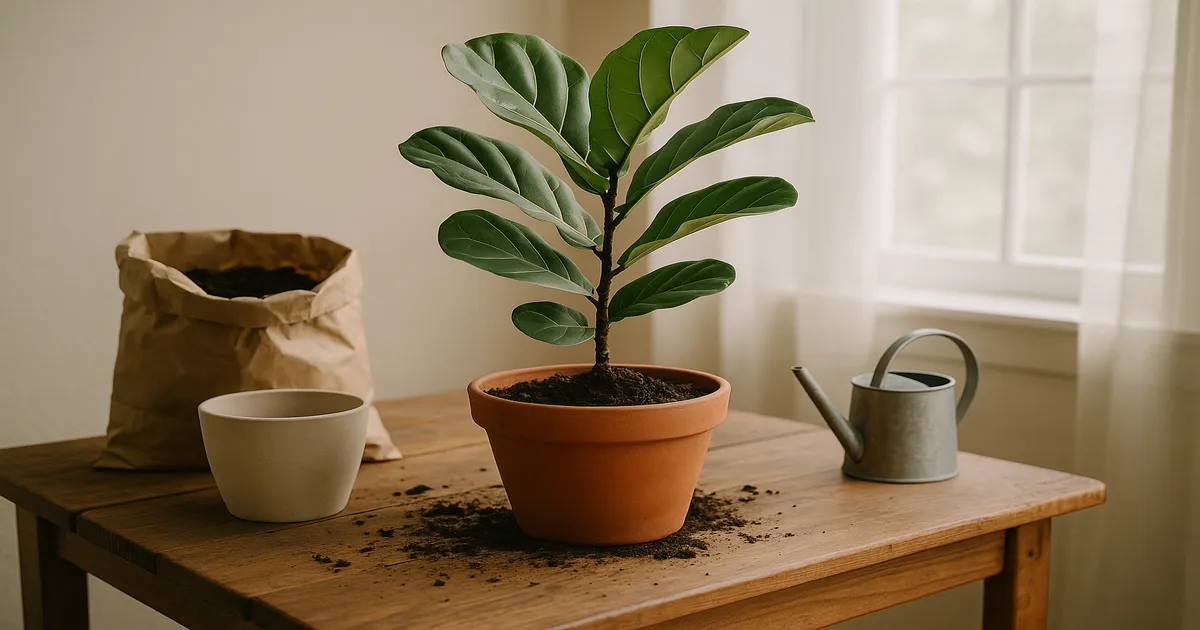
How to Repot a Houseplant: Step by Step
What You’ll Need
- New pot (correct size and material)
- Fresh, appropriate potting mix
- Sterile scissors or pruning shears
- Watering can with a gentle rose head
- A tray or sheet of newspaper to work on
- Optional: gloves, a chopstick for loosening roots
Removing the Plant
- Water lightly 24 hours before repotting — moist soil holds the root ball together better than bone-dry soil.
- Tip the pot sideways and gently squeeze the sides (plastic pots) or run a knife around the inner edge (rigid pots).
- Support the base of the plant with one hand and ease the root ball out. Don’t pull from the stem.
- If roots are stuck, work a chopstick or butter knife around the inner edge to loosen them.
Inspecting the Root Ball
Healthy roots are white to tan and firm. Brown or black roots that feel mushy or pull apart easily indicate rot — prune these back to healthy tissue with sterile scissors. Dust cut ends with powdered sulfur or soak briefly in a solution of 1 part 3% hydrogen peroxide to 3 parts water, then air-dry for 30–60 minutes before repotting.
For circling roots, gently tease them apart with your fingers or a chopstick. For severely girdled root balls, make 3–4 shallow vertical cuts down the sides with a sterile knife to encourage outward growth into the new soil.
Placing the Plant
- Add a layer of fresh potting mix to the bottom of the new pot.
- Position the plant so the base of the stem sits roughly 1 inch below the pot rim.
- Fill in around the root ball with fresh mix, pressing gently to eliminate large air pockets. Don’t compact the soil hard.
- Keep the top of the root ball at the same depth it was in the old pot — burying the stem deeper invites rot.
Aftercare
Water thoroughly right after repotting until water drains freely from the bottom. This settles the soil and ensures good root-to-soil contact. Keep the plant out of direct sun for 1–2 weeks — bright indirect light (1,500–3,000 foot-candles) is ideal while she recovers. Hold off on fertilizing for 4–6 weeks; fresh potting mix usually contains a starter nutrient charge, and feeding too soon stresses roots that are still healing.
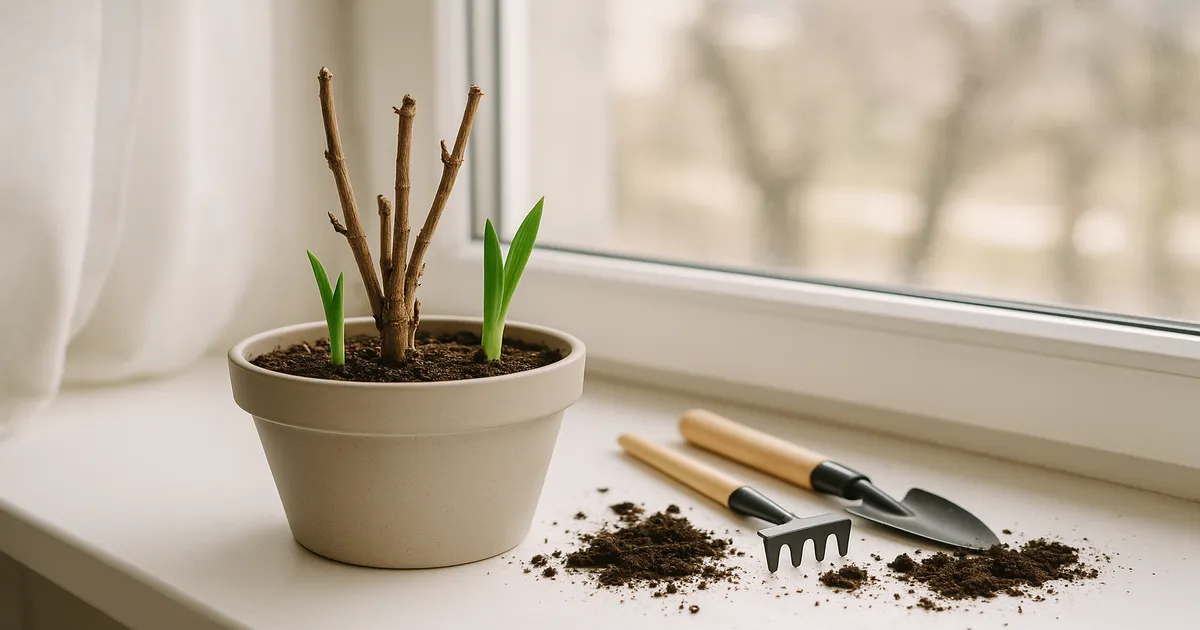
Repotting for Specific Problems
Root Rot
Speed matters. Remove all soil from the root ball — washing it off under lukewarm water if needed — and prune every brown, black, or mushy root back to firm healthy tissue. Treat cut ends with powdered sulfur or a dilute hydrogen peroxide soak, air-dry for 30–60 minutes, then repot in fresh, well-draining mix. Sterilize the old pot with a 10% bleach solution before reuse. Never replant into the same soil.
Root Zone Pests
- Fungus gnats: Remove all infested soil, wash roots clean, and repot in fresh mix. Apply a beneficial nematode drench (Steinernema feltiae) to the new soil to target larvae. Top-dress with coarse sand or perlite to deter egg-laying.
- Root mealybugs: Wash roots thoroughly, then soak in a dilute neem oil or insecticidal soap solution for 10–15 minutes before repotting in a sterilized container with fresh mix.
- Vine weevil larvae: Remove and destroy all larvae, then apply Heterorhabditis bacteriophora nematodes to the new soil.
Salt Buildup
Before repotting a plant with visible salt crust, flush the existing soil with 3–4 times the pot’s volume of distilled or filtered water to leach out accumulated minerals. Then repot in fresh mix. Switch to filtered or rainwater going forward if your tap water is highly alkaline or mineral-heavy.
Repotting by Plant Type: Quick Reference
| Plant Type | Frequency | Preferred Pot | Notes |
|---|---|---|---|
| Tropical aroids (Monstera, Pothos, Philodendron) | Every 1–2 years | Plastic or fabric | Can handle 2–4 inch size jumps during active growth |
| Succulents and cacti | Every 2–4 years | Terracotta | Wait 1–2 weeks before watering after repot |
| Orchids | Every 1–2 years | Clear plastic | Use bark-based medium only; never standard potting mix |
| Ferns | Every 1–2 years | Plastic | Don’t let them become severely root-bound |
| Snake plants | Every 2–5 years | Terracotta or ceramic | Prefer being slightly pot-bound |
Preventing Problems Between Repots
Set a reminder. Mark your calendar for a soil refresh every 12–24 months regardless of whether your plant looks stressed. Degraded potting mix is an invisible problem until it becomes a visible one.
Do an annual root check. Once a year, tip the plant sideways and gently slide the root ball out. White, firm roots with plenty of soil still visible? Slide it back in. Roots circling the walls or escaping the bottom? Time to upsize. This takes two minutes and catches problems early.
Water by feel, not by schedule. Push your finger 1–2 inches into the soil and water only when it feels dry at that depth. A basic soil moisture meter removes any guesswork and is especially useful for beginners.
Keep a simple plant journal. Record each plant’s repotting date, the soil mix you used, and the pot size. When something goes wrong — or right — you’ll have a reference point. Over time, patterns emerge: which plants need annual repotting, which mixes work best in your home’s conditions, which seasons your plants grow fastest.
Frequently Asked Questions
Should I repot a newly purchased plant right away? Usually, yes — but wait 1–2 weeks first. New plants need time to acclimate to your home’s light and humidity before the added stress of repotting. The exception is if you can see roots escaping the drainage holes or the plant is visibly struggling.
Can I reuse old potting mix? Not as a primary growing medium. Old mix has lost its structure and may harbor pathogens or pests. You can compost it or mix small amounts into outdoor garden beds, but always use fresh mix when repotting houseplants.
My plant looks fine — do I still need to repot? If it has been more than two years, a soil refresh is worthwhile even without visible symptoms. Degraded potting mix affects root health and nutrient availability long before you see problems above the soil line.
How do I know if I’ve gone up too many pot sizes? The main sign is soil staying wet for more than 7–10 days after watering. If that’s happening, the pot is too large for the current root system. You can either repot down into a smaller container or reduce watering frequency significantly until roots fill the space.
Should I repot in the same pot or a bigger one? It depends on the reason. If you’re repotting to refresh degraded soil or treat root rot, the same pot size (sterilized) is fine. If the plant is root-bound, go up 1–2 inches in diameter.