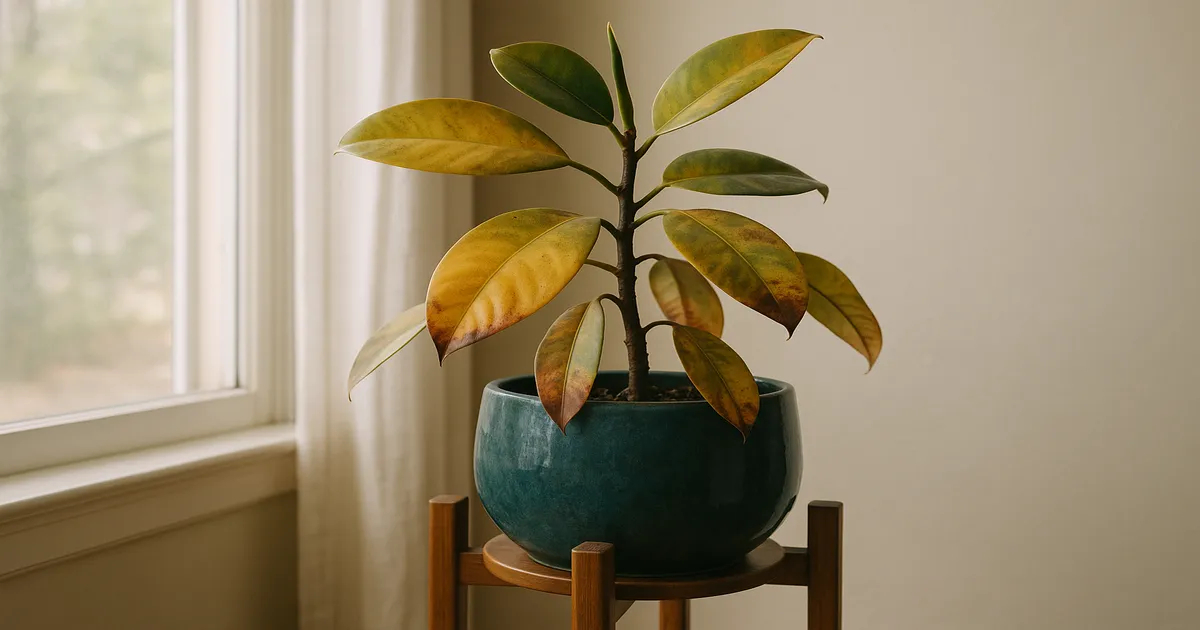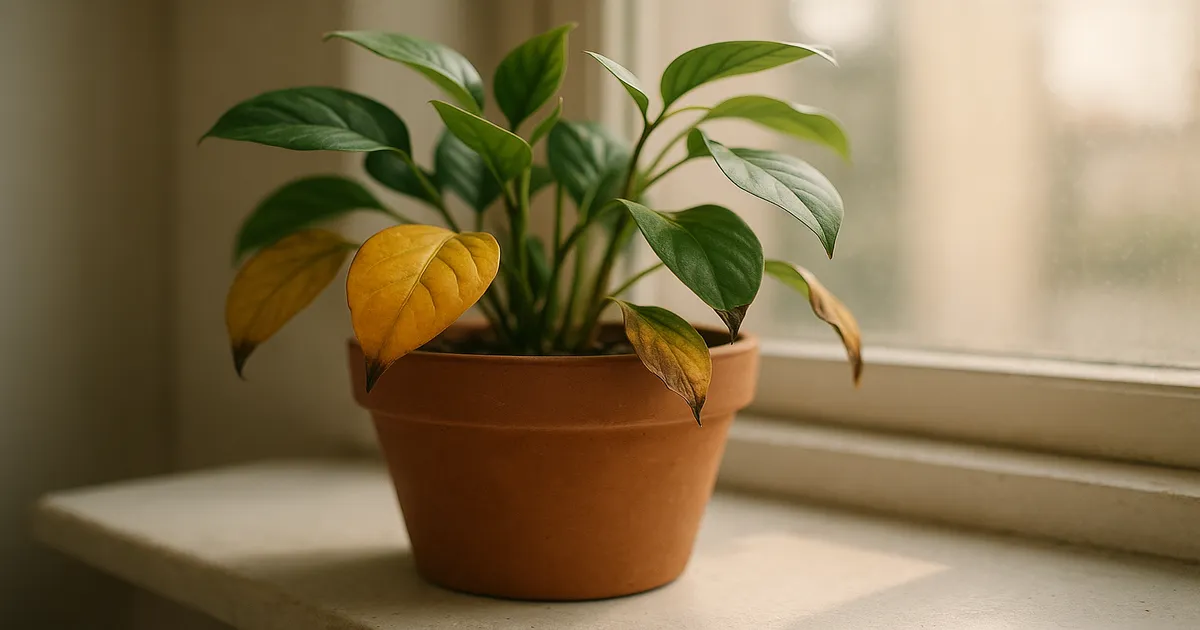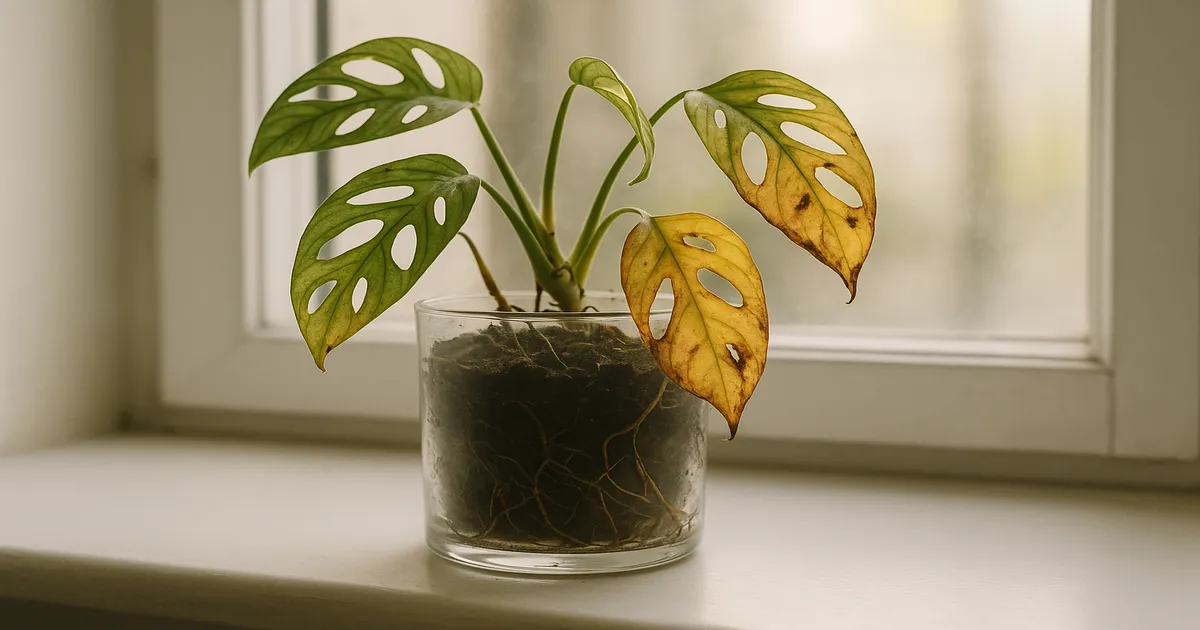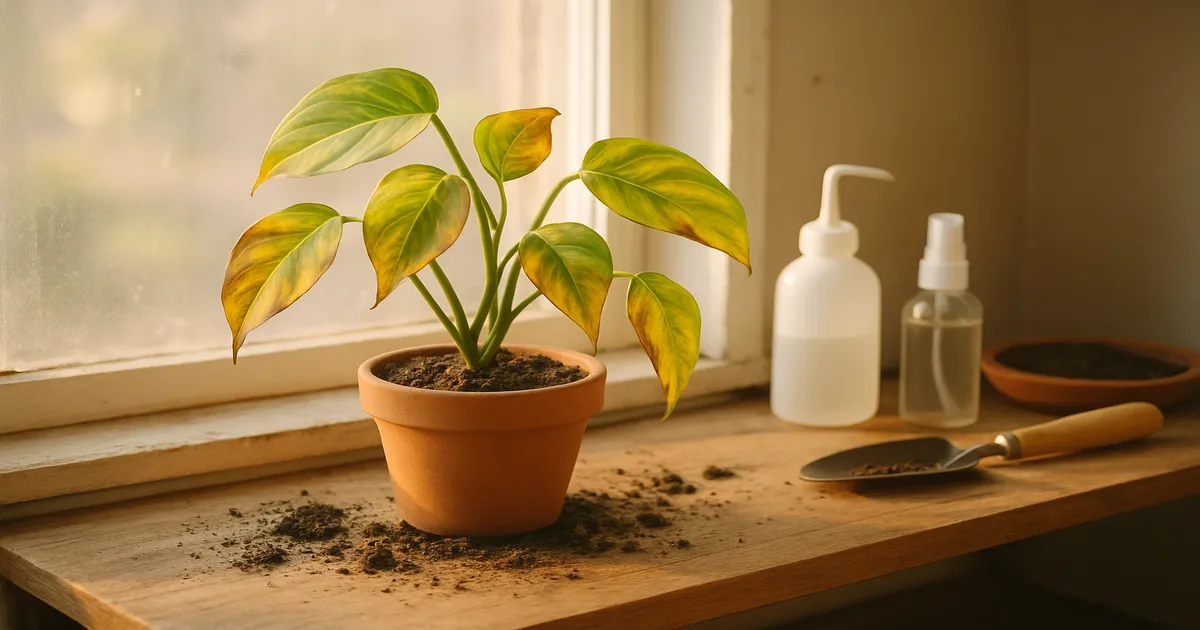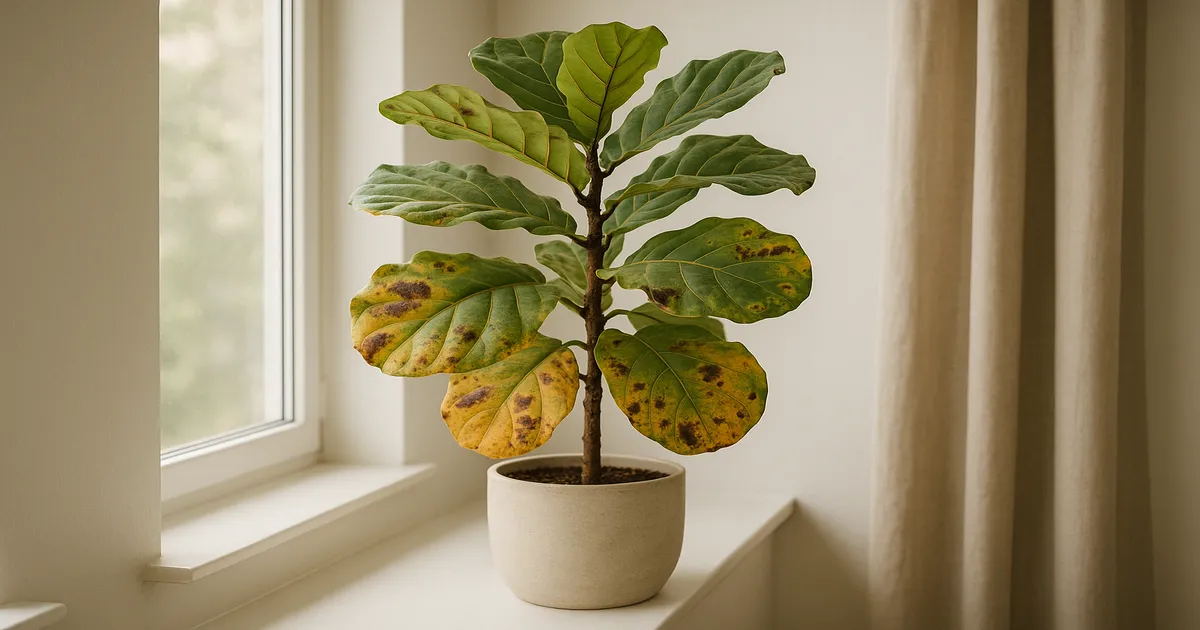
Quick Answer: The most common reasons a Fiddle Leaf Fig looks sick are overwatering and root rot, underwatering, low humidity, insufficient light, cold drafts, pests, or nutrient deficiencies. Diagnose the problem by looking at where the brown spots appear and whether the affected tissue feels mushy or crispy. Fix the root cause first — changing multiple things at once will stress the plant further.
So what is wrong with your Fiddle Leaf Fig? Figuring it out can feel like detective work, especially when the plant seems to go from fine to dropping leaves overnight. Ficus lyrata is notoriously reactive to its environment, and the clues are always in the leaves — you just need to know how to read them.
What Is Wrong With Your Fiddle Leaf Fig? Read the Symptoms First
Use this table to match what you’re seeing to the most likely cause before diving into the full diagnosis below.
| Symptom | Most Likely Cause |
|---|---|
| Brown spots starting in the leaf center | Overwatering / root rot |
| Brown, crispy edges and tips | Underwatering or low humidity |
| Dark spots with yellow halos | Bacterial infection |
| Bleached or tan patches on leaf surface | Too much direct sun |
| Yellow lower leaves first | Nitrogen deficiency or overwatering |
| Yellow new leaves with green veins | Iron deficiency |
| Sudden mass leaf drop | Cold shock or transplant stress |
| Leggy, pale new growth | Insufficient light |
| Fine webbing on leaf undersides | Spider mites |
Why Fiddle Leaf Figs Are So Prone to Problems
Ficus lyrata evolved in the lowland tropical rainforests of West Africa — Sierra Leone to Cameroon — where temperatures, humidity, and light levels are remarkably stable year-round. The average home is the opposite: inconsistent watering, fluctuating temperatures, and humidity that rarely reaches 50%. Every deviation from those stable conditions shows up on those enormous, beautiful leaves.
Diagnosing Brown Spots on Fiddle Leaf Fig Leaves
Brown spots are the number-one symptom people search for, and the good news is that the pattern of the spots tells you almost everything.
Brown Spots Starting in the Center: Overwatering and Root Rot
When spots begin in the middle of the leaf and radiate outward, overwatering is the prime suspect. Waterlogged soil becomes oxygen-depleted, allowing water molds like Phytophthora and Pythium to colonize the roots. Once the root system is compromised, the plant can’t move water or nutrients to the leaf tissue — and the damage shows up first in the areas farthest from the leaf veins. Affected patches feel soft or mushy rather than dry.
Brown Spots at the Edges and Tips: Underwatering or Low Humidity
Crispy, brown leaf margins that work their way inward signal desiccation, not rot. When the plant doesn’t get enough water, turgor pressure in the leaf cells drops and the outermost tissue — the edges and tips — dies first. Low humidity produces an almost identical symptom because dry air pulls moisture directly out of the leaf surface faster than the roots can replace it. Feel the soil and lift the pot: bone dry and lightweight points to underwatering; moist soil with the same symptoms points to humidity.
Dark Spots With Yellow Halos: Bacterial Infection
A dark brown or black spot surrounded by a yellow ring is a hallmark of bacterial leaf spot, most often caused by Xanthomonas. The bacteria enter through stomata or small wounds, especially when leaves stay wet for extended periods. Spots often look water-soaked at first, have irregular edges, and can merge into large necrotic patches if left unchecked. The condition spreads quickly in warm, wet conditions — ironically, the same conditions you might use to help a struggling plant.
Bleached or Tan Patches: Too Much Direct Sun
Large, pale, papery patches on whichever side of the leaf faces the window indicate sun scorch. Direct midday sun can exceed 10,000 foot-candles — far beyond the 1,500–3,000 foot-candles F. lyrata can handle — overwhelming the photosynthetic machinery and degrading chlorophyll. A sheer curtain or moving the plant a few feet back from the window solves this quickly.
Yellow Leaves, Leaf Drop, and Other Common Symptoms
Why Fiddle Leaf Fig Leaves Turn Yellow
The pattern of yellowing tells you which problem you’re dealing with:
- Lower or older leaves yellowing first → nitrogen deficiency (nitrogen is mobile, so the plant pulls it from old leaves to feed new growth) or overwatering
- New leaves yellowing with green veins remaining → iron deficiency, often triggered when soil pH rises above 7.0 and locks out iron uptake
- General pallor across all leaves → insufficient light
- Scattered yellowing across multiple leaves at once → transplant shock or root rot
Sudden or Gradual Leaf Drop
Sudden, dramatic leaf drop — especially after moving the plant — is an ethylene response. The plant produces this hormone under stress, triggering leaf abscission as a survival mechanism. Cold exposure can cause the same thing overnight. Gradual leaf drop working from the bottom up is more often root rot or chronic underwatering, both of which drive abscisic acid (ABA) production and signal the plant to shed leaves it can no longer support.
Leggy Growth, Curling Leaves, and Wilting
Long gaps between leaves (etiolation) mean the plant is stretching toward light it isn’t getting enough of — move it closer to a window or add a grow light. Leaves curling inward are almost always a drought response; the plant reduces its surface area to slow water loss. Wilting despite wet soil is the most urgent symptom of all: it means the root system is too damaged to transport water upward, and root rot should be your immediate suspicion.
The Most Common Fiddle Leaf Fig Problems and Their Causes
1. Overwatering and Root Rot — The single most common killer. Saturated soil drives out oxygen, and Phytophthora, Pythium, and Fusarium move in quickly. Symptoms: mushy brown spots at leaf centers, lower leaf yellowing, soggy foul-smelling soil, wilting despite wet soil, dark soft roots when unpotted.
2. Underwatering and Drought Stress — Too-infrequent watering causes turgor pressure loss and eventually triggers leaf drop. Symptoms: crispy brown edges and tips, soil pulling away from pot sides, lightweight pot, leaves curling inward.
3. Inconsistent Watering — Boom-and-bust watering cycles damage vascular tissue as cells repeatedly expand and contract. Symptoms: irregular brown patches with no consistent location, a mix of crispy edges and yellowing on the same plant, chronic low-level leaf drop.
4. Insufficient or Excess Light — F. lyrata needs bright indirect light (1,500–3,000 foot-candles). Below roughly 200 foot-candles it cannot support its leaf mass; above 10,000 foot-candles of direct sun, chlorophyll degrades. Too little: pale leaves, leggy growth, no new growth. Too much: bleached patches, crispy texture, rapid soil drying.
5. Low Humidity and Dry Air — Most homes sit at 30–50% relative humidity; this plant wants 50–65%. Heating vents and air conditioners can drop local humidity below 20%. Symptoms: brown papery leaf margins, increased spider mite activity.
6. Cold Drafts and Temperature Stress — Temperatures below 55°F (13°C) cause chilling injury; cell membranes stiffen and ion transport breaks down. Symptoms: sudden overnight leaf drop, dark patches near the draft source, yellowing on the side of the plant facing a cold window.
7. Nutrient Deficiencies and Fertilizer Salt Burn — Deficiency patterns follow whether the nutrient is mobile (shows in older leaves first) or immobile (shows in new growth first). Excess fertilizer builds up as salts and burns roots. Symptoms: yellowing patterns described above, white salt crust on soil surface, brown leaf tips.
8. Pest Infestations
| Pest | Key Symptoms | Favoured Conditions |
|---|---|---|
| Spider mites | Fine webbing, bronze stippling | Low humidity, dry air |
| Scale | Brown bumps, sticky honeydew | Poor air circulation |
| Mealybugs | White cottony masses at leaf axils | Overwatering, high nitrogen |
| Fungus gnats | Tiny flies, root damage in larvae stage | Consistently moist soil |
| Thrips | Silver streaking, distorted growth | Warm, dry conditions |
9. Root-Bound Conditions — When roots fill the pot, the soil-to-root ratio collapses. Symptoms: roots emerging from drainage holes, water running straight through without being absorbed, soil drying in 1–2 days, stunted growth despite good care.
10. Transplant Shock and Environmental Change — Moving the plant — even across a room — triggers ethylene production. Symptoms: leaf drop within days to weeks of moving, temporary halt in new growth, yellowing across multiple leaves simultaneously.
11. Bacterial Leaf Spot — Xanthomonas bacteria enter through wet stomata or wounds. Symptoms: dark spots with yellow halos, water-soaked appearance initially, irregular edges, rapid spread in warm wet conditions.
What Is Wrong With Your Fiddle Leaf Fig? How to Fix It
Treating Root Rot: Emergency Repotting
Act fast — root rot progresses quickly.
- Unpot the plant and shake off as much old soil as possible.
- Inspect the roots. Healthy roots are white to tan and firm. Rotted roots are brown or black and mushy.
- Prune all rotted roots with sterile scissors, cutting back to healthy tissue.
- Treat with a fungicide — a biological product containing Trichoderma spp. or a copper-based drench both work well.
- Repot into fresh, well-draining mix: 60% quality potting mix, 20% perlite, 20% orchid bark or coarse pumice. (Fox Farm Ocean Forest)
- Use a pot with drainage holes and empty the saucer within 30 minutes of watering.
- Water sparingly for 2–4 weeks post-repot to encourage root recovery.
Fixing Watering Problems
Stop guessing — use a soil moisture meter and water when the reading hits 3–4 on a 1–10 scale, or when the top 2 inches of soil are dry to the touch. Always water thoroughly until it drains from the bottom, then don’t water again until the soil returns to that threshold.
If the soil has become hydrophobic and water runs straight through, bottom-water the plant by sitting the pot in a basin of room-temperature water for 30–45 minutes. A single drop of unscented dish soap in the watering can also helps break surface tension on very dry soil.
Improving Light Conditions
Move the plant to within 3–5 feet of a south- or east-facing window. If natural light is limited, a full-spectrum grow light running at 5,000–6,500K for 12–14 hours a day can bridge the gap. Also wipe dusty leaves with a damp cloth — a heavy layer of dust can reduce photosynthetic efficiency by up to 30%. For sun scorch, hang a sheer curtain or move the plant 2–3 feet back from the window.
Raising Humidity
A humidifier is the most effective solution — aim for 50–65% relative humidity and verify it with a hygrometer. Grouping plants together or using a pebble tray with water beneath the pot (keeping the pot bottom above the waterline) can add a modest 5–10% humidity boost in the immediate area, but neither replaces a humidifier in a dry home.
Correcting Nutrient Deficiencies and Salt Buildup
Test your soil pH before treating a suspected iron deficiency — iron becomes unavailable above pH 7.0, so supplementing without checking pH is guesswork. Fertilize in spring and summer only, using a balanced water-soluble fertilizer at half strength once a month (a 3-1-2 NPK ratio works well for foliage). For confirmed iron deficiency, apply chelated iron as a foliar spray or soil drench. Flush the soil with plain water two to three times a year to clear accumulated salts, and never fertilize in fall or winter when the plant is semi-dormant.
Pest Treatment by Pest Type
| Pest | Treatment |
|---|---|
| Spider mites | Raise humidity immediately; spray all leaf surfaces (especially undersides) with insecticidal soap or neem oil; repeat every 5–7 days for 3–4 cycles |
| Scale | Remove manually with a cotton swab dipped in 70% isopropyl alcohol; follow with horticultural oil spray; repeat weekly for 4–6 weeks |
| Mealybugs | Spot-treat with isopropyl alcohol swabs; follow with neem oil or insecticidal soap; repeat every 7 days |
| Fungus gnats | Let soil dry out more between waterings; apply a Bacillus thuringiensis var. israelensis (Bti) drench to kill larvae in the soil |
Recovering From Transplant Shock
The best thing you can do after a move or repot is leave the plant alone. Keep it in consistent light, maintain your normal watering rhythm, and avoid fertilizing for 4–6 weeks. Resist the urge to move it again if it drops a few leaves — repeated repositioning compounds the stress. Most plants stabilize within 4–8 weeks.
Ideal Care Conditions to Prevent Problems
Light: Bright indirect light (1,500–3,000 foot-candles) — a spot 3–5 feet from a south- or east-facing window. Rotate the pot a quarter-turn every few weeks for even exposure.
Water: Water based on the soil, not the calendar. Water thoroughly when the top 2 inches are dry; in summer this is typically every 7–10 days, in winter every 14–21 days. Always use a pot with drainage holes and empty the saucer within 30 minutes.
Temperature and Humidity: Keep temperatures between 65–85°F (18–29°C) and never let them drop below 55°F (13°C). Target 50–65% relative humidity. Maintain at least 3–4 feet of clearance from heating vents, air conditioners, and cold windows.
Soil and Pot: A well-draining mix at pH 6.0–7.0 is essential. The 60/20/20 blend (potting mix, perlite, orchid bark) works perfectly as everyday growing media. Terracotta pots dry out faster and can help prevent overwatering if you tend to water too frequently.
Fertiliser: Feed monthly from spring through summer at half the recommended strength. Stop completely in fall and winter.
Common Myths to Avoid
Misting does not raise humidity. It increases ambient relative humidity by only a fraction of a percent, and the moisture evaporates within minutes. What it does do is leave water sitting on leaf surfaces — ideal conditions for Xanthomonas bacterial leaf spot. Use a humidifier instead.
Moving the plant outside in summer requires slow acclimation. Going from indoor light directly to outdoor conditions — even in shade — will cause sunburn and shock. Increase outdoor exposure by roughly one hour per day over two weeks. Inspect the plant carefully when you bring it back inside, since outdoor time significantly raises the risk of importing pests.
Leaf drop after moving is normal. Ethylene production is a hardwired stress response, and shedding leaves is the plant’s way of reducing the leaf mass it needs to support while it adjusts. Don’t panic and don’t overhaul your care routine — that compounds the stress. Give it 4–8 weeks of stable, consistent care.
Frequently Asked Questions
Why does my Fiddle Leaf Fig keep dropping leaves?
Repeated leaf drop usually has one of three causes: ongoing root rot preventing water uptake, chronic cold or draft exposure triggering ethylene production, or inconsistent watering cycling the plant between drought and recovery. Work out which pattern fits — is the soil always wet, always dry, or wildly variable? Fix that single variable before changing anything else.
How do I know if my Fiddle Leaf Fig has root rot?
Unpot the plant and examine the roots directly — that’s the only reliable way to confirm it. Healthy roots are white to tan and firm; rotted roots are brown or black, soft, and often smell sour or musty. If fewer than half the roots are affected, the plant can usually be saved with prompt pruning and repotting.
Can a Fiddle Leaf Fig recover from severe leaf loss?
Yes, provided the root system is still viable. A plant that has lost most of its leaves but has healthy white roots will typically push new growth once conditions stabilise. Keep it in bright indirect light, water carefully, and hold off on fertilising until you see at least two new leaves emerging.
Why are my Fiddle Leaf Fig’s new leaves small and pale?
Small, pale new leaves almost always indicate insufficient light. The plant is producing growth it cannot fully support. Move it closer to a bright window or supplement with a grow light. If new leaves are pale yellow with green veins rather than uniformly pale, suspect iron deficiency and check your soil pH before adding any supplement.
Should I wipe my Fiddle Leaf Fig’s leaves?
Yes — and it’s more than cosmetic. Dust accumulation on the large leaf surface can reduce photosynthetic efficiency noticeably. Wipe both sides of each leaf with a soft damp cloth every few weeks. Avoid leaf-shine sprays, which can clog stomata and interfere with gas exchange.