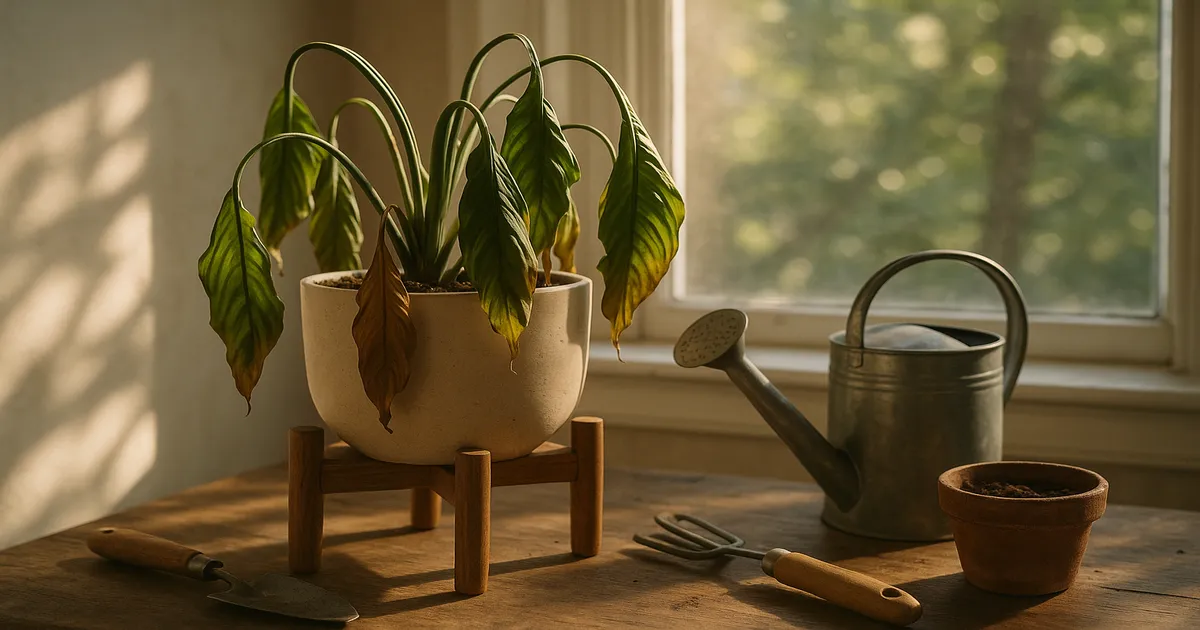
Quick Answer: Air plants most commonly turn yellow from underwatering, overwatering, or insufficient light — and because they have no soil to buffer care mistakes, they show stress fast. The location of the yellowing is your quickest clue: tips yellowing point to dehydration or heat, base yellowing signals rot, and uniform paleness suggests a light or nutrient problem.
If your air plant is turning yellow, you’re not alone — it’s one of the most common concerns among Tillandsia owners, and most causes are fixable once you know what you’re looking at. Air plants are epiphytes, meaning they absorb water and nutrients through specialized leaf cells called trichomes rather than through roots in soil. That’s precisely why they react so quickly when something is off: there’s no soil buffer to slow things down.
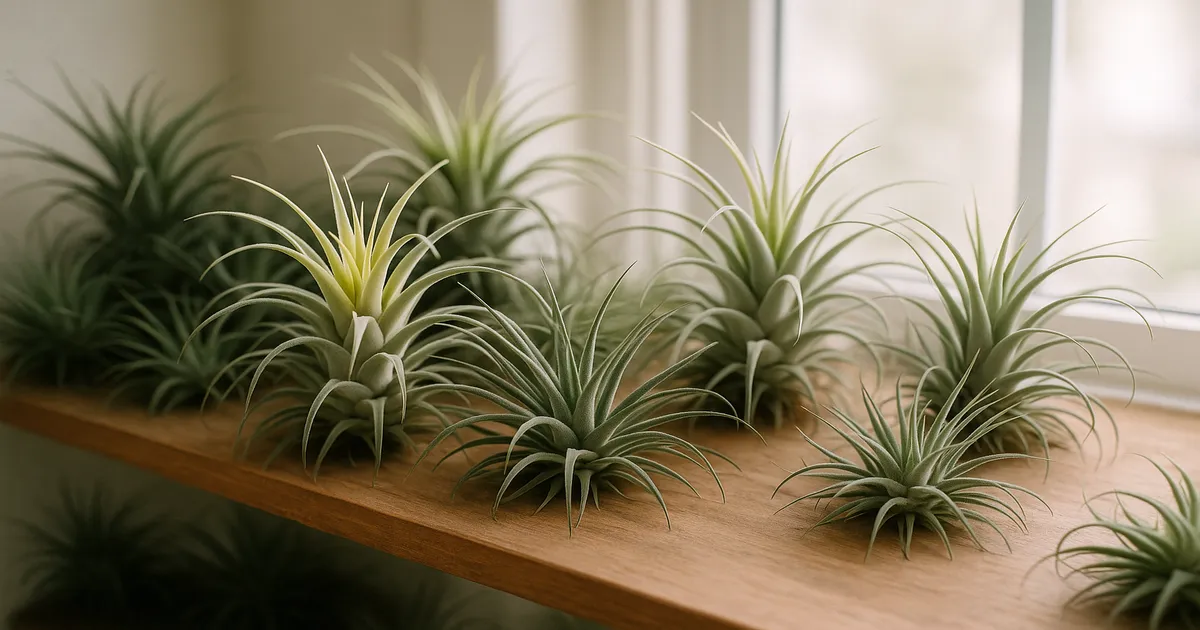
Why Is My Air Plant Turning Yellow? Understanding the Basics
What Trichomes Do — and Why They Matter
Trichomes are tiny, scale-like cells covering air plant leaves. That silvery fuzz you see? That’s them. When wet, they expand and absorb water and dissolved nutrients rapidly. When dry, they contract and help reflect excess light. Because trichomes are the plant’s only real intake system, anything that damages or blocks them — mineral buildup, aerosol residue, copper — directly impairs its ability to feed itself.
The roots on air plants are anchoring structures, nothing more. This is a critical difference from nearly every other houseplant you own.
Xeric, Mesic, and Hydric Species: Know Your Plant
Not all air plants are created equal, and their yellowing thresholds vary considerably:
- Xeric species (T. xerographica, T. ionantha, T. tectorum): Heavily covered in silvery trichomes, drought-tolerant, but rot-prone. A healthy T. xerographica looks pale gray — don’t mistake that for yellowing.
- Mesic species (T. stricta, T. aeranthos): Intermediate needs, moderate trichome coverage, fairly forgiving.
- Hydric species (T. bulbosa, T. caput-medusae, T. butzii): Greener, fewer trichomes, need higher humidity and more frequent watering. They’re the first to show drought stress.
Knowing which group your plant belongs to is step one in any diagnosis.
What Different Yellowing Patterns Tell You
| Pattern | Most Likely Cause |
|---|---|
| Tips yellowing | Dehydration, heat, or poor water quality |
| Base/center yellowing | Overwatering and rot |
| Uniform pale yellowing | Low light or nutrient deficiency |
| Patchy, uneven yellowing | Pests or chemical damage |
The 9 Most Common Reasons Air Plants Turn Yellow
1. Underwatering and Chronic Dehydration
This is the single most common cause of yellowing in indoor air plants. Most homes sit at 30–50% relative humidity, while air plants prefer 50–70%. When trichomes can’t absorb enough moisture, the plant starts breaking down chlorophyll in older leaves to conserve resources — and that shows up as yellowing that starts at the tips and works inward.
Signs: Leaves curl inward lengthwise, tips go yellow then brown, the plant feels light and papery when you pick it up.
2. Overwatering and Base Rot
Too much water — especially water sitting trapped at the base — creates ideal conditions for fungal pathogens like Fusarium and Pythium. Unlike dehydration, rot starts from the inside out: yellowing begins near the crown, the base feels soft or mushy, and there’s often a foul smell. Xeric species are especially vulnerable because their natural habitat involves long dry spells between rains.
Signs: Inner leaves yellow first, leaves pull away from the base with little resistance, mushy texture, unpleasant odor.
3. Too Little or Too Much Light
Air plants need bright indirect light — roughly 1,500–3,000 foot-candles — to sustain healthy chlorophyll production. Drop below about 500 foot-candles, which is common in north-facing rooms, and the plant can’t photosynthesize efficiently. The result is a generalized, washed-out yellowing across all leaves.
Too much direct sun causes the opposite problem: photooxidative bleaching, where leaves turn pale yellow-white on the sun-facing side, often with a crispy texture. Those bleached patches won’t recover, but new growth will be fine once you reposition the plant.
Signs of low light: Uniform pale yellowing, stretched growth, plant leaning toward a light source. Signs of too much sun: One-sided bleached patches, crispy texture.
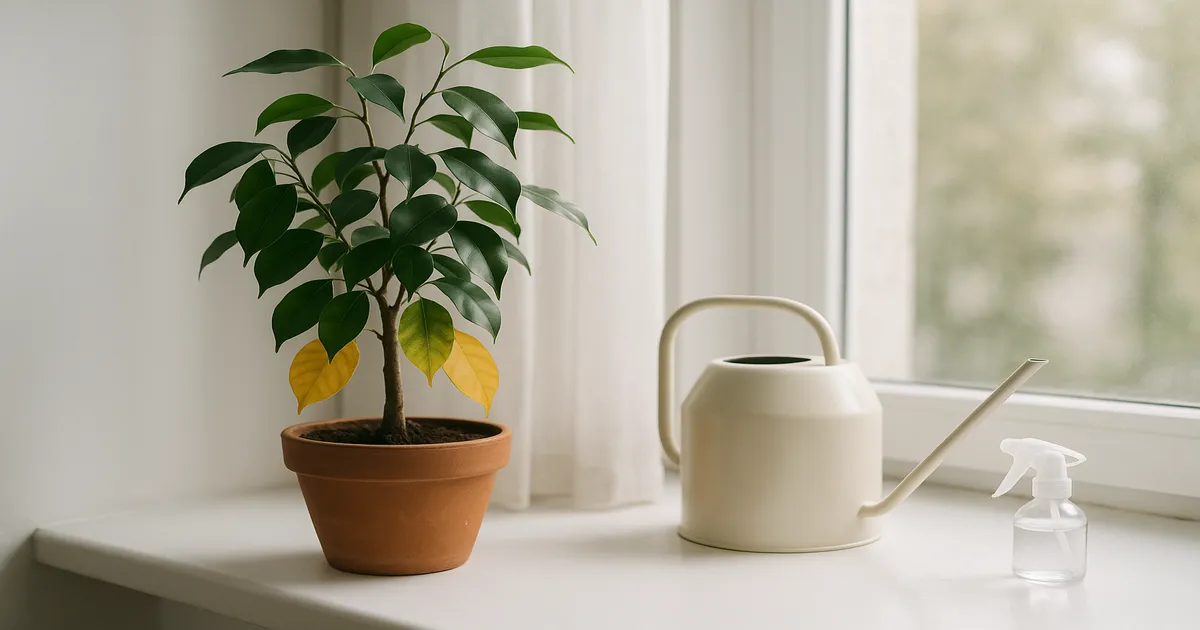
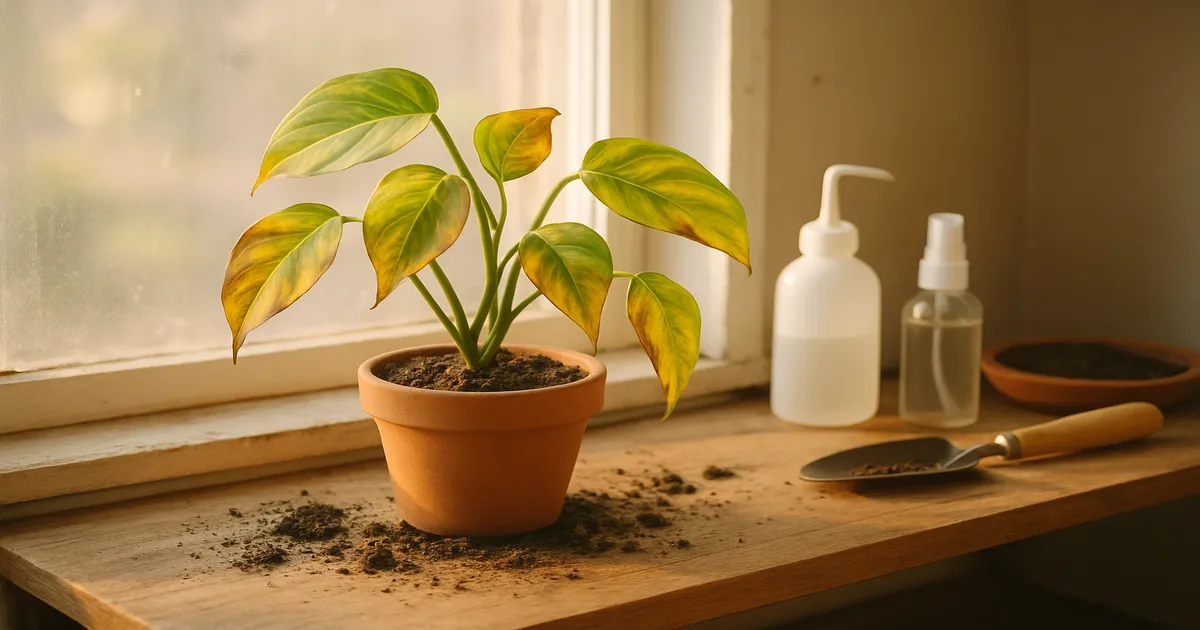
4. Poor Water Quality
Tap water typically contains chlorine (0.2–4 ppm), chloramine, and fluoride — all of which can damage trichomes over time. Hard water adds another layer of trouble: dissolved calcium and magnesium carbonates leave crusty mineral deposits that physically block trichomes. This is a slow, cumulative cause of yellowing that’s easy to overlook because it creeps up over months.
Signs: White or chalky residue on leaf surfaces, yellowing that gradually worsens despite regular watering, trichomes appearing matted or clogged.
5. Nutrient Deficiency
Air plants have modest nutritional needs, but they do have them. Nitrogen deficiency is the most likely cause of yellowing, since it’s a core building block of chlorophyll. Magnesium deficiency causes interveinal chlorosis — yellowing between the leaf veins — though this is harder to spot in narrow-leaved species.
Signs: Gradual pale yellowing starting on older outer leaves, slow growth, no obvious environmental stressor present.
6. Temperature Stress
Most Tillandsia species are comfortable between 50–90°F (10–32°C), with a sweet spot of 60–80°F (15–27°C). Cold drafts from winter windows can drop leaf-surface temperatures enough to rupture cell walls, causing sudden water-soaked yellowing that quickly turns brown and mushy. Sustained heat above 95°F (35°C) accelerates moisture loss faster than trichomes can compensate. Heating and air conditioning vents are a surprisingly common culprit — the forced dry air desiccates trichomes rapidly.
Signs of cold damage: Sudden yellowing and browning, water-soaked appearance, mushy patches. Signs of heat stress: Rapid tip yellowing, curling leaves, plant positioned near a heat vent or hot south-facing window.
7. Natural Leaf Senescence
Not every yellow leaf means something is wrong. As air plants grow from the center outward, the oldest outer leaves naturally age, lose chlorophyll, and die off. This affects only the lowest one to three outer leaves at a time, progresses slowly, and the rest of the plant looks vibrant and healthy.
Signs: Only the outermost leaves are affected, the plant is otherwise firm and green, no smell, no mushy texture.
8. Pest Infestation
Pests are less common on air plants than on soil-grown houseplants, but they do happen. Mealybugs leave white cottony clusters at leaf bases. Scale insects appear as small brown bumps and extract cell sap through trichomes. Spider mites — which thrive in hot, dry conditions — cause stippled yellow speckling and may leave fine webbing between leaves. Pest-related yellowing is typically patchy and localized rather than uniform.
Signs: Visible insects, webbing, sticky honeydew residue on leaves or nearby surfaces, distorted new growth.
9. Chemical Exposure: Copper, Aerosols, and Pesticides
Air plants are remarkably sensitive to copper — even trace amounts from copper-containing fungicides or fertilizers can cause rapid yellowing and cell death. Aerosol sprays (air fresheners, hairspray, cleaning products) are a frequently overlooked cause, especially for plants kept in bathrooms or kitchens, because they coat trichomes and block absorption.
Signs: Sudden onset yellowing after a specific event, localized to areas of direct exposure, coincides with a new product being used nearby.
How to Fix a Yellowing Air Plant
Underwatering: Rehydration Soaks and Humidity Boosts
For a mildly dehydrated plant, increase your soaking frequency:
- Standard soak: 20–30 minutes in room-temperature water, 1–3 times per week depending on your humidity levels
- Emergency rehydration: Soak for 2–4 hours in lukewarm water for severely dehydrated plants
- After every soak, shake off excess water and place the plant upside-down or at an angle to drain — it must dry completely within 4 hours to prevent rot
- Run a cool-mist humidifier nearby to maintain 50–70% relative humidity
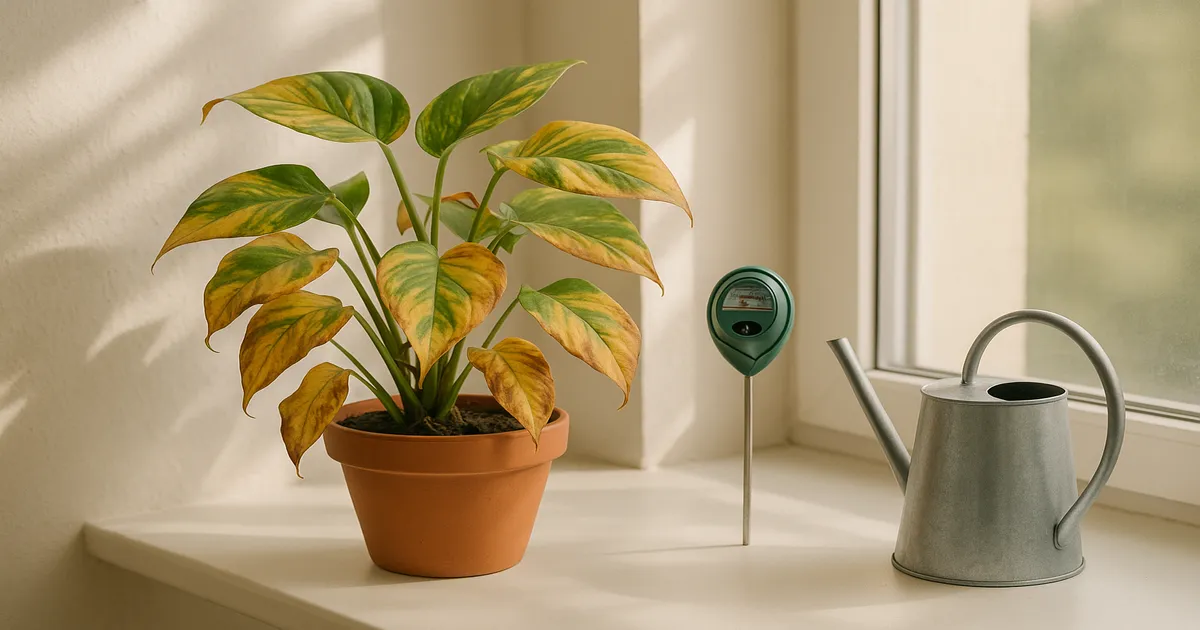
- Track your actual humidity with a small hygrometer — most people are surprised how dry their homes really are
Overwatering: Trimming Rot and Adjusting Your Routine
- Remove the plant from any enclosed vessel immediately and let it air out
- Gently tug the innermost leaves — if they pull away easily and smell bad, rot is present
- Using scissors sterilized with 70% isopropyl alcohol, trim all mushy tissue until you reach firm, healthy material
- Apply a dilute sulfur-based, copper-free fungicide to the cut surfaces and allow to dry completely
- Resume watering only after the plant has fully dried, and reduce soak time to 10–15 minutes if your environment is very humid
- Position a small fan nearby on a low setting to improve air circulation
Light Problems: Repositioning and Grow Lights
Move the plant to within 1–3 feet of an east-facing window, or a south-facing window with a sheer curtain. If natural light isn’t sufficient, a full-spectrum LED grow light positioned 6–12 inches above the plant for 10–14 hours per day works well. Aim for 1,500–2,500 foot-candles at the plant surface — a light meter app can help you verify this without guessing.
Water Quality: Rainwater, Filtered Water, and Mineral Removal
Rainwater is the gold standard for air plants. If that’s not practical, reverse osmosis or filtered water is the next best option, targeting a pH of 6.5–7.0. Letting tap water sit uncovered for 24 hours will off-gas chlorine, but it won’t remove chloramine or fluoride — so if your municipality uses chloramine, filtered water is worth the investment. For existing mineral deposits, gently wipe leaves with a soft cloth dampened with distilled water; avoid scrubbing trichomes aggressively.
Nutrient Deficiency: How and When to Fertilize
Add a bromeliad or orchid fertilizer at ¼ the recommended strength to your soaking water once a month during spring and summer. (Tillandsia Focus) The fertilizer must be urea-free — nitrogen should be listed as ammoniacal or nitrate nitrogen — and low in copper. Don’t fertilize more frequently; excess nutrients cause tip burn and salt buildup on trichomes.
Pests: Alcohol, Neem Oil, and Isolation
Isolate affected plants immediately. For mealybugs and scale, dab individual insects with a cotton swab dipped in 70% isopropyl alcohol, then follow with a soak in dilute insecticidal soap or an emulsified neem oil solution. For spider mites, boost humidity first (mites hate moisture), then treat with insecticidal soap or a miticide labeled for ornamental plants. Repeat every 5–7 days for three weeks to break the egg cycle.
Chemical Damage: Rinsing and Relocation
Rinse the plant thoroughly with clean room-temperature water as soon as possible after exposure. Move it away from any area where aerosols or cleaning products are regularly used. If copper toxicity is suspected, flush repeatedly with distilled or RO water and monitor for 2–4 weeks. Severe copper toxicity can be irreversible, but mild cases often recover with clean water and time.
Is My Air Plant Dead or Just Stressed?
Signs Your Air Plant Can Still Be Saved
Your plant is likely salvageable if:
- Yellowing is confined to the outer 1–3 leaves only
- The base feels firm when you gently squeeze it
- There’s no foul smell
- You can see green new growth emerging from the center
Act on the appropriate fix above and give it 2–4 weeks to show improvement.
Signs the Damage May Be Irreversible
Some situations are beyond recovery:
- The mushy base extends all the way through the crown — rot has consumed the growing point
- Severe copper toxicity has caused widespread, sudden cell death across all leaves
- All leaves have collapsed completely with no firm tissue remaining
If the base is mushy but you can still see firm green pups (offsets) attached, those pups may survive even if the mother plant doesn’t. Detach them carefully and start fresh.
Post-Bloom Yellowing: Normal Decline and Pup Production
Most Tillandsia species are monocarpic — they flower once, then gradually decline. After blooming, the mother plant slowly yellows from the center outward as it redirects energy into producing pups. This is completely normal. Let pups grow to at least ⅓ to ½ the size of the mother before separating them.
Preventing Yellow Air Plants: Quick-Reference Care Guide
| Care Factor | Target Range |
|---|---|
| Watering (xeric) | Soak 1–2× per week |
| Watering (mesic) | Soak 2–3× per week |
| Watering (hydric) | Soak 2–3× per week + daily misting |
| Drying time after soak | Within 4 hours |
| Humidity | 50–70% RH |
| Temperature | 60–80°F (15–27°C) |
| Light | 1,500–3,000 foot-candles, bright indirect |
| Fertilizer | ¼-strength bromeliad/orchid, monthly (spring–summer) |
| Best water | Rainwater, RO, or filtered |
Always shake off excess water after soaking and dry upside-down or at an angle. Avoid water softener output — it replaces calcium and magnesium with sodium, which is equally harmful to trichomes.
Frequently Asked Questions
Can a yellowed air plant turn green again? Yes, if the cause is caught early. Leaves that have yellowed from dehydration or low light can regain color once conditions improve, though severely bleached or browned tissue won’t recover. New growth from the center will be healthy green.
How do I know if my air plant is dying or just dormant? Air plants don’t truly go dormant the way some houseplants do. A healthy plant stays firm and holds its shape year-round. If your plant is soft, mushy at the base, or has lost all structural rigidity, it’s in serious decline — not dormant.
Why is my air plant turning yellow after I just watered it? Yellowing that appears shortly after watering usually points to rot, not dehydration. Check whether water is trapped at the base and whether the inner leaves pull away easily. Improve drainage and drying time going forward.
Is it normal for the bottom leaves of an air plant to turn yellow? Yes — the lowest one to three outer leaves naturally yellow and die as the plant grows. This is normal senescence. If yellowing is spreading inward toward the center, or if more than a few outer leaves are affected, investigate a care issue.
Can I save an air plant with brown tips? Brown tips alone are rarely fatal. Trim them off with clean scissors at a slight angle to match the natural leaf shape, then address the underlying cause — usually dehydration, heat, or poor water quality. The plant will continue growing normally from the center.